New to Rust? Grab our free Rust for Beginners eBook Get it free →
Compress PNG Images in Python Using Pillow (3 Easy Ways)
Hello and welcome to the world of image optimization! In this quick guide, we will take a look at compressing PNG images using Pillow in Python. We will learn the basics of image compression and see how it makes a big difference in improving web development and saving storage space. We will cover three easy and efficient methods to help you enhance your image optimization skills. Let’s get started!
Why Compressing PNG Images?
PNG (Portable Network Graphics) compression is a way to make your image files smaller without losing much quality. This can help your web pages load faster and save storage space.
PNG is a popular image format known for not losing any information when you shrink or expand it. It keeps all the original image data when you save or load the image. It uses the DEFLATE compression method, and it’s a good choice if you need images with transparency because it supports different levels of see-through. PNG also works with various color styles, including black and white and full color. You can even use a palette to limit the number of colors in the image, making the file smaller.
When you make PNG images smaller, it’s important to find a middle ground between having a tiny file and keeping the picture looking good. This matters a lot in web development because smaller images make web pages load faster, give users a better time, and use less internet data. Using tools like the Pillow library in Python makes it easy to shrink PNG images while keeping the important parts looking good.
Introduction to Pillow Module in Python
Pillow is a strong and easy-to-use Python library for working with images. It can handle various image formats and do many tasks like opening, editing, improving, and saving images. It is a Python Imaging Library (PIL) with the following features:
- Pillow easily opens and saves images in various formats, including JPEG, PNG, GIF, BMP, and TIFF, offering a simple way to work with different types of images.
- Pillow allows users to perform essential image operations like cropping, rotating, flipping, and resizing, making basic image manipulation easy.
- The library provides tools to improve image quality by adjusting brightness, contrast, and saturation, and applying filters for effects like blurring or sharpening.
- Pillow enables drawing on images, is perfect for adding annotations, shapes, or custom graphics, and supports adding text with customizable fonts, sizes, and colors.
- It also provides color manipulation and image filtering.
How to Install Pillow?
To use Pillow in our applications, we need to install it first. To install this library into your system, run the below command:
pip install Pillow
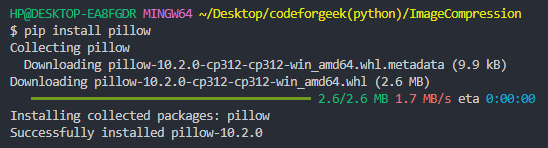
It is necessary to ensure that the version of the Pillow you download is compatible with your Python version to enable smooth application functioning without errors.
PNG Image Compression Techniques
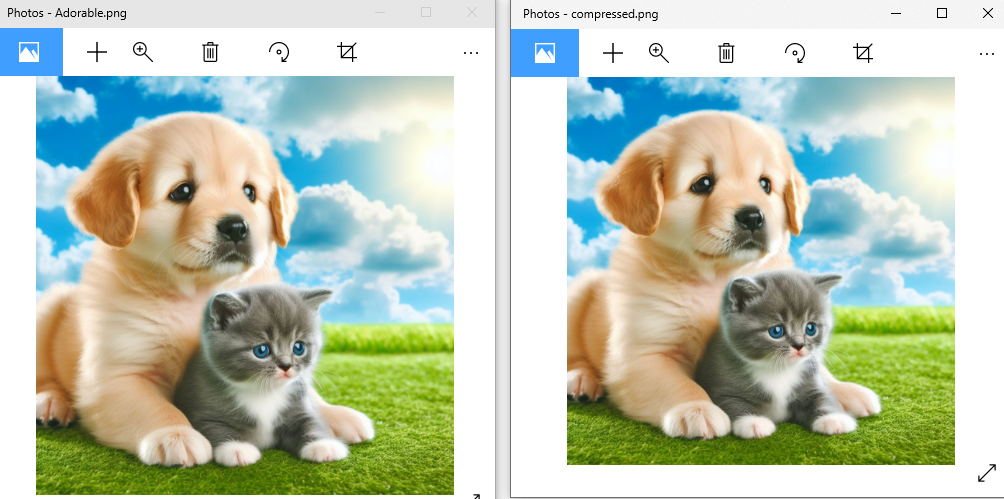
Now that we know about PNG Compression and Pillow, let’s learn some ways to use Pillow to compress our PNG files. For implementing the given methods, we will use the following PNG image:
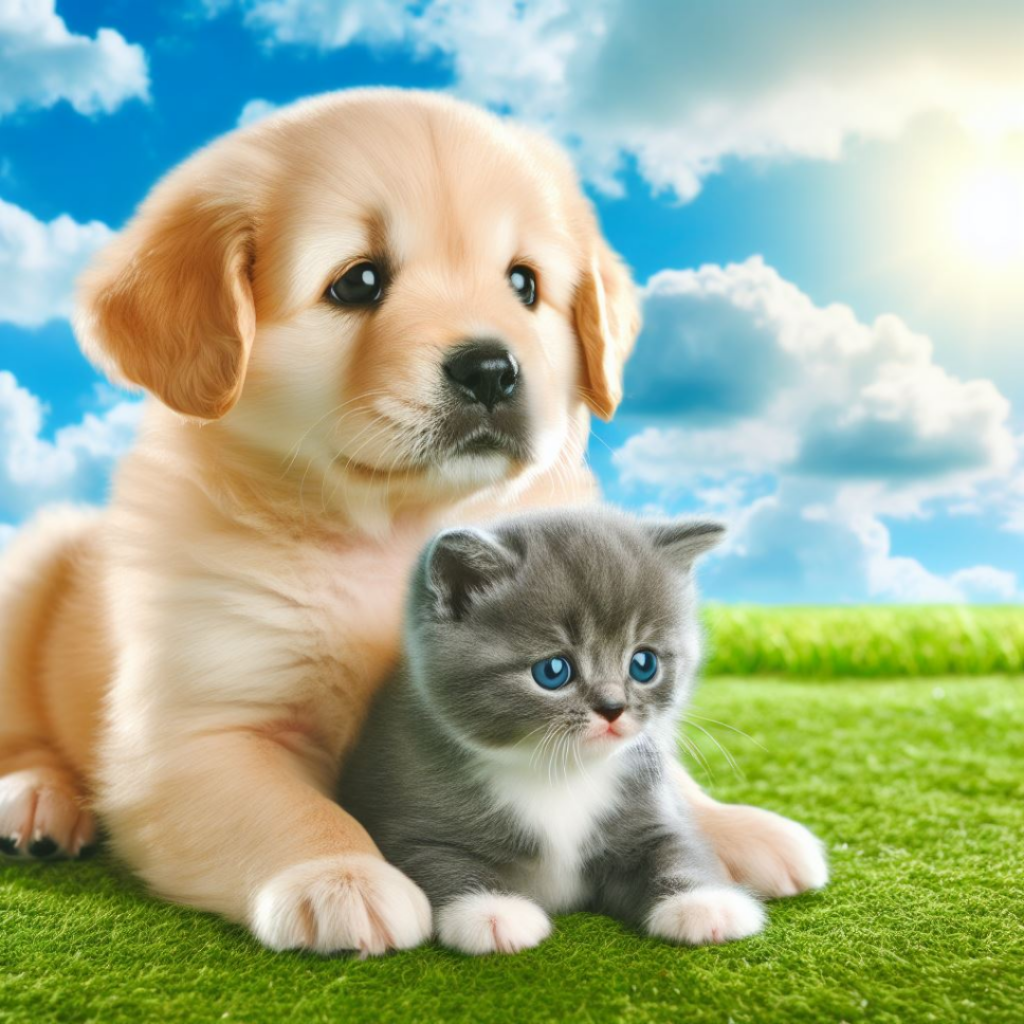
The PNG image is cute, isn’t it? Now that you have fallen in love with the image, let’s try to fall in love with the methods of PNG compression.
1. Compress PNG with img.save()
In this technique, we use the img.save() method from the Pillow library to save an image with specific compression settings. The quality parameter manages how compressed the image is. Higher values (closer to 100) mean better quality but bigger files. Lower values give more compression, making files smaller but sacrificing some details. If you set ‘optimize‘ to True, the image is optimized during saving, reducing file size without hurting quality much. The ‘format=’PNG” part says to save the image in PNG format.
Code:
from PIL import Image


def compress(input_, output):
    try:
        with Image.open(input_) as img:
            img.save(output, format='PNG', optimize=True, quality=82)
        print(f"Image compressed and saved to {output}")

    except Exception as e:
        print(f"Error compressing image: {e}")


# Example usage
inputImg = "Adorable.png"
outputImg = "compressed.png"
compress(inputImg, outputImg)
Working:
- The code uses the Pillow library to open an image file named “Adorable.png.“
- It then saves the image in PNG format with compression settings, including optimization (optimize=True) and a specified quality level of 82.
- The compressed image is saved to a new file named “compressed.png.“
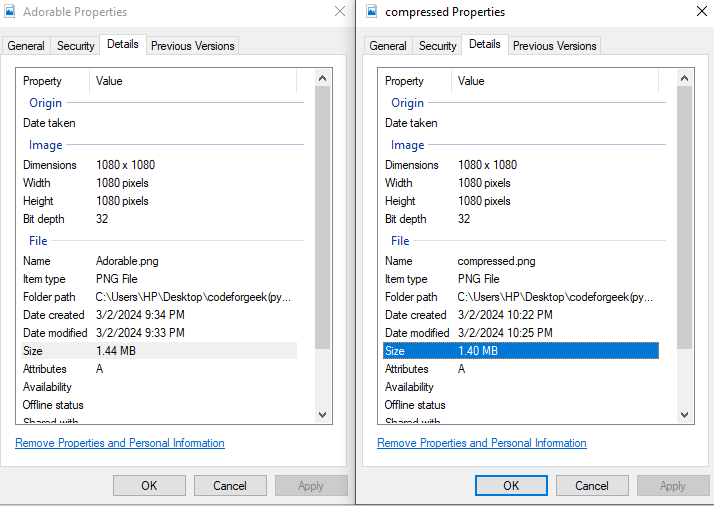
Output:
A “compressed.png” file is created with a reduced file size of 1.40 MB and a very small change in quality.
2. By Reducing Color Palette
One technique to compress the image is to reduce the color palette. In a picture, the color palette is like a set of special colors that make the image look unique. When we reduce the color palette, we are basically simplifying the picture by using fewer different colors. A big part of an image file’s size depends on how much data it needs to store colors. If we use fewer different colors in the picture, the file size gets smaller.
The mentioned method has a parameter called max_colors. It lets you decide the most colors you want in the final image. If you pick a low number, you get fewer colors, and if you choose a high number, you get more colors.
Code:
from PIL import Image


def compress(input_, output, max_colors=256):
    try:
        with Image.open(input_) as img:
            img = img.convert('P', palette=Image.ADAPTIVE, colors=max_colors)
            img.save(output, format='PNG')
        print(f"Image with reduced color palette saved to {output}")

    except Exception as e:
        print(f"Error compressing image: {e}")


inputImg = "Adorable.png"
outputImg = "compressed.png"
compress(inputImg, outputImg)
Working:
- The code uses the Pillow library to open an image file named “Adorable.png“
- It then converts the image to use a reduced color palette by applying the ‘P’ mode and using the adaptive palette method, limiting the number of colors to a maximum of 256 (max_colors).
- The compressed image is saved to a new file named “compressed.png” in PNG format.
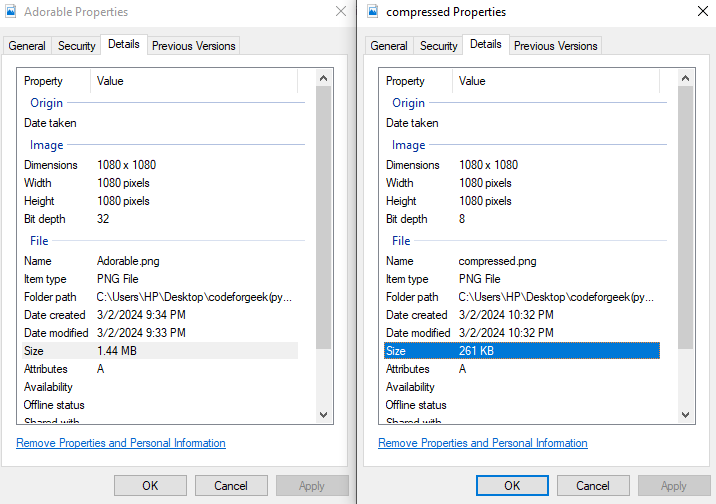
Output:
A “compressed.png” file is created with a reduced file size of 261 KB and altered quality. The comparisons of the properties and the image quality are given below.
3. By Quantization
This technique uses Quantization. Quantization simplifies colors in an image by grouping similar ones together, making the color palette smaller. The factor setting controls how much simplification happens. A higher factor means more aggressive simplification, reducing the number of colors in the image.
Code:
from PIL import Image


def compress(input_path, output_path, factor=5):
    try:
        with Image.open(input_path) as img:
            img = img.quantize(colors=img.width // factor)
            img.save(output_path, format='PNG')
        print(f"Quantized image saved to {output_path}")

    except Exception as e:
        print(f"Error compressing image: {e}")


# Example usage
inputImg = "Adorable.png"
outputImg = "compressed.png"
compress(inputImg, outputImg)
Working:
- The code uses the Pillow library to open an image file named “Adorable.png“.
- It quantizes the image by reducing the number of colors using the quantize method. The factor parameter controls the quantization level, where a higher value of factor results in more aggressive color reduction.
- The quantized image is saved to a new file named “compressed.png” in PNG format.
Output:
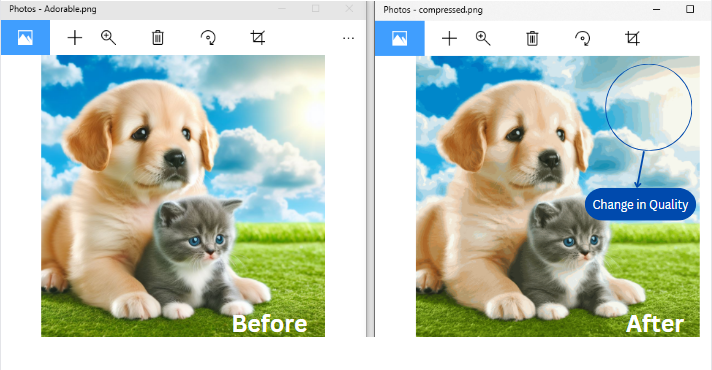
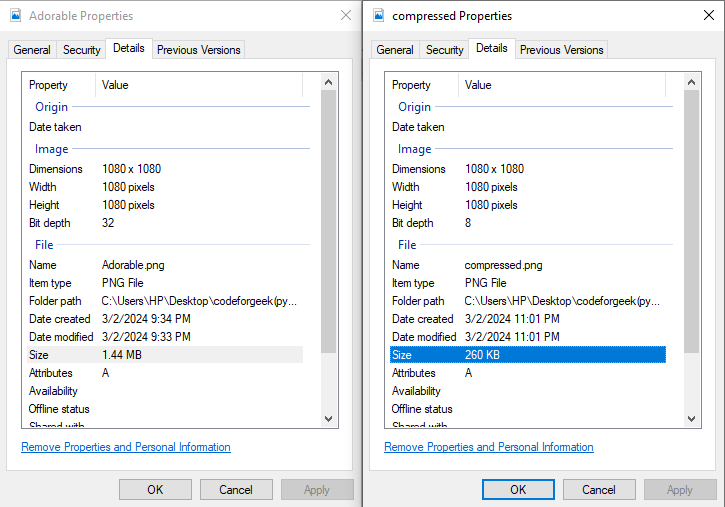
A “compressed.png” file is created with a reduced file size of 260 KB and highly altered quality.

Cons of Compressing PNG Images
Although image compression can provide faster loading and speedy transfer, it also has some drawbacks that should be taken into account. These are listed below:
- Compressing images, especially with methods that lose some data for smaller files, can make the pictures lose details and sharpness.
- Compression can create issues like blocks, blurs, or weird colors in the image, especially when compression is higher, affecting how good the picture looks.
- Images with a lot of compression may lose details, making them not great for big edits. If you change a heavily compressed image, it might get worse with more issues.
Summary
After reading the complete article you should have a clear understanding of PNG conversion, its importance, and its considerable disadvantages. Additionally, you would have learned about the Pillow library in Python, discovered some of its best features, and seen the most efficient techniques of performing PNG conversion using its methods. The article also includes valuable code snippets and illustrations to help you better understand the process.
Interested in Pandas? Learn how to Calculate the Mean of Pandas DataFrame in Python and Reading Excel Files with Pandas read_excel() in Python.
Reference
https://stackoverflow.com/questions/35004067/compress-png-image-in-python-using-pil