New to Rust? Grab our free Rust for Beginners eBook Get it free →
Flutter State Management: setState

In this tutorial, we will discuss one of the most important and most used concepts in Flutter app development: state management. We will learn all the basics and foundations of state management using an inbuilt setState function. After this tutorial, you will be able to integrate state management effectively in your apps and use it for better performance.
Also Read: Flutter Widgets
State Management in Flutter
Let’s understand state management with the help of an example. Suppose we are using any E-Commerce app just like Flipkart and buying some T-shirts. Once we finalize the t-shirt selection, we just click on that “add to cart” button, and instantly that item is added to our cart without even the page getting reloaded. This is all state management. This means changing the state of any specific part of an application without reloading the complete application or page.
Benefits of State Management
The following are the benefits of using state management in your app.
- Control data flow in the app.
- Improve the developer’s ability to work efficiently on the app.
Approaches to State Management
Flutter provides us with two approaches for state management. The first approach is using a built-in setState function and the second is by using third-party libraries. Although using the third-party libraries is recommended because in the first method(setState) we are managing the state somehow we are always entirely reloading our page which we do not want. For this tutorial let’s see the approach using the built-in function setState.
Let’s create an app to see the approach to state management using the setState function.
Project Setup
Open “command prompt” or “terminal” and navigate to any directory where you want your app to be built. Then run the following command.
flutter create appname
This command will create a new flutter project in a folder named “appname” after that open this folder in VS Code.
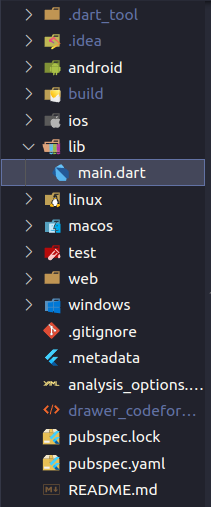
Project Structure
Below is the project structure. We have a “main.dart” file that is automatically created with so many other files when we created a new flutter app. Our complete code for this tutorial is going to be written in “main.dart” file.
setState in Flutter
This is the easiest way to manage states, in this method we call a function setState and set some value of variables inside it then instantly our page gets reloaded with the latest value of a variable that we assigned.
In the “main.dart” file, write the below code.
// main.dart

import 'package:flutter/material.dart';

void main() {
  runApp(const MyApp());
}

class MyApp extends StatefulWidget {
  const MyApp({super.key});

  @override
  State<MyApp> createState() => _MyAppState();
}

class _MyAppState extends State<MyApp> {
  String value = 'Default Value';
  TextEditingController textController = TextEditingController();
  @override
  Widget build(BuildContext context) {
    return MaterialApp(
      home: Scaffold(
          // UI Code Will Go Here
      ),
    );
  }
}
Above we created a stateful class MyApp and passed this class to the main function. Then we created a string variable and text controller because we will need them in our remaining code.
Now inside Scaffold(), we have to create a body and add a Column widget to it. Also, pass “mainAxisAlignment” to it. So that we can put our UI elements vertically centred.
        body: Column(
          mainAxisAlignment: MainAxisAlignment.center,
          children: [],
        ),
Finally, inside the “[]” of the “children” widget, let’s add our main UI components containing the setState() method.
            Text('Value: $value'),
            TextFormField(
              controller: textController,
            ),
            const SizedBox(height: 20),
            ElevatedButton(onPressed: (){
              setState(() {
                value = textController.text;
              });
            }, child: const Text('Set Text'))
Here, we added a Text widget and passed the value of a variable that we created above.
Then we created a TextFormField which will be used to take input from the user. Also, we passed a controller to it that we created earlier. This is because we want to access whatever the user writes in the input box and it is only possible by assigning a controller to it.
After that, we have a SizedBox that is used to give some vertical distance between two widgets.
After that, we have an ElevatedButton which has an “onPressed” function, and a child widget that specifies what is shown inside that button.
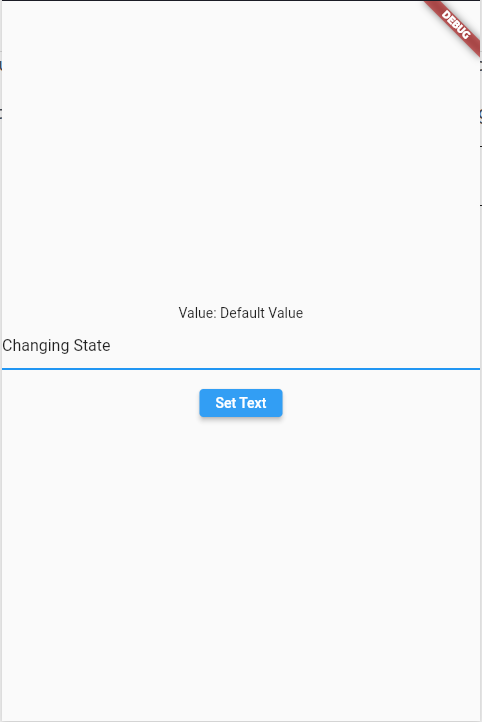
Inside that “onPressed” function we called another “setState” function and inside that function, we are changing the value of our string variable that is already defined. We are assigning the value of “textController.text” which gives us whatever is entered inside the text input box.
Once that button is pressed it will call the “setState” function and it will change the value of the already declared variable. Then magically the text shown on the screen will be updated to whatever we entered inside that input box.
Complete Code:
// main.dart

import 'package:flutter/material.dart';

void main() {
  runApp(const MyApp());
}

class MyApp extends StatefulWidget {
  const MyApp({super.key});

  @override
  State<MyApp> createState() => _MyAppState();
}

class _MyAppState extends State<MyApp> {
  String value = 'Default Value';
  TextEditingController textController = TextEditingController();
  @override
  Widget build(BuildContext context) {
    return MaterialApp(
      home: Scaffold(
        body: Column(
          mainAxisAlignment: MainAxisAlignment.center,
          children: [
            Text('Value: $value'),
            TextFormField(
              controller: textController,
            ),
            const SizedBox(height: 20),
            ElevatedButton(
                onPressed: () {
                  setState(() {
                    value = textController.text;
                  });
                },
                child: const Text('Set Text'))
          ],
        ),
      ),
    );
  }
}
Output:
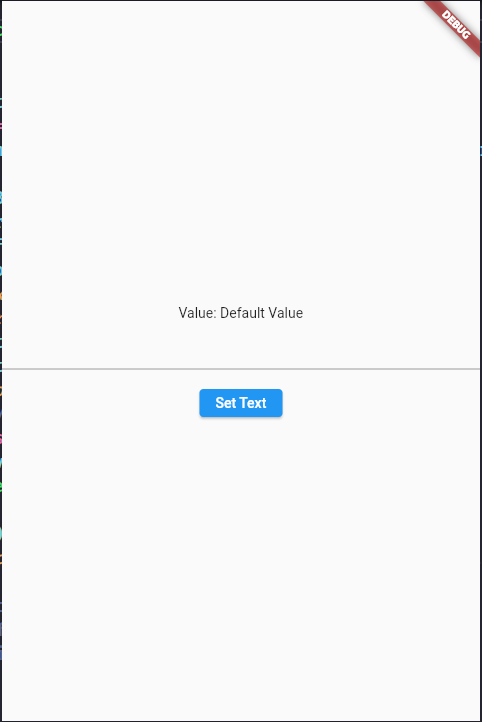
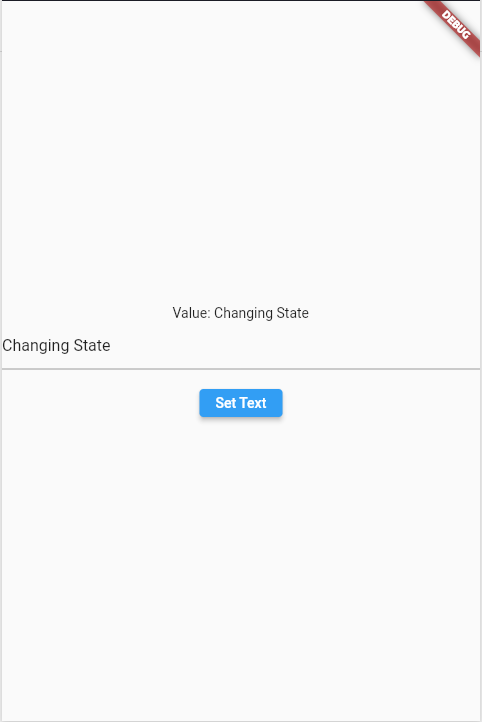
Steps to Run
- Once the app starts enter something inside that input box.
- Then click on the “Set Text” button.
- See the magic happening with your own eyes.
Read More: Flutter Dialogs: A Step-by-Step Guide
Summary
In this post, we have discussed state management. We learned the most common way of managing states in the Flutter application by using the built-in function setState, but it does not end because the built-in function that Flutter provides us is not that much powerful as compared to other third-party libraries but that doesn’t mean that this function is completely non-useable. This function is good for small projects but in case if your project is quite complex then you should go for third-party state management libraries.
References
https://api.flutter.dev/flutter/widgets/State/setState.html