New to Rust? Grab our free Rust for Beginners eBook Get it free →
Flutter Dialogs: A Step-by-Step Guide

Dialogs are one of the most important parts of an app. These can be used to notify users about specific activities such as in-app notifications, options to perform certain actions, etc.
In this post, we are going to discuss dialogs in Futter. We will also implement two types of dialogs in a Flutter. So let’s get started and dive into the interesting content.
To follow this tutorial, Flutter installation and development environment setup are mandatory, we have a separate article on that, if you want to read it click here.
Introduction to Dialogs
In mobile applications, a dialog is a temporary window that notifies the user about something. It can be used both to notify the user as well as to get some input from them.
Real-Life Example: Suppose your user wants to exit the application. Then you can show a dialog box asking whether they really want to exit the application and provide a yes or no button in that dialog box.
Types of Dialogs in Flutter
There are two types of dialog boxes that are available in Flutter. They are distinguished by their usage, both of them are used for different scenarios and have their own importance. We are going to discuss both of them.
- Alert Dialog
- Simple Dialog
Alert Dialog Box in Flutter
This dialog box is used for conditions that require user interaction. Remember the above example where we show a dialog box when a user want to exit from the app. At this place, we will use the alert dialog box to ask the user whether they want to exit the app.
Properties of Alert Dialog
There are several properties of the alert dialog, the most important of which are discussed below:
- Title: The top part of the dialog consists of a text and describes what it is about.
- Actions: It consists of a list of widgets and mainly we use buttons here. You will know more about this in below code implementation.
- Content: In case you want to add a description or any other additional content then you can use this property.
- Shape: The shape is the most important part of a dialog box and it should match the whole UI. So you can figure it out with this property.
Creating Alert Dialog in Flutter
Code:
import 'package:flutter/material.dart';

void main() {
  runApp(const MyApp());
}

class MyApp extends StatelessWidget {
  const MyApp({super.key});

  @override
  Widget build(BuildContext context) {
    return MaterialApp(
      home: Scaffold(
        body: Center(
          child: AlertDialog(
            title: const Text('Do you want to exit?'),
            actions: [
              TextButton(onPressed: () {}, child: const Text('No')),
              TextButton(onPressed: () {}, child: const Text('Yes')),
            ],
          ),
        ),
      ),
    );
  }
}
Output:
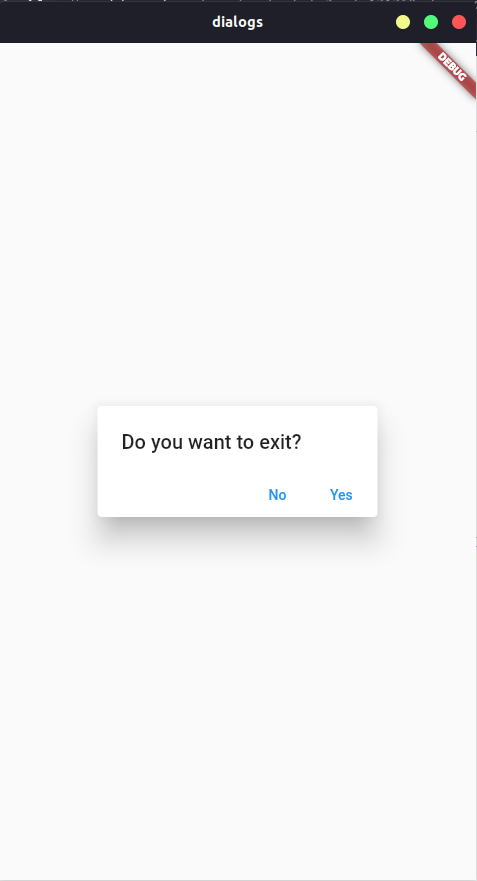
Explanation:
- We first created a Flutter app as usual and then after that inside of Scaffold, we passed the Center to body widget because we want everything to be centered on the screen.
- In the next step, we created an alert dialog box with the class AlertDialog. From now we are ready to set up our alert dialog box.
- The first argument that we passed to this instance of AlertDialog is the title. Because our users must know what the alert dialog is asking.
- Now to show yes or no buttons we passed the action’s argument and passed 2 TextButton widgets in it.
That’s it our basic Alert Dialog is ready to use and you can see it in the above output image.
Simple Dialog Box in Flutter
As its name suggest, a Simple Dialog box is the simple version of an Alert Dialog box. In its implementation, you will find out a very basic version and instead of a horizontal view of buttons, it provides a vertical view of buttons.
Go through its implementation which is given below with the output and code as well.
Creating Simple Dialog in Flutter
Code:
import 'package:flutter/material.dart';

void main() {
  runApp(const MyApp());
}

class MyApp extends StatelessWidget {
  const MyApp({super.key});

  @override
  Widget build(BuildContext context) {
    return MaterialApp(
      home: Scaffold(
        body: Center(
          child: SimpleDialog(
            title: const Text('Simple Dialog'),
            children: [
              TextButton(onPressed: (){}, child: const Text('Option One')),
              TextButton(onPressed: (){}, child: const Text('Option Two')),
            ],
          ),
        ),
      ),
    );
  }
}
Output:
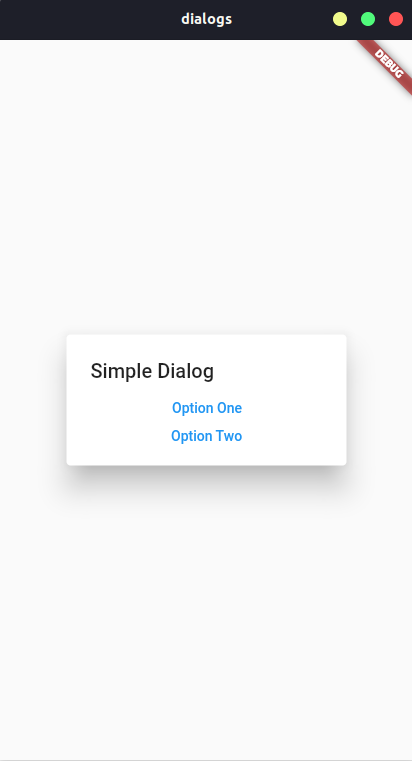
Everything is the same in this code the only difference you will see is that it uses children instead of actions.
Summary
In this tutorial, we gave you a quick introduction to dialogs in Flutter, we also taught you how to design and code two types of dialogs in Flutter. Although this is only a start, you can customize it according to your need, and you can also use a variety of styles. Hope you find this tutorial useful.
Also Read: Flutter AppBar Tutorial
Reference
https://api.flutter.dev/flutter/material/AlertDialog-class.html