New to Rust? Grab our free Rust for Beginners eBook Get it free →
Creating a Basic Discord Bot in Python (Using Pycord)
Doesn’t it sound interesting and fun that we can create our own bot on Discord using a very useful and new module in Python, i.e., Pycord? It would be so cool to play with your friends, and it can also be used for various helpful purposes. In this article, we will not only create a Discord bot but also see how to deploy it, use it, and play with some simple commands. Don’t worry, this isn’t too complex. We will learn everything from the basics and follow a stepwise procedure. So, without any further ado, let’s get started.
Also Read – Make a Simple Whatsapp Bot in Node.js
Prerequisites – Installing Required Modules
Now that we are working with Discord, let’s first install the Discord module in Python:
pip install discord

Since we are using the Pycord module, let’s install it too:
pip install py-cord

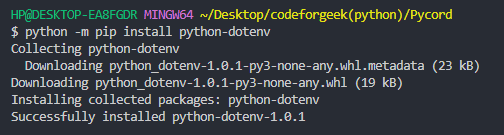
Also, we will be working with tokens, for that install the python-dotenv module:
python -m pip install python-dotenv
We have downloaded all the essential modules to work with, let’s write the driving code for the Bot.
Getting Started with Creating a Discord Bot in Python
Excited to create your first bot? Here’s an example of the code you will write with Pycord.
import discord
import asyncio
import os
from discord.ext import bridge


class MyBot(bridge.Bot):
    TOKEN = os.getenv("Discord_TOKEN")
    intents = discord.Intents.all()


client = MyBot(intents=MyBot.intents, command_prefix="!")


@client.listen()
async def on_ready():
    print(f"Logged in as {client.user.name}")


@client.bridge_command(description="Ding, Dong!")
async def ding(ctx):
    latency = (str(client.latency)).split('.')[1][1:3]
    await ctx.respond(f"Dong! Bot replied in {latency} ms")


async def main_bot():
    print("Bot is starting...")
    await client.start(MyBot().TOKEN)

if __name__ == "__main__":
    loop = asyncio.get_event_loop()
    loop.run_until_complete(asyncio.gather(main_bot()))
Don’t stress out looking over the above code, I will explain each line to you.
Here is a detailed description of each block of code given in the steps:
Step 1: Importing Modules
import discord
import asyncio
import os
from discord.ext import bridge
Firstly, we will import all of the above libraries:
- discord: The main library for working with Discord API.
- asyncio: For handling asynchronous tasks.
- os: Provides a way of interacting with the operating system.
- bridge: Allows you to use one callback to make both a Slash Command and a Prefixed Command.
Step 2: Defining a Class
class MyBot(bridge.Bot):
    TOKEN = os.getenv("Discord_TOKEN")
    intents = discord.Intents.all()
We create a class named MyBot that inherits from bridge.Bot. To retrieve the Discord token, we use os.getenv with environment variables. The intents are initialized to include all available intents using discord.Intents.all().
Step 3: Bot Initialization
client = MyBot(intents=MyBot.intents, command_prefix="!")
Then we create an instance of MyBot with the specified intents and command prefix.
Step 4: Event Listener
@client.listen()
async def on_ready():
    print(f"Logged in as {client.user.name}")
Then we define an event listener for when the bot is ready, and it prints a message indicating a successful login.
Step 5: Bridge Command
@client.bridge_command(description="Ding, Dong!")
async def ding(ctx):
    latency = (str(client.latency)).split('.')[1][1:3]
    await ctx.respond(f"Dong! Bot replied in {latency} ms")
Then we create a bridge command named ‘ding’ with a description. Upon invocation, it responds with a message indicating the bot’s latency.
Step 5: Main Bot Function
async def main_bot():
    print("Bot is starting...")
    await client.start(MyBot().TOKEN)
Now we create an asynchronous function named ‘main_bot‘ that prints a message indicating the bot is starting. This function then calls the start method of the client using the Discord token.
Step 6: Main Execution
if __name__ == "__main__":
    loop = asyncio.get_event_loop()
    loop.run_until_complete(asyncio.gather(main_bot()))
Then we verify if the script is being run as the main program. After that, we retrieve the event loop and execute the ‘main_bot‘ function using ‘loop.run_until_complete‘.
Now that we have written the backend code, let’s create the bot application on Discord.
Setting Up Bot Application in Discord
Well, we have completed the coding work. Yes, it’s time to get set up in Discord.
Step 1: Initializing a New Bot
Similar to signing up for Discord, your bot also needs to be registered.
Here are the steps to set up a bot application in Discord:
- Visit the Discord Developer Portal and click on New Application.
- Provide a name to your bot (MyBot in this case) and click on Create.
- Your Bot application is created.
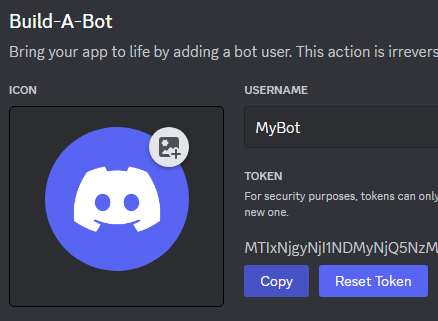
Step 2: Getting Access Token
Now that your bot has an account, it’s time to log in. To do this, we use the bot’s token, which is like a password. Every user and bot has a unique token, similar to how real-life snowflakes have distinct patterns. This token acts as a digital identifier, ensuring that no two bots share the same token, making it a ‘snowflake.’ In Discord, a user ID is also considered a snowflake.
Now, let’s obtain your bot’s token using the following steps:
- Click on the Bot tab on the left side of the screen.
- Click on the Reset Token button
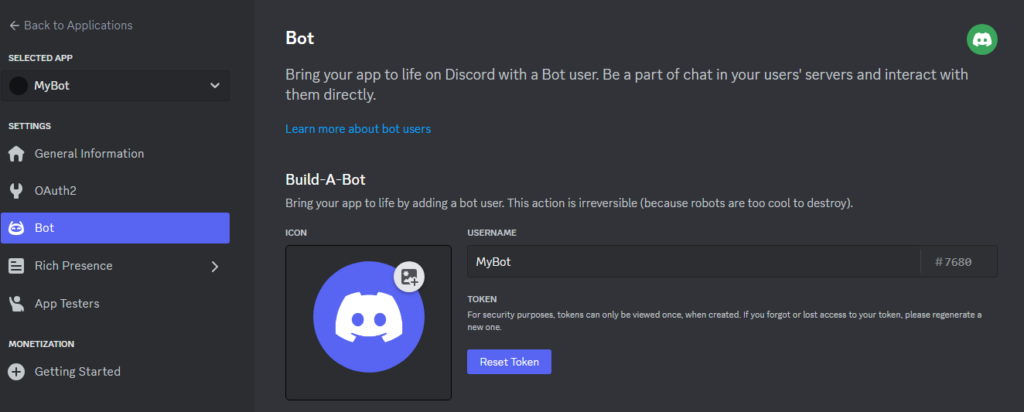
- Then Copy the generated Token.
Never share your bot’s token with anyone, even if someone claims to be from Discord staff. Giving out your token could lead to unauthorized access and potential misuse of your bot. Avoid publishing your token on GitHub or including it directly in your code. A good practice to keep your token secure is to store it in .env files.
- Back in your project directory, create a .env file and paste the copied address of the token there.

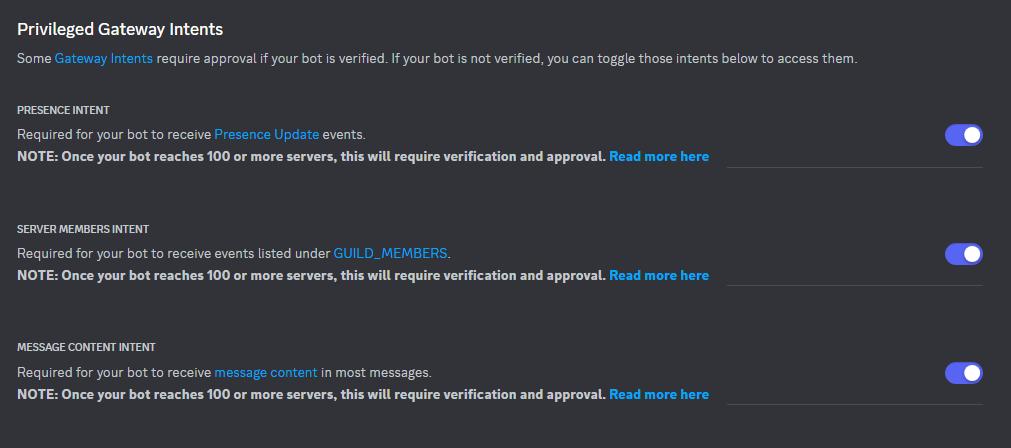
Step 3: Privileged Gateway Intents
Provide your bot with all Privileged Gateway Intents. Enable all the three panels.
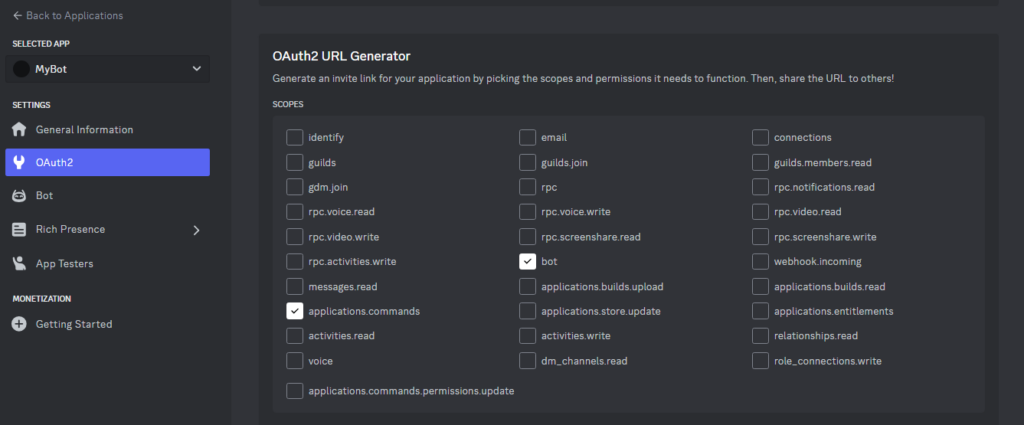
Step 4: Adding Bot to Server
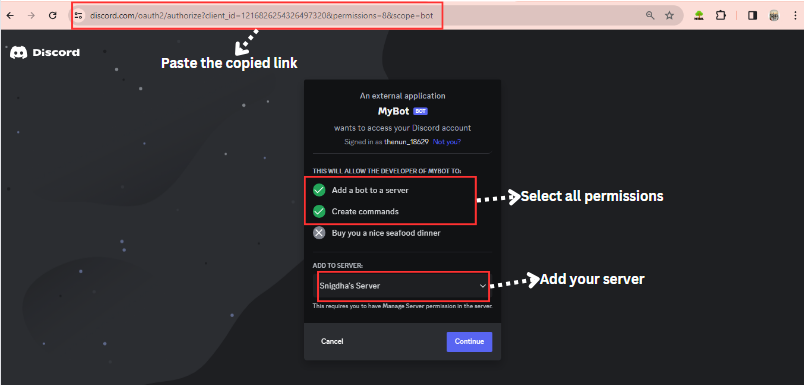
Now, let’s add the bot to some servers. Navigate to the OAuth2 tab on the left side and choose ‘bot’ and ‘applications.commands’ as scopes.
Next, choose the permissions your bot needs by selecting them. For simplicity, you can grant your bot the ‘administrator’ permission, providing it with all permissions. After selecting the permissions, click ‘copy’ to obtain the bot invite link.
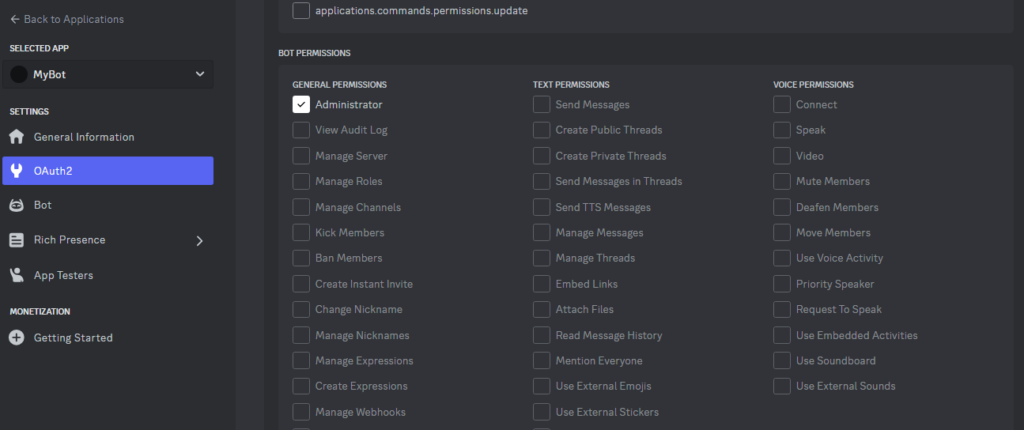

Then paste the copied URL into a new tab.
Running the Discord Bot
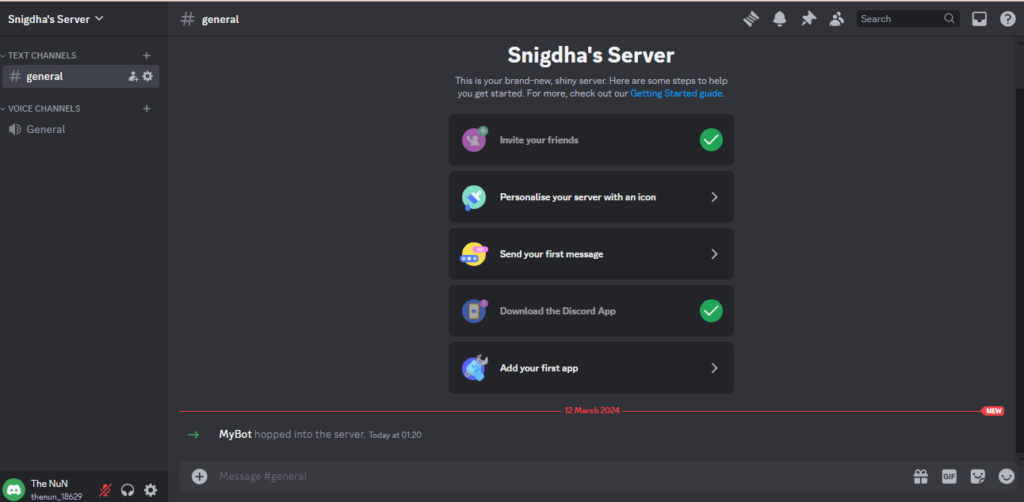
Now it’s time for your bot to make a grand entry. Turn on your server, and then run your Python code in the terminal.

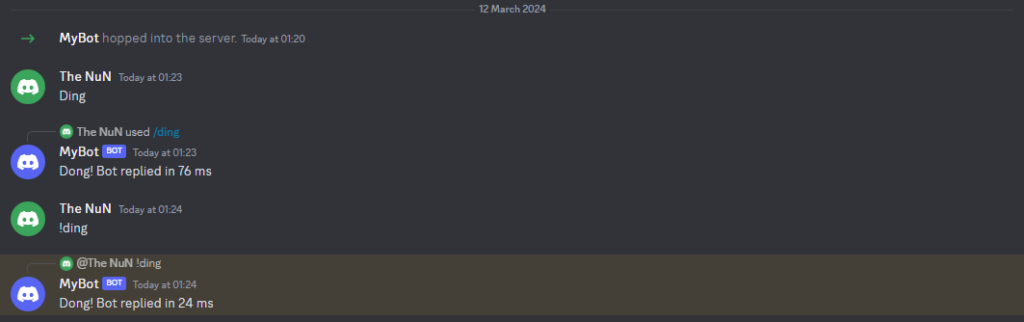
Now, if we type “/ding” or “!ding,” the bot will reply with a ‘Dong!‘ along with the reply latency.
Summary
Congratulations! Together, we have learned how to create, optimize, deploy, and play with our own Discord bot using Pycord in Python. The procedure was a bit lengthy and strenuous, but it provided us with amazing results. I hope you have a clear understanding of each concept and enjoyed reading the article. Python is indeed a wonderful language that enables us to create such interesting projects.
New to Python? Continue Reading – Indentation in Python
Reference
https://guide.pycord.dev/getting-started/creating-your-first-bot