There are lots of times when we want to create interactive and cool websites without going deep into coding, and we wonder how can we do that. That is where jQuery comes into the picture and makes JavaScript simpler.
In this tutorial, we will learn about each() method of jQuery. This method is like a magical tool for websites! We will learn about the implementation of this method with some interesting examples. Let’s get started!
jQuery each() Method
jQuery each() method is used to iterate a collection of elements, such as arrays or objects, to perform a certain task. This makes each() very useful for manipulating the DOM, and its main purpose is to apply operations or changes to each element one at a time without creating a traditional loop.
Syntax:
$(selector).each(function(index, element) {
    console.log(`${index}: ${$(element).text()}`);
});
Where,
- $(selector): The elements to iterate over.
- function(index, element): A callback function that will be executed for each element in the selected set:
- index: The index of the current element in the collection.
- element: The current element which is being iterated over.
Example 1: Adding a Class to All <div> Elements
You can use the function addClass() in combination with each() to add the same class name to multiple div elements.
<!doctype html>
<html>

<head>
    <meta charset="utf-8">
    <title>Demo</title>
    <script src="https://code.jquery.com/jquery-3.5.0.js"></script>
</head>

<body>
    <div class="header"></div>
    <div class="main"></div>
    <div class="footer"></div>

    <script>
        $(document).ready(function () {
            $("div").each(function () {
                $(this).addClass("container");
            });
        });
    </script>
</body>

</html>
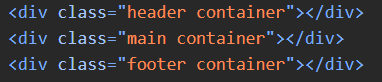
The above code is executed when the document is ready ($(document).ready()) and adds the class “container” to each <div> element. As a result, each <div> now has the additional “container” class.
Example 2: Changing the Color of All Elements on Click
Let’s say you want certain elements to change their colour when you click anywhere on a webpage. You can do this with the help of jQuery’s each() method and client event.
<!doctype html>
<html>

<head>
    <meta charset="utf-8">
    <title>Demo</title>
    <style>
        div {
            color: green;
            text-align: center;
            cursor: pointer;
            width: 300px;
        }
    </style>
    <script src="https://code.jquery.com/jquery-3.5.0.js"></script>
</head>

<body>
    <div>Click here</div>
    <div>to change</div>
    <div>the color.</div>
    <script>
        $(document.body).click(function () {
            $("div").each(function (i) {
                if (this.style.color !== "blue") {
                    this.style.color = "blue";
                } else {
                    this.style.color = "";
                }
            });
        });
    </script>
</body>

</html>
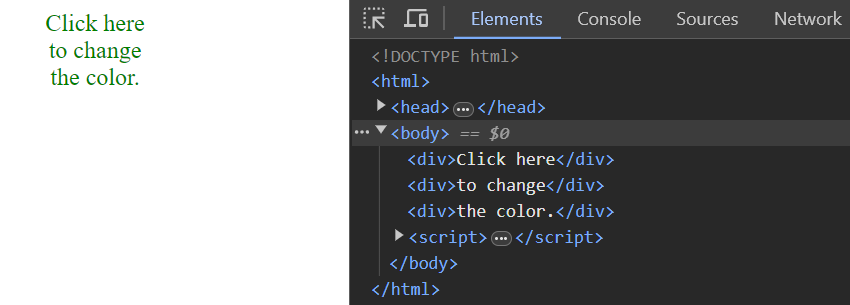
In the above code, three elements, each containing a piece of text, are awaiting interaction. Click anywhere on the page and notice how the color of these elements seamlessly transitions between green and blue.
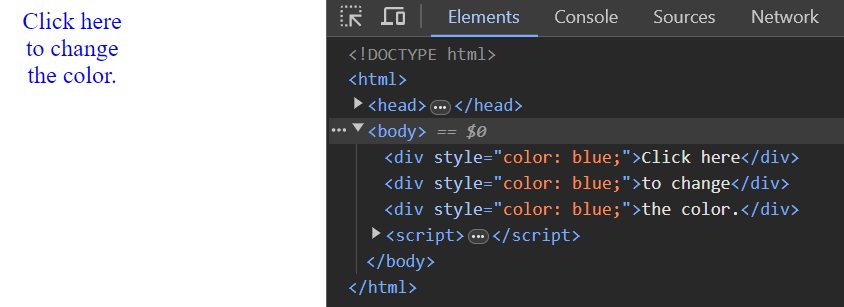
We got this with the help of jQuery’s each() method, which provides individualized functionality for elements and ensures a dynamic user experience.
Example 3: Creating Beautiful Transitions
Consider an unordered list (<ul>) such that you can apply a fading animation to each item of the list when the list is clicked. To do so, you can use jQuery’s each() method and apply CSS properties to each list element.
<!doctype html>
<html>

<head>
    <meta charset="utf-8">
    <title>Demo</title>
    <script src="https://code.jquery.com/jquery-3.5.0.js"></script>
</head>

<body>
    <ul id="numbers">
        <li>1</li>
        <li>2</li>
        <li>3</li>
        <li>4</li>
        <li>5</li>
    </ul>

    <script>
        $("#numbers").on("click", function (e) {
            $("li").each(function (index) {
                $(this).css("background-color", "red")
                    .delay(index * 200)
                    .fadeOut(3000);
            });
            e.preventDefault();
        });
    </script>
</body>

</html>
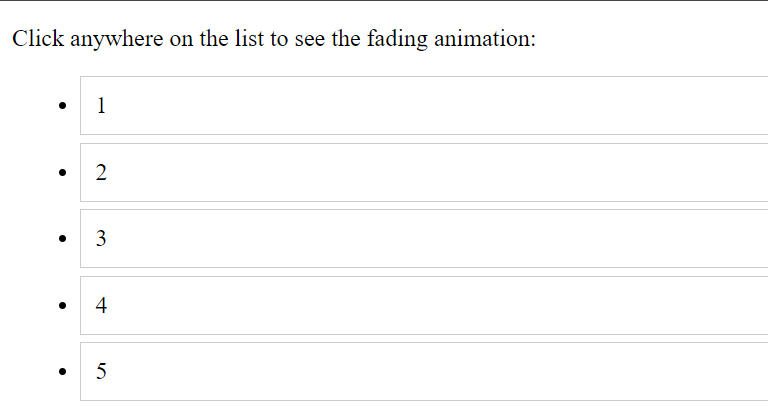
The above code attaches a click event to the unordered list (<ul>). When you click on the list, the code iterates each list item (<li>) using each(), applies a red background colour to each and delays the missing animation based on its index in the list, then slowly fades to 3000 milliseconds (3 seconds).

See, with each(), using just a few lines of code we can achieve this attractive interface.
Conclusion
In this tutorial, we have learned how each() allows developers to perform various tasks quickly and efficiently. The jQuery each() function in web development is an important method that makes it easy to iterate over arrays or collections of elements. This allows us to add classes to elements, respond to user interactions, or create dynamic animations. It can be turned out best practices as it increases productivity, and helps in writing clearer and more transparent code.
Explore jQuery with these tutorials:
- Introduction to jQuery & Creating Clones of Objects: A Beginner’s Guide
- jQuery Methods – load, get and post
Reference
https://stackoverflow.com/questions/722815/jquery-each-practical-uses