
New to Rust? Grab our free Rust for Beginners eBook Get it free →
Setup PostgreSQL with Node.js: A Step-by-Step Guide
Many developers use MongoDB to store data when working with Node.js since NoSQL is considered best for it. But what if someone wants to work with SQL databases? The traditional option is to go with MySQL database, but it lacks many things and advanced operations. Here comes PostgreSQL.
PostgreSQL is one of the popular MySQL alternatives for Node.js that comes with many advanced features and is much more capable than other SQL databases, especially for creating large-scale applications.
In this article, we will learn to set up PostgreSQL from scratch and see the step-by-step process to use it with Node.js.
What is PostgreSQL Database?
PostgreSQL calls itself the world’s most advanced open-source database. This SQL-compliant popular relational database management system is free and extensible.
The Postgres database supports relational i.e., SQL and non-relational i.e., JSON querying.
It is a highly stable and reputed database management system with over 30 years of continuous development. It can be used as a primary database for web and mobile applications data storage.
How To Use PostgreSQL With Node.js?
For connecting to the Postgres database in Node.js, we have two popular packages node-postgres (also known as pg) and pgtools.
The node-postgres or pg is a fully-featured module used to connect to the PostgreSQL database and can also be used to perform operations such as creating, inserting, deleting, etc. On the other hand, pgtools is a lightweight module that can only be used for basic administrative tasks like creating and dropping databases.
In this article, we will only focus on setting up PostgreSQL with Node.js so we can do this easily using the pgtools module.
Getting Started with Installing PostgreSQL
Let’s get started with installing Postgres. Here we will be using a Windows machine to demonstrate the installation. But the process is also similar for Mac and Linux-based systems like Ubuntu.
1) Download PostgreSQL Installer for Windows
To install Postgres on Windows, you will first need to download its installer. Jump to this official download page of PostgreSQL installers on EnterpriseDB.
2) Pick your Preferred Version of PostgreSQL
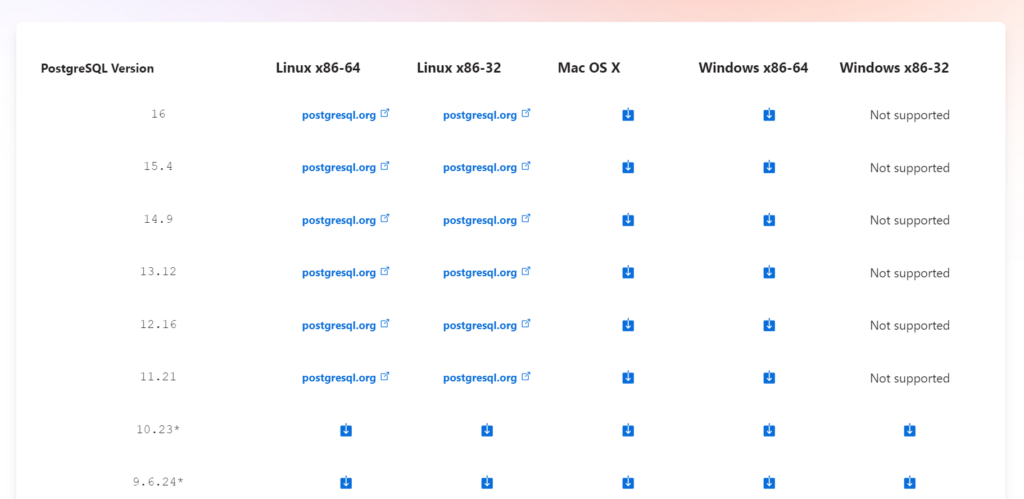
Your download should now start. Once it does, it will take some time depending on your internet connection.
3) Install PostgreSQL Using Installer
To be able to install Postgres using installer on Windows, you must have admin privileges on your current user.
Below are the steps to install PostgreSQL on Windows:
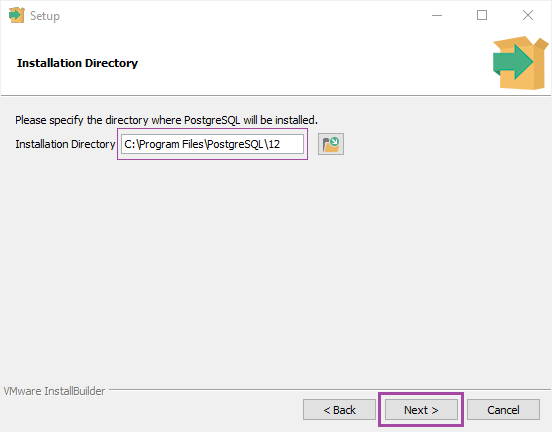
Step 1: Open the installer and click Next.

Step 2: Choose the directory in which you want PostgreSQL to be installed. You may choose your own path or stick to the default. Once you’re done, click Next.
Step 3: Select the software components you want to install.
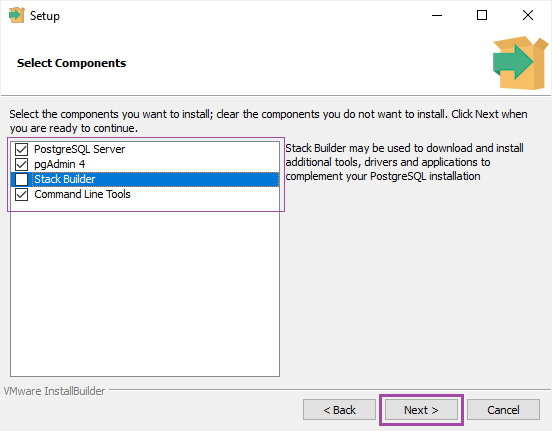
- PostgreSQL Server – Installs the PostgreSQL database server.
- pgAdmin 4 – Installs a PostgreSQL database GUI management tool.
- Command Line Tools – Installs command-line tools such as psql, pg_restore, etc necessary to interact with your PostgreSQL DB server using CLI.
- Stack Builder – Installs a GUI that enables you to download and install drivers that work with Postgres. You can choose to omit this as it is optional.
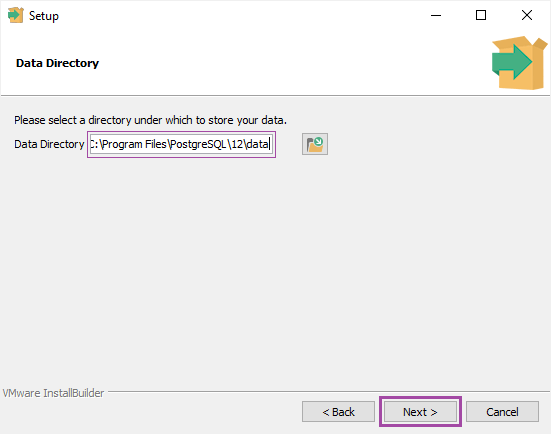
Step 4: Select your preferred database directory or stick to the default. Once you’re done click Next.
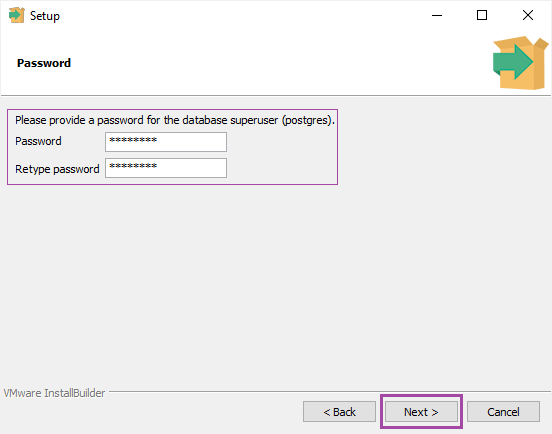
Step 5: Enter a password for the database superuser (postgres).
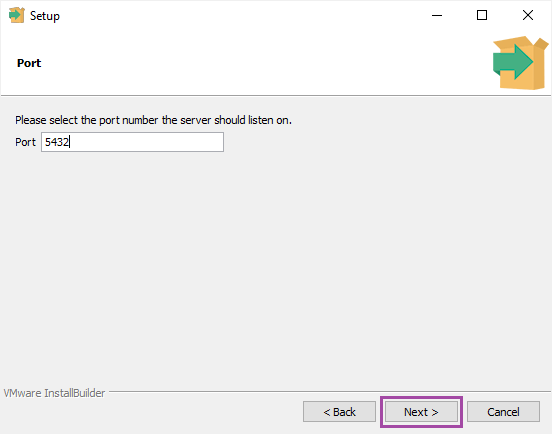
Step 6: Select a port that your PostgreSQL database will listen to. The default is set to 5432. Also, make sure no other applications are using this port.
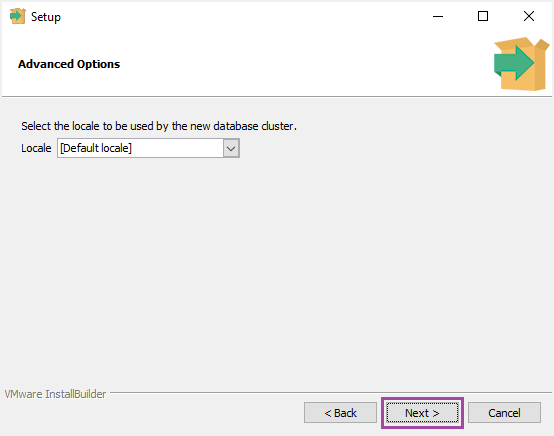
Step 7: Choose a locale for your database cluster. The default locale uses the operating system locale. You can stick to the default if you prefer.
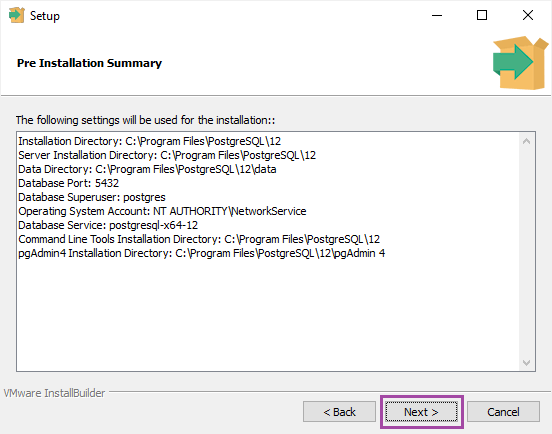
Step 8: You will now be shown a summary of your installation. Check if everything is as per your choice. Click Next if everything looks fine.
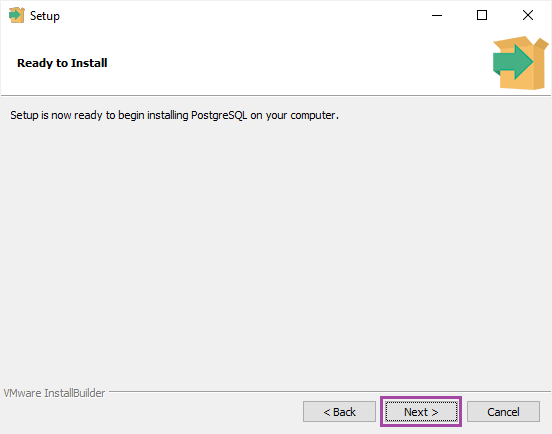
Step 9: Now if you are ready to install Postgres, click Next.
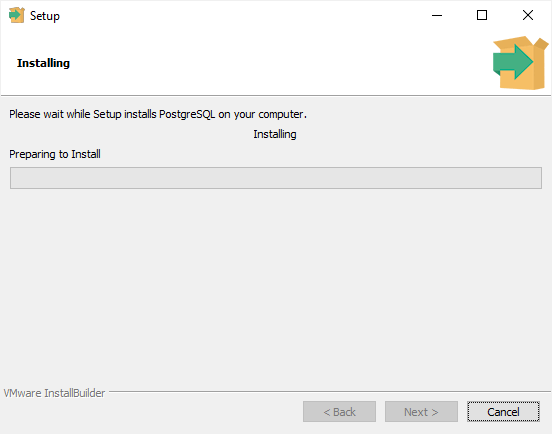
Wait for the installation to finish. It may take a few minutes to complete.
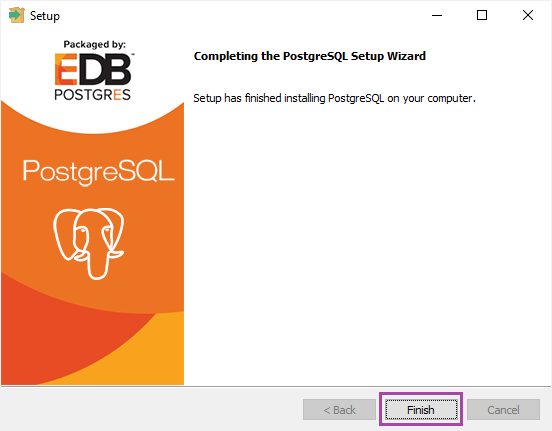
Step 10: Hit Finish once the PostgreSQL installation is complete.
4) Verify your PostgreSQL Installation
To quickly verify your installation, you can use the psql client.
Below are the steps to verify the PostgreSQL installation:
Step 1: Jump to your Start menu and look for the PostgreSQL 12 folder (the version number might vary depending on the PostgreSQL version you installed). Click the SQL Shell (psql) client and open it.
Step 2: Configure your local PostgreSQL account. You must enter the password in here that you created during installation.
Server [localhost]:
Database [postgres]:
Port [5432]:
Username [postgres]:
Password for user postgres:
psql (12.3)
WARNING: Console code page (437) differs from Windows code page (1252)
         8-bit characters might not work correctly. See psql reference
         page "Notes for Windows users" for details.
Type "help" for help.

postgres=#
Step 3: Finally, run the below command.
SELECT version();
If this returns a version, PostgreSQL is successfully installed on your system
Connecting Postgres with Node.js Using NPM
Now that we have the PostgreSQL database installed, let us move on to the next step of integrating Postgres with Node.js app.
This post assumes you have installed Node.js on your machine. If you haven’t, click here to learn how.
Below are the steps to setup Postgres with Node.js:
Step 1: Open your terminal or Command Prompt and create a project directory.
$ mkdir POSTGRES_NODEJS_APP
Step 2: To check if your directory is created by listing out the files and directories in your current directory, pass this command.
$ ls
If you found your newly created project directory name, simply jump to the next step.
Step 3: Change the directory to your project directory.
$ cd POSTGRES_NODEJS_APP/
Step 4: Initialised a Node.js Project using NPM.
$ npm init -y
Your package.json file should now be created and should look like this:
{
  "name": "POSTGRES_NODEJS_APP",
  "version": "1.0.0",
  "description": "",
  "main": "index.js",
  "scripts": {
    "test": "echo \"Error: no test specified\" && exit 1"
  },
  "keywords": [],
  "author": "",
  "license": "ISC"
}
Step 5: Create a JavaScript file for writing the code of Node.js.
$ touch index.js
Step 6: Install the ‘pgtools’ using NPM.
$ npm i pgtools
Check out NPM docs on pgtools dependency for additional information.
Step 7: Open the ‘.js’ file in an editor and set up a connection to the db, like this.
const pgtools = require("pgtools");
const config = {
  user: "postgres",
  host: "localhost",
  password: "some+random?password!",
  port: 5432
};

pgtools.createdb(config, "myFirstDb", function(err, res) {
  if (err) {
    console.error(err);
    process.exit(-1);
  }
  console.log(res);
});
In the above code, we first imported the “pgtools” module using require(), then we created a variable config, which is a configuration object to make a request to the local Postgres server and then passed it as a parameter to pgtools.createdb() function with the database name. This fucntion is async so we have specified a callback here. Inside the callback, we first checked for errors and then printed the response the function returns when connected to the database.
Step 8: Run the project by running the following command:
$ node index.js
The output should look like this:
Result {
command: 'CREATE',
rowCount: NaN,
oid: null,
rows: [],
fields: [],
_parsers: [],
RowCtor: null,
rowAsArray: false,
_getTypeParser: [Function: bound ]
}
Step 9: To check if your connection was successful, run the below command which is a shorthand for \list
$ \l
Now, look for your newly created database. If you find it, it means your DB was created and the connection was successful.
The output should look like this indicating a successful setup of Postgres with Node.js:
List of databases
Name | Owner | Encoding | Collate | Ctype | Access privileges
-----------+----------+----------+-------------+-------------+-----------------------
myFirstDb | postgres | UTF8 | en_PH.UTF-8 | en_PH.UTF-8 |
postgres | postgres | UTF8 | en_PH.UTF-8 | en_PH.UTF-8 |
Note: If you find any error, make sure the Postgres server is up and running in the background.
Conclusion
In this tutorial, we have learned the easiest ways to install and start using Postgres with Node.js. If you find it hard to work with Postgres, then check your project compatibility with MySQL, if yes then consider using it as its setup and the process of querying data is even easier and simpler, also it is more straightforward to learn.
Continue Reading:
References
- https://www.postgresql.org/ – PostgreSQL Official Documentation
- https://stackoverflow.com/questions/9205496/how-to-make-connection-to-postgres-via-node-js


