
New to Rust? Grab our free Rust for Beginners eBook Get it free →
Kill All Instances of a Node.js Process Using Command Line: A Beginner’s Guide

Have you ever been in a situation where the Node.js server gets stuck on a port, or there is an error message about the process already running? There is no need to stress, as these are regular kinds of problems. The best way to resolve such issues is to terminate all ongoing Node processes. We have a very straightforward yet strong command for doing the same: the ‘killall node‘ command. In this article, let’s discover more about this handy command line. We will also learn how to use it and discuss its advantages and disadvantages.
Why We Need to Terminate Node Processes
Before we get into using the “killall node” command, let’s understand what the need to use such a command is. Here, we have listed some of the reasons :
- When there is a need to update or restart a Nodejs application, it is always better to clean the instances and terminate all the running node processes to promote smooth shutdown and startup of the application.
- Whenever our Node.js processes consume more resources, such as a significant portion of CPU and memory, terminating the processes can help to free up resources.
- It also helps in error resolution or when there is a crash due to unexpected errors. When the Node.js processes are terminated, it cleans up the space and makes error detection and the restart of the application easier.
- If your Node.js application is doing something important, and you want to make sure it completes its task before stopping, you can use ‘kill’ to make it stop doing more work.
Stop All Instances of Node.js Using ‘killall node’ Command
The ‘killall‘ command is used in a Unix/Linux-based OS. It works to terminate or send a signal to all processes to stop. When we add ‘node’ to it, it becomes ‘killall node‘ meaning that it will kill and stop all the ongoing Node processes.
Example:
Consider a Node.js project having the following files:
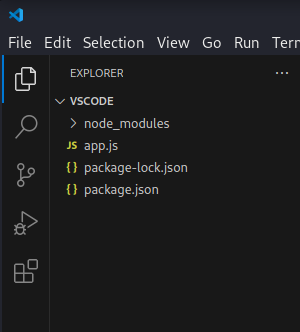
In the above, consider the app.js file with the following content:
const http = require('http');

const server = http.createServer((req, res) => {
  res.writeHead(200, { 'Content-Type': 'text/plain' });
  res.end('Hello and welcome to codeforgeeks, Let us learn to kill....node instances\n');
});

const PORT = 3000;
server.listen(PORT, () => {
  console.log(`Server is running on http://localhost:${PORT}`);
});
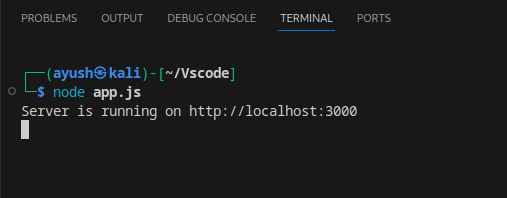
This code creates a simple HTTP server using Node.js. It listens on port 3000 and responds with a message when accessed through a web browser. The server logs a message indicating its running status to the console.

Now that we see that things are going well and are successful, let’s turn a little mischievous and have some fun killing.
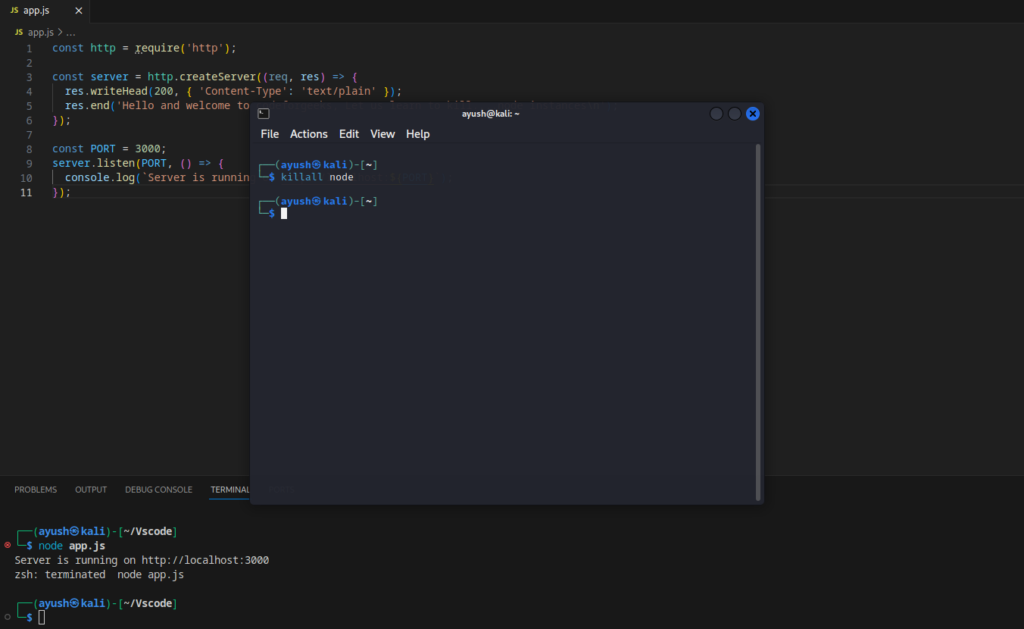
What we do next is open a new terminal or prompt screen and write the following command:
killall node
As soon as you run the given command, a termination signal is sent to all processes with the name “node” and all the node processes are killed. You may see below how:
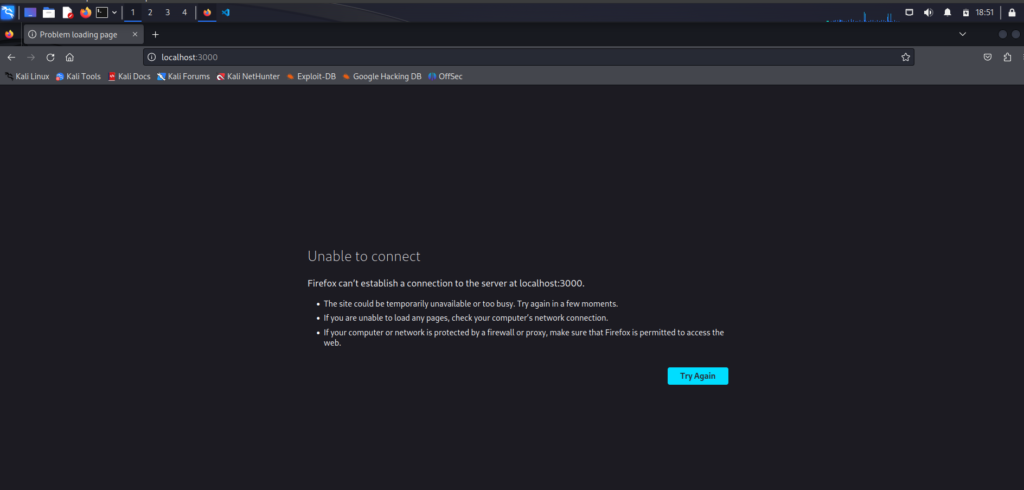
When we open the web server again, we see the message “Unable to connect”. This is because all the node processes are killed. This proves that our “killall node” was successful in clearing the node instances as the server has refused to connect.
Kill All Instances of a Node.js Process on Windows
Hey Windows users! We have something in store for you as well. Just like “killall node” in Linux, we have some PowerShell commands for Windows. Let’s learn how to utilize them using the same example file used above.
Open the terminal and switch from bash to PowerShell by just typing the word “powershell” in it. Then write the following command to list all the Node processes currently running:
Get-Process -Name "node" | Format-Table -AutoSize
In the displayed table, look for the Process ID of the node process you need to kill. The PID for the given example file is 8256. Then run the following command:
Stop-Process -Id 8256 -Force
Something like this:

Output:


Disadvantages of Killing Node Processes
- These commands abruptly terminate the processes, leading to sudden shutdowns of applications and leaving tasks incomplete, causing data loss.
- This sudden kill of process can also cause the loss of data which remains unsaved during this forced stoppage of execution.
- If your Node.js server is serving clients or handling network connections, forcefully terminating processes can lead to a poor user experience.
- You must not use this command very frequently, instead, you can use more controlled methods like process managers like PM2.
Conclusion
So now you know what to do if your port is stuck or an unnecessary process acts as a hurdle. A simple solution is to terminate or kill all those processes. I hope that the above showcase of killing commands for both Windows and Linux works for you. However, it’s better if you are cautious enough to acknowledge the disadvantages of doing it.
If you like this one, keep on reading and learning more such interesting concepts in Node.js like – Ignore node_modules Folder from Git Using .gitignore and Convert SVG to PNG Using Node.js & Sharp: A Detailed Guide
Reference
https://stackoverflow.com/questions/14790910/stop-all-instances-of-node-js-server


