Visual Studio is an IDE(Integrated Development Environment) from Microsoft available for Windows, macOS, and Linux to build web applications, ISO and Andriod Apps, Web Server, etc. It supports all popular languages and frameworks such as C, C++, C#, Python, JavaScript, etc.
Visual Studio has the required tools to create all types of NodeJS applications. Creating NodeJS Web Application in Visual Studio is easy than doing it manually in any other development environment. When you choose the ‘Blank Node.js Web Application’ option in Visual Studio, it will install the required packages, create essential files and generate a NodeJS boilerplate code for the Web Application. It can also run the application on the terminal in one click and automatically open it on a web browser, making the overall process super fast.
Step-by-Step Guide to Create NodeJS Web Application in Visual Studio
The easier way to install Visual Studio Community Edition is to download and run Visual Studio Installer, which will download and install Visual Studio with the selected development environment. Click here to download Microsoft Visual Studio to download the Installer.
Below is the Step-by-Step Guide to Creating NodeJS Web Application In Visual Studio:
Step 1: Run The Visual Studio Code Installer. You must find the ‘Node.js development’ option from the popup list.
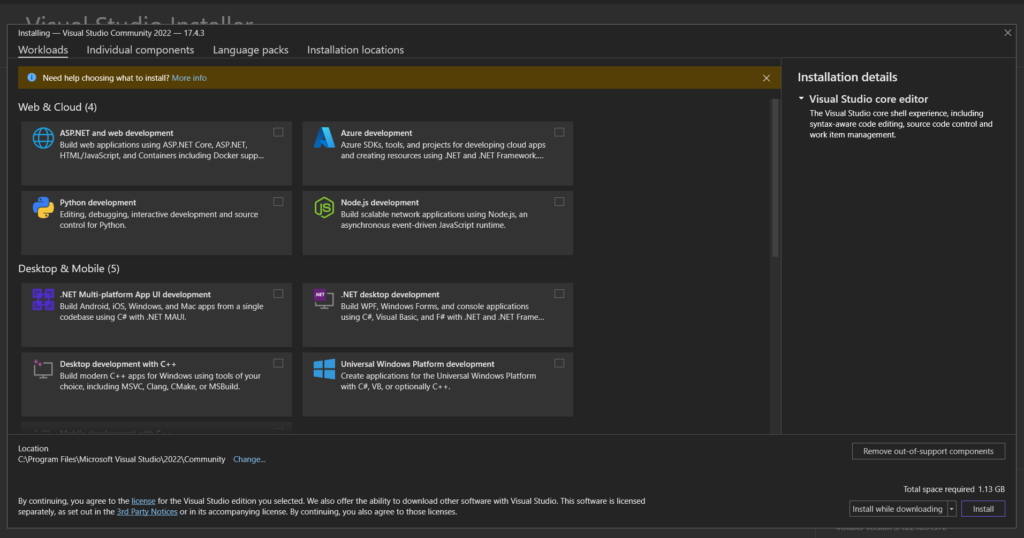
Step 2: Select ‘Node.Js development’, this will install the required tools to create the Node.js application.

Step 3: Click on the ‘Install’ button, if your internet is slow then change the option from ‘Install while downloading’ to ‘Download all, then install’.
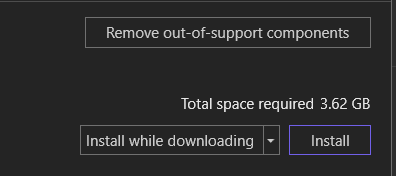
The Downloading of Virtual Studio Community 2022 will start.
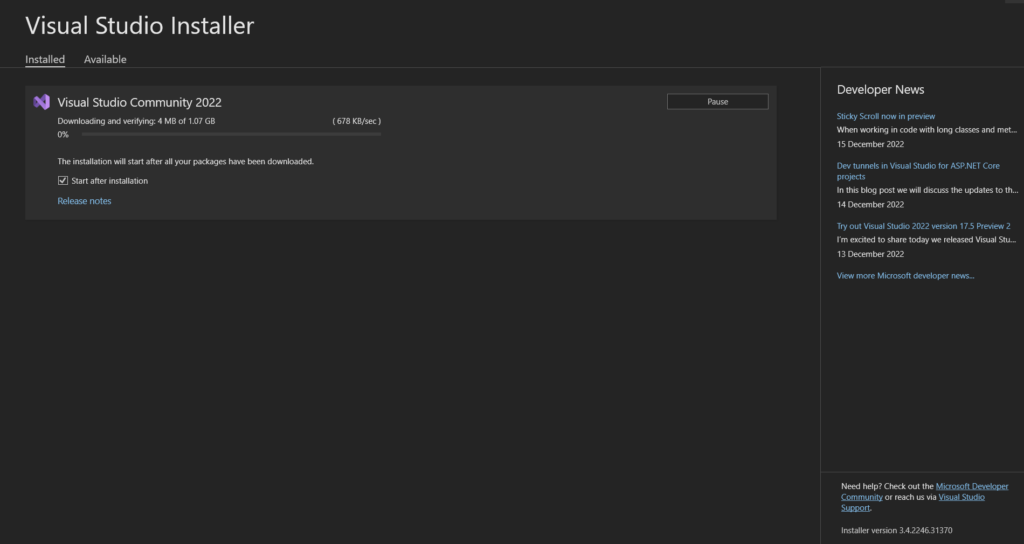
Once downloading is completed it will take some time to install the essential packages.

Once the installation is completed, the Visual Studio Community Version will open.
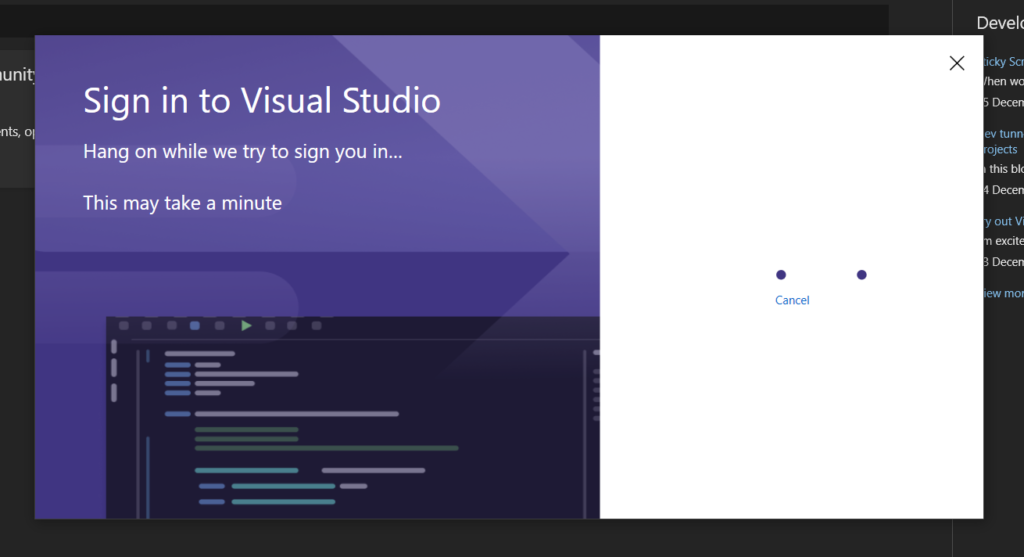
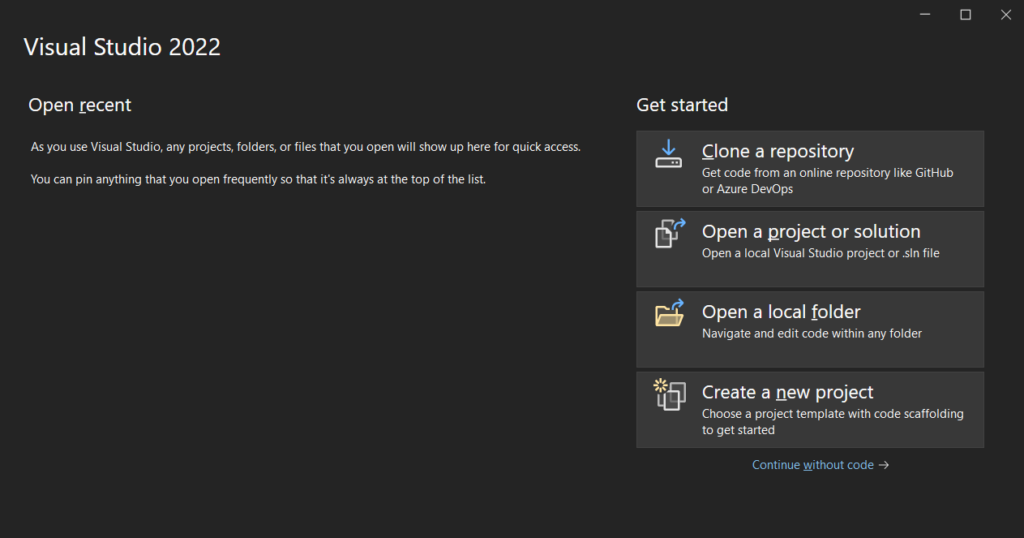
Step 4: Choose the ‘Create a new Project option from the right side menu.
Step 5: Search for Node.js, we have to find the ‘Blank Node.js Web Application’ option.
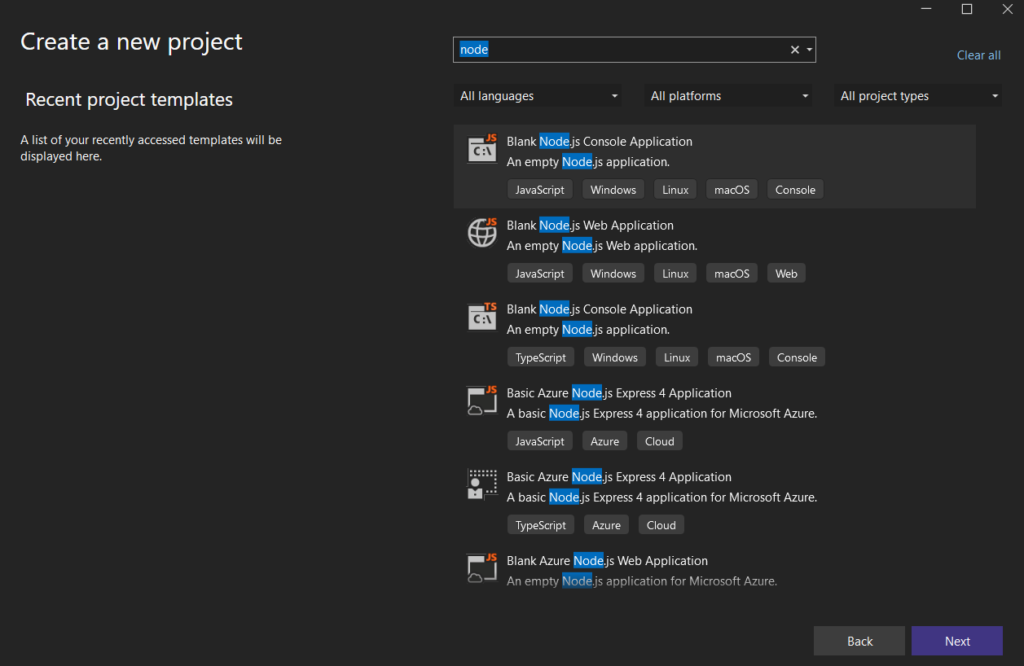
Step 6: Select the ‘Blank Node.js Web Application’ option and click on the next button in the bottom right corner.

Step 7: Enter The Name of the Application, for now, enter anything, you can change it later.
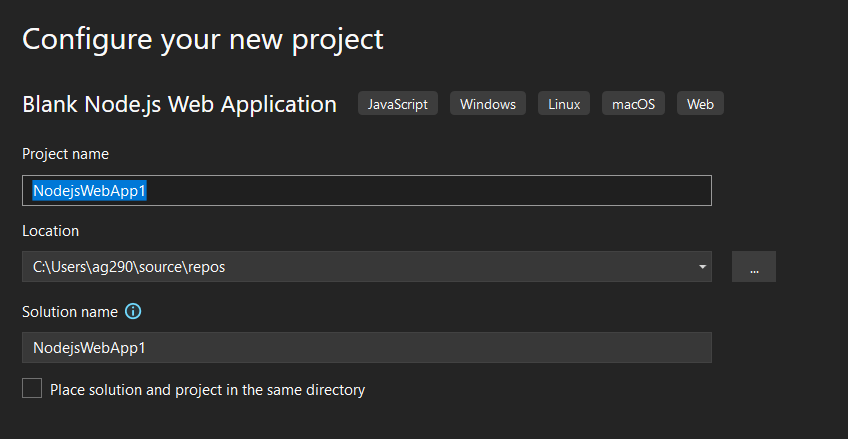
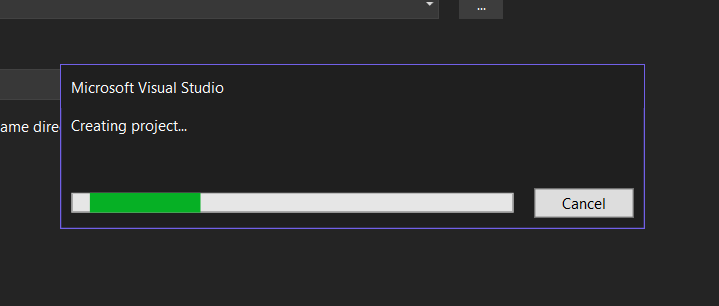
It takes some time to install the required dependency, you don’t have to initiate NPM manually, it will do it automatically.
Step 8: The project is open with an automatically generated Node.js Web Application code, the right side shows the project folder, if you are familiar with NodeJS, you have noticed that the NPM is already initiated, and a package.json file is created to track the dependency installed inside the project.
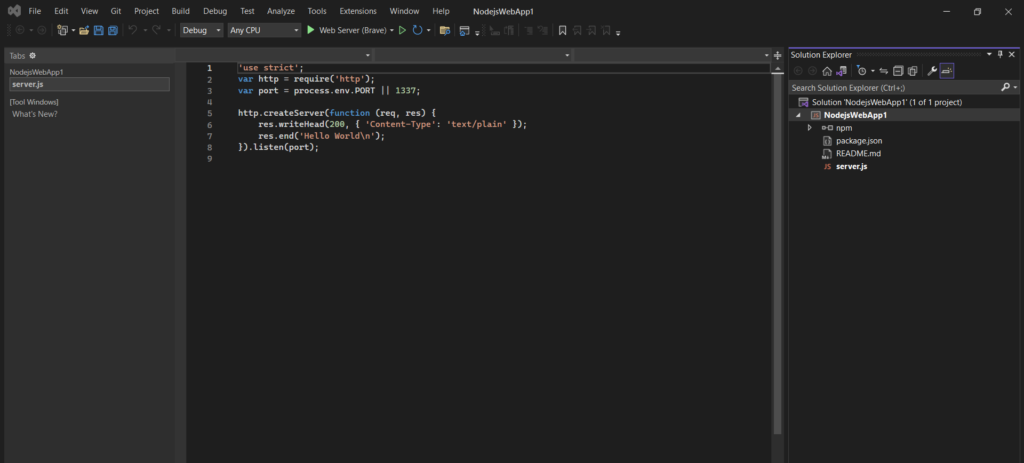
The generated code uses the ‘http’ web module to create a server for a web application, we have already covered this web module in another tutorial NodeJS Web Module: A Powerful Module for Web App Development, if you want to learn about it.
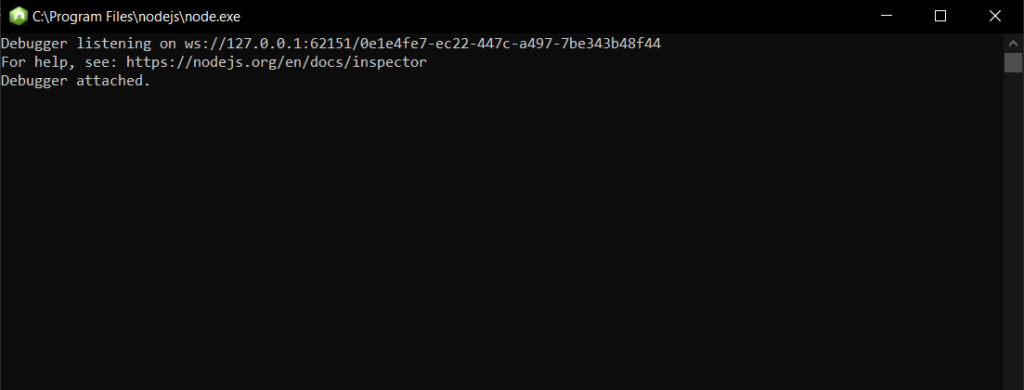
Step 9: Click on the ‘Web Server’ button with the browser name to open the application, it will automatically open the application on the browser and pop it, you don’t have to do it manually.

A terminal will pop up where you can find the listening post and look for the error if occurs.
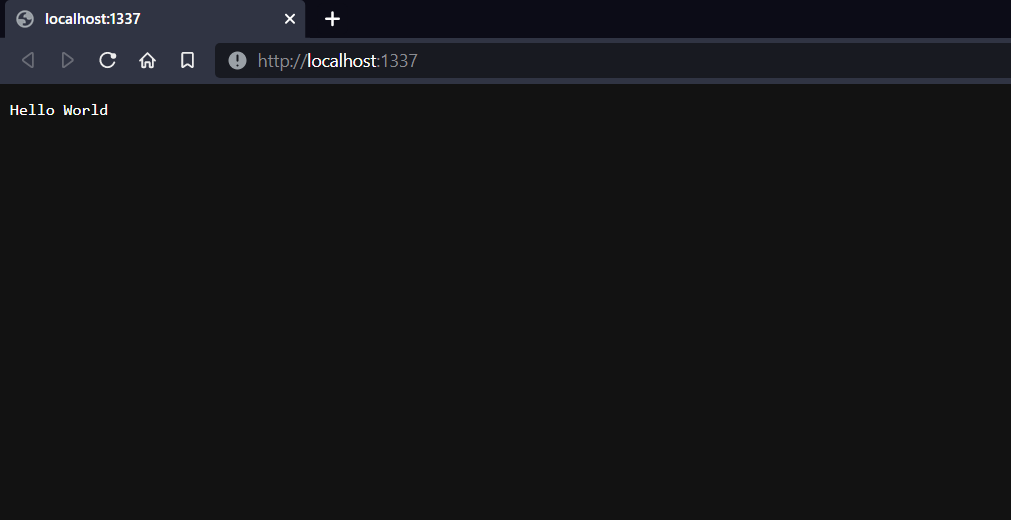
The application is successfully opened on the browser.
Summary
Visual Studio is an Integrated Development Environment from Microsoft that supports multiple programming languages to create different types of applications. Visual Studio makes it super easy to create a Web Application in NodeJS as it automatically initiates NPM, installs required packages, and generates a boilerplate code for the web server.
It also runs the application in open click in the terminal and opens it in the browser simultaneously to boost up the development speed. Hope this tutorial helps you to create NodeJS Web Applications in Visual Studio.
Reference
https://visualstudio.microsoft.com/downloads/

