
New to Rust? Grab our free Rust for Beginners eBook Get it free →
Download Files Using Node.js (Without Third-Party Libraries)

In this article, we are going to see how to download a file with Node.js without using third-party libraries. Node.js is a versatile runtime environment for server-side JavaScript development. One common task in web development is downloading files from the internet and saving them locally. In this comprehensive guide, we’ll explore how to download files with Node.js without relying on third-party libraries. We’ll cover the core concepts, provide a step-by-step example, and discuss best practices. But before diving deep into it let’s see some of the basics.
Key Steps in Downloading a File
Downloading a file with Node.js is essentially a two-step process.
1. Requesting the file
This is like asking a restaurant for a menu. You tell the web server (restaurant) where the file is (menu) and you ask for it. In technical terms, you initiate an HTTP request to a specific URL, effectively asking the web server hosting the file to provide it to you.
2. Saving the file
Once the web server (restaurant) gives you the file (menu), you save it as a copy on your computer. In technical terms, once you receive a response from the server, you save the response data to a local file on your system.
Step-by-Step Process for Downloading Files Using Node.js
Let’s now see the step-by-step guide to downloading a file with Node.js without using third-party libraries.
For this example, we’ll use Node.js to download a text file from a URL and save it locally.
Prerequisites
Before we dive into the code, it’s essential to ensure that Node.js is installed on your system. You can download Node.js from its official website nodejs.org. Once you have Node.js installed, you’ll have access to its extensive standard library, which includes modules for making HTTP requests, interacting with the file system, etc.
Step 1: Import Required Modules
In Node.js, you have access to a wide range of built-in modules. In our case, we’ll use two essential ones: https for making HTTP requests and fs for interacting with the file system.
const https = require('https');
const fs = require('fs');
Step 2: Specify the URL and Destination Path
Define the URL of the file you or someone else want to download and the local file path where you want to save it.
const fileUrl = 'https://example.com/path-to-your-file.txt';
const destinationPath = 'local-file.txt';
Replace ‘https://example.com/path-to-your-file.txt’ with the actual URL of the file you want to download and ‘local-file.txt’ with the desired local file path.
Step 3: Make an HTTP GET Request
Now, you’re ready to make an HTTP GET request to the file URL using the https.get method. This method returns a response object that you can work with.
https.get(fileUrl, (response) => {
    // Handle the response here
}).on('error', (err) => {
    console.error(`Error while downloading file: ${err.message}`);
    res.end(`Error while downloading file: ${err.message}`);
});
Step 4: Handle the Response
The response object contains information about the response from the server. To ensure that the request was successful, check the response’s status code. A status code of 200 indicates success. If the status code is 200, create a write stream to the local file and pipe the response data to it.
const file = fs.createWriteStream(destinationPath);
if (response.statusCode === 200) {
response.pipe(file);
file.on('finish', () => {
file.close(() => {
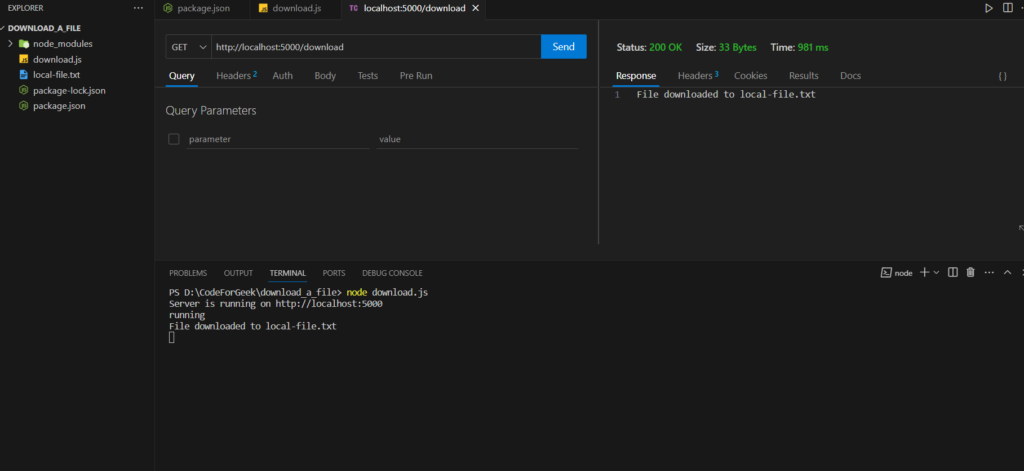
console.log(`File downloaded to ${destinationPath}`);
res.end(`File downloaded to ${destinationPath}`);
});
});
} else {
console.error(`Failed to download file. HTTP Status Code: ${response.statusCode}`);
res.end(`Failed to download file. HTTP Status Code: ${response.statusCode}`);
}
In this code, we create a write stream using the fs.createWriteStream method, specifying the path to the local file. Then, we use the response.pipe method to pipe the response data directly to the file stream. This approach efficiently saves the data as it arrives.
Finally, we listen for the ‘finish’ event on the file stream. When this event is triggered, it means that the file download is complete. At this point, you can close the file stream and log a success message. If the response status code is not 200, an error message is displayed.
Step 5: Handling Errors
It’s essential to handle errors gracefully. If there’s an error during the HTTP request or file saving process, the on(‘error’) callback is called, and an error message is logged to the console.
Complete Code
const https = require('https');
const fs = require('fs');
const http = require('http');

const fileUrl = 'https://loripsum.net/api/1/short/plaintext';
const destinationPath = 'local-file.txt';

const server = http.createServer((req, res) => {
    if (req.url === '/download') {
        console.log('running')
        const file = fs.createWriteStream(destinationPath);

        https.get(fileUrl, (response) => {
            if (response.statusCode === 200) {
                response.pipe(file);

                file.on('finish', () => {
                    file.close(() => {
                        console.log(`File downloaded to ${destinationPath}`);
                        res.end(`File downloaded to ${destinationPath}`);
                    });
                });
            } else {
                console.error(`Failed to download file. HTTP Status Code: ${response.statusCode}`);
                res.end(`Failed to download file. HTTP Status Code: ${response.statusCode}`);
            }
        }).on('error', (err) => {
            console.error(`Error while downloading file: ${err.message}`);
            res.end(`Error while downloading file: ${err.message}`);
        });
    } else {
        res.writeHead(404, {
            'Content-Type': 'text/plain'
        });
        res.end('Not Found');
    }
});

const port = 5000;

server.listen(port, () => {
    console.log(`Server is running on http://localhost:${port}`);
});
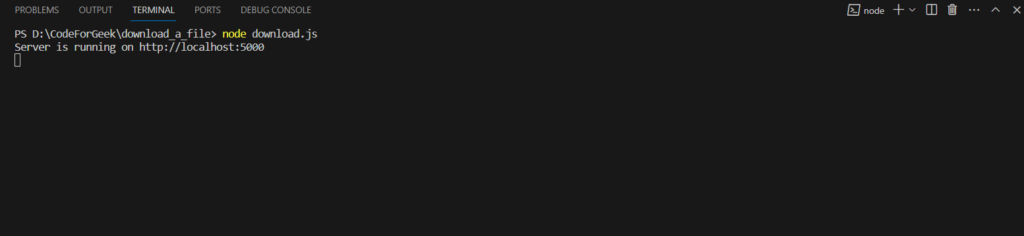
Running the code:
To run this code, save it in a .js file (e.g., download.js) and execute it using Node.js.
node download.js
Make sure to replace download.js with the actual filename you’ve chosen for your script.
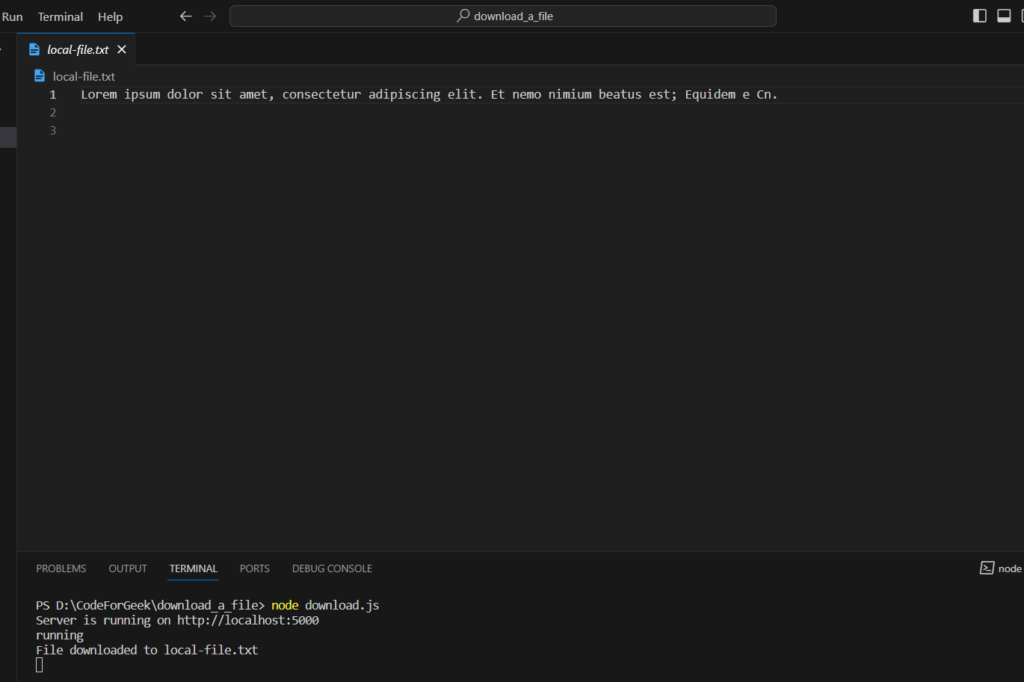
Outputs:
Best Practices for Downloading Files Using Node.js
Below are some best practices for downloading files in Node.js.
1. Error Handling
Always implement robust error handling to account for various scenarios, such as network issues, file system problems, and unexpected responses from the server.
2. Asynchronous Code
The code provided in this guide is asynchronous, which is essential for I/O operations like downloading files. Make sure to grasp the concepts of callbacks, promises, or async/await to handle asynchronous operations effectively.
3. Content Types
Be aware that the content type of the file you’re downloading may affect how you handle and process the data. Some files may require parsing or decoding based on their content type.
4. Testing
Before deploying code in a production environment, thoroughly test it with various URLs and file types to ensure its reliability and correctness.
Conclusion
Now we have reached to the end of this article. Hope it has elaborated on ‘How to download a file with Node.js without using third-party libraries’. Downloading files with Node.js is a fundamental task in web development. With Node.js’s built-in modules, you can easily initiate HTTP requests, handle responses, and save files locally. For more such articles on Node and Express follow https://codeforgeek.com/.
References
- https://stackoverflow.com/questions/11944932/how-to-download-a-file-with-node-js-without-using-third-party-libraries
- https://gist.github.com/gkhays/fa9d112a3f9ee61c6005136ebda2a6fd


