New to Rust? Grab our free Rust for Beginners eBook Get it free →
Deno Tutorial – Concepts, Installation and Sample Code

Deno is a JavaScript/Typescript runtime framework. Deno ships security and modern JavaScript features inbuilt to provide a great developer experience.
Before we proceed ahead with the article, let me say out loud a hype that is going around in the developer community.
Deno is similar to Node and at this stage is NOT a replacement of Node.
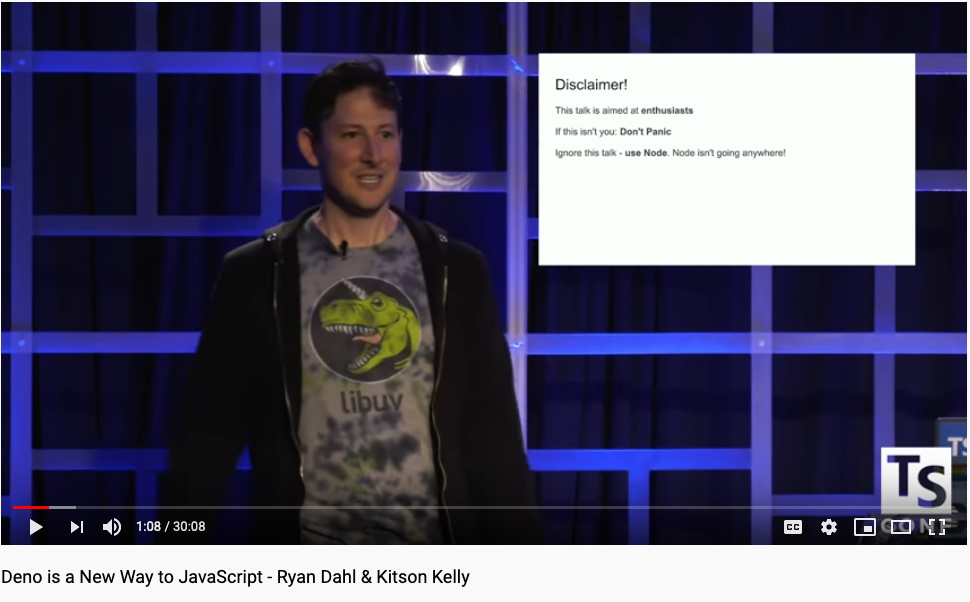
Don’t take my word for it, see what Ryan (Creator of Node and Deno) has to say about it.
So to clear out the doubts and hype,
Is deno a replacement of Node in production? NO
Is deno an alternative of Node in production? NO
Should we learn Deno as an alternative to Node? Sure
With that said, let’s check out Deno.
Features of Deno
According to the official website, Deno provides the following features out of the box.
- It’s built on V8, Rust and Tokio ( Rust runtime for writing Async operations ).
- Secure by default.
- Ships a single executable file.
- Supports modern JavaScript.
- Supports typescript out of the box.
- Uses ES modules.
Deno does not use NPM or node modules to manage the packages. Instead, we link third party packages using browser compatible URL.
Installing Deno
If you are using a Mac or Linux based system. Open your terminal and copy/paste the following command to install Deno.
curl -fsSL https://deno.land/x/install/install.sh | sh
If you are using Windows OS, just open the power shell and run this command.
iwr https://deno.land/x/install/install.ps1 -useb | iex
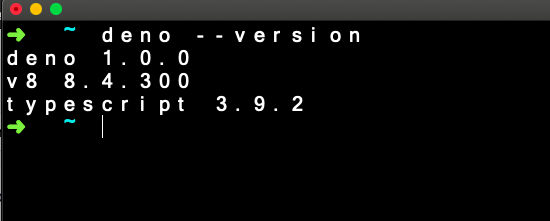
Once installed, you can verify the installation by running the following command.
deno --version
Let’s run our hello world program. Copy the command shown below and run it in your terminal.
deno run https://deno.land/std/examples/welcome.ts
You should see the following response.
Welcome to Deno ?
As mentioned earlier, Deno produces a single executable file that can be run/import using the browser compatible URLs.
Permissions in Deno
Deno by default does not provide access to file system, network. You need to need to explicitly specify the permission you need to run your program.
Let’s learn it by building our first web server in Deno.
HTTP Server in Deno
Here is the example application from the Deno website.
import { serve } from "https://deno.land/std/http/server.ts";

const s = serve({ port: 3000 });

console.log("http://localhost:3000/");

for await (const req of s) {

  req.respond({ body: "Hello World\n" });

}
In the first line, we are importing an HTTP server code from the URL. We don’t have to do typical npm install to install any modules.
In the second line, we are creating a server and providing a port in the configuration.
Then, we are running a loop to serve requests coming from the browser.
One thing to notice here is that we are using await without wrapping it in async. Deno provides top level await functions.
Save the code in the file with .ts extension. To run it, use the following command.
deno run app.ts
Deno will download the module and compile the typescript. But it will throw an error.
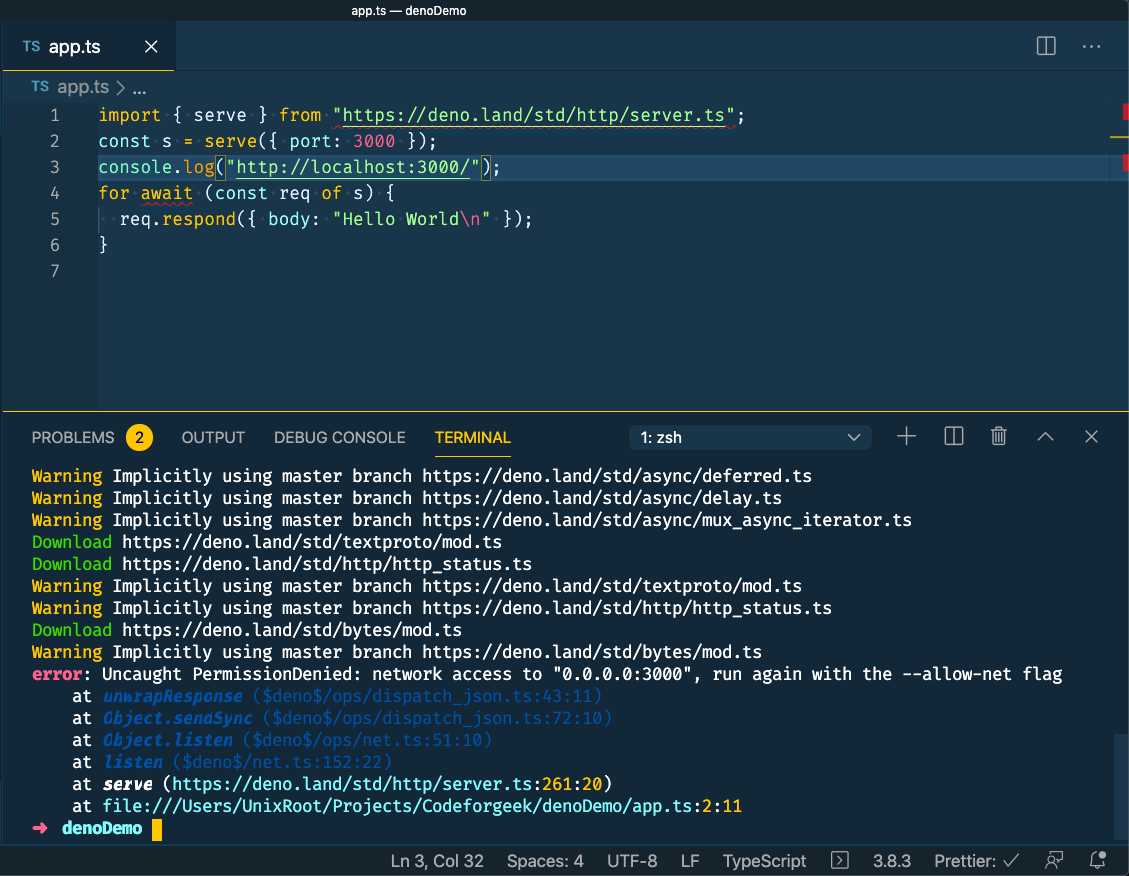
As I said, we need to provide permission to the program to access the network ports in the system. Run the command again with the following flag.
deno run --allow-net app.ts
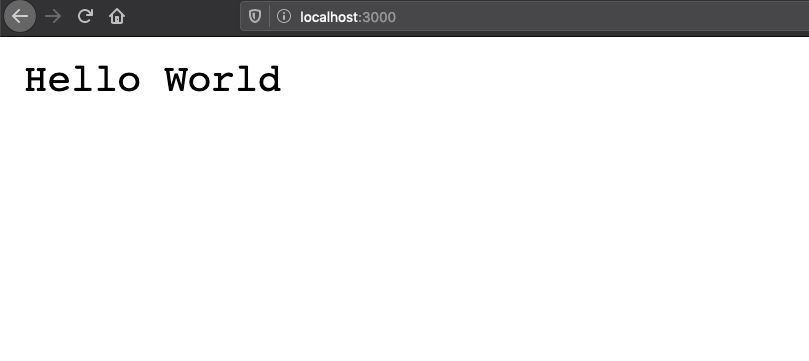
Now open your browser and navigate to localhost:3000, you should see a message in the browser.
Here are the flags that allow Deno to allow permissions:
- –allow-env allow environment access
- –allow-net=
allow network access - –allow-plugin allow plugins access
- –allow-read=
allow file system read access - –allow-run allow running subprocesses
- –allow-write=
allow file system write access - –allow-all allow all permissions
Deno loads the modules once from the URL and cache it in your system. To reload the modules again, you need to provide –reload flag before running the program.
deno run --reload --allow-net app.ts
Deno Standard modules
Deno provides rich set of standard modules. You can check out all of them here.
I am going to list a few frequently used modules here.
— datetime – date/time parsing module.
— fs – file system module.
— http – http server.
— hash – crypto module.
— uuid – generating random unique id module.
Deno third party module
You can find all the third party modules listed here.
Building a simple web app
We can use third party application like aqua to build a web server.
Consider the code below.
import Aqua from "https://deno.land/x/aqua/aqua.ts";

const app = new Aqua(3000);
app.get("/", (req) => {
return "Hello, World!";
});
Looks familiar? This is how we write code in Express-based web application.
Run the code.
deno run --allow-net app.ts
Visit localhost:3000 to view the application.
Summary
Deno is fun, I must say that. Simplicity is baked in the architecture of Deno hence it’s effortless to get started and write a program.
We are going to write a few more articles on Deno to cover other aspects of web developments. Stay tuned.