New to Rust? Grab our free Rust for Beginners eBook Get it free →
Using FeathersJS To Access MariaDB With Minimal Coding Part I

Simple CRUD Example Using FeathersJS And Sequelize, Part I
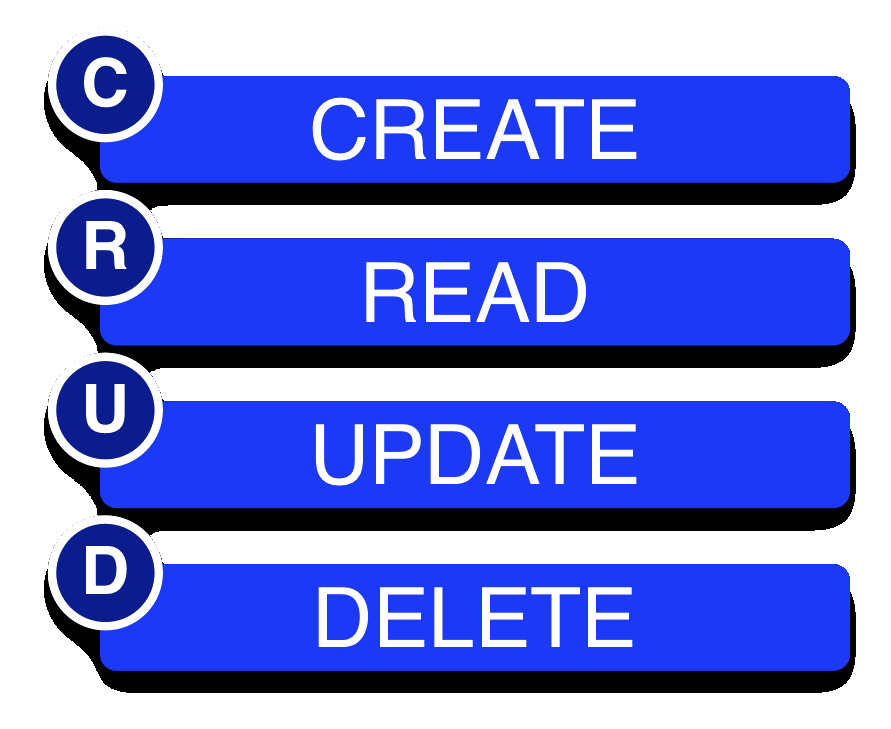
This is the first article of a three-part series. This series of articles will focus on building a complete CRUD interface. The reader is encouraged to optionally install Postman and simulate the same steps using a REST interface.
NOTE: I am bypassing all login security for the sake of simplicity. FeathersJS has excellent security features which are very easy to install and this subject was thoroughly covered in my previous article.
All steps in this three-part article series could be accomplished by referencing Github FastFeathers project sql-tiny. However, the reader is encouraged to follow the steps outlined as a learning experience.
Article Two Of The Three-part Series
Article Three Of The Three-part Series
INTRODUCTION
In my last article, I demonstrated how FeathersJS can be easily used with a combination of other technologies to create a spreadsheet-like interface for any relational database supported by Sequelize (in fact, we can use any DB supported by feathersJS).

As a recap, you may think of FeathersJS as a complete framework which binds the versatility of Sequelize with the simplicity of Socket.io. Of course, you are not required to use either of these, as FeathersJS continues to add more database interfaces and network access. But for our purposes here, we will stick with just Sequelize and Socket.io.
This article focuses on how unbelievably simple it is to create a FeathersJS application, and more importantly, to interact with your new application using CRUD. In fact, FeathersJS is so simple that our end result does not even have a website interface! For point of illustration, the reader will be required to cut-paste a few javascript code lines right into their console to interface with the FeathersJS app.
Also, this article will illustrate using the FeathersJS command line interface (CLI), to even make this project even easier still.
PREREQUISITES
— network access to a database which should be accessible like this:
mysql://myDbUserName:[email protected]:3306/myDbTable
I used the following SQL to create the table and to satisfy the column requirements of Sequelize:
CREATE TABLE testConnect
( name VARCHAR(30) NOT NULL
, address VARCHAR(30) NOT NULL
, createdAt DATETIME NOT NULL    ## required sequelize column
, updatedAt DATETIME NOT NULL    ## required sequelize column
, id TINYINT(3) UNSIGNED NOT NULL AUTO_INCREMENT ## required sequelize column
, PRIMARY KEY (`id`)
);
Optionally, you can simply allow Sequelize to create a default table for you with the same columns as above. The only difference will be a ‘text’ column name in place of the ‘name’ and ‘address’ column as I am demonstrating, but this is not a realistic situation. Also, selecting this option is not very entertaining.
— a server, preferably one with network access. A local computer could be used, but this will be more educational to use one across a network
— a Chrome browser or equivalent
— a sense of curiosity and adventure
SERVER CREATION

NOTE: you may or may not be required to use ‘sudo’ as a prefix for these initial commands, depending on your installation.
Step One: (Optional step) Let’s get your server current.
sudo yum --assumeyes update ; ## Optional, but usually a good practice
Step Two: If a current version of Node.js (v8) is not already installed, do so now:
sudo curl --silent --location https://rpm.nodesource.com/setup_8.x | sudo bash - ;
sudo yum install --assumeyes nodejs ;
node --version; npm --version ; ## Its best to make sure node and npm are properly installed
Step Three: Install FeathersJS on your server:
sudo npm install --global @feathersjs/cli ; ## https://google.com/feathersjs/cli
which feathers; ## my feathers is installed at /usr/bin/feathers
feathers --version ; ## again optional, but usually a good idea
Ok, now our environment is fully configured to create an actual FeathersJS application, which is our next step. All the remaining steps will be done with both your favorite text editor (which is Vim of course) and the FeathersJS command-line interface (CLI).
Step Four: Create a FeathersJS application by accepting all the defaults:
feathers generate app ; ## I usually just accept the defaults for all the questions
Would you believe we actually have a working application now? Optionally, try running the following two commands:
npm test ; ## optional
npm start ; ## optional
Notice the following line is displayed after starting the application:
info: Feathers application started on http://localhost:3030

Hopefully, you are running over a network so we can expand the application rather than using just “localhost”, which is boring. Using a text editor, edit the ./config/default.json file, and replace the word “localhost” with your server external IP number. If you are not sure what your IP number is, enter:
ip addr;
to get your IP number. If you are using the Google Cloud Platform, your external IP number is either available on the console configuration page, or you can do this:
dig +short myip.opendns.com @resolver1.opendns.com. ; ## assuming that bind-utils is installed
Now enter npm start; and open Chrome and navigate to that IP address at the 3030 port, such as http://123.123.123.123:3030.
You should see the initial default FeathersJS welcome page:

Now the real fun begins. It’s now time to add a database “service” to our simple app.
Step Five: Create a FeathersJS service by using the following steps:
feathers generate service ; ## you will be prompted with several questions
The following questions will be asked. Again, I am choosing MariaDB
- Select Sequelize (three down arrows)
- I entered ‘tiny-connect’ as the name of service
- Which path should the service be registered on? (/tiny-connect) accept default
- Which database are you connecting to? MariaDB (MySQL) [one up arrow]
- What is the database connection string? (use network DB string from above)
This is a good time to find your model.js file and to modify it to describe which type of database table you want to interface with. You do have a rather interesting option here. This step may be skipped and let FeathersJS describe the table for you, which means a rather boring two-column database table with a column “text”. It would be better to go into the model.js file, named ./src/models/SERVICENAME/model.js and add the appropriate column names and types. SERVICENAME will be whatever you specified in the last generate step. In my example, the file name is tiny-connect.model.js.
So, let’s manually edit ./src/models/tiny-connect.model.js and change the following:
replace:
text: {
    type: DataTypes.STRING,
    allowNull: false
}
with:
name    : { type: DataTypes.STRING, allowNull: false },
address : { type: DataTypes.STRING, allowNull: true },
}, { tableName : 'testConnect' ,
Notice I specified the table name testConnect, rather than allowing Sequelize to name the table for me.
Step Seven (optional)

I feel that feedback is very important, especially positive feedback after you are done reading this article. During development, let’s tell Sequelize to give us all feedback, and not just error messages. Manually edit ./src/sequelize.js and change the line:
logging: false,
to:
logging: true,
Step Eight (optional)
Go look in your ./config/default.json file and double-check the database connection. Personally, I find it very useful to manually connect to the database using the operating system command-line, just to make sure there are no password issues, firewall, etc.
Step Nine: Start the final application:
npm start; ## start the application
Notice the status line with your new IP number:
info: Feathers application started on http://###.###.###.###:3030
Navigate to this webpage and ensure it opens to the default FeathersJS welcome page:

Also, notice that Sequelize gave us a nice status message if we specified logging to be true:
Executing (default): CREATE TABLE IF NOT EXISTS `testConnect`

(`id` INTEGER NOT NULL auto_increment , `name` VARCHAR(255) NOT NULL

, `address` VARCHAR(255), `createdAt` DATETIME NOT NULL

, `updatedAt` DATETIME NOT NULL

, PRIMARY KEY (`id`)

) ENGINE=InnoDB;

Executing (default): SHOW INDEX FROM `testConnect`
Would you believe that we have just created a working CRUD interface? This probably took under five minutes, not including the node installation and the optional steps.
INTERFACING WITH THE SERVER
“Wait, where is the code to talk to our server?” you are asking me. Well, there is only a few lines of code, so for point of illustration, let’s just manually enter the code using copy-paste. Open up the chrome console by right-click-inspect anywhere on the feathers default page, or show off your technical prowess by entering CTRL-SHIFT-i.
The remaining steps will simply be copy-pasted into the console.
Step one: Load in the necessary javascript libraries:
[ '//cdnjs.cloudflare.com/ajax/libs/socket.io/2.0.4/socket.io.js'
, '//unpkg.com/@feathersjs/client@^3.0.0/dist/feathers.js'
].forEach( (src) => {
    let script = document.createElement('script'); script.src = src; script.async = false;
    document.head.appendChild(script);
});
YES, we could have simply modified the index.html file, but following this procedure is more amusing.
Step two: Create our client-side app:
const app = feathers();
Step three: Create our socket:
const socket = io();
Step four: Bind our new socket to our FeathersJS app:
app.configure(feathers.socketio(socket));
Notice that FeathersJS merely required an entire three lines of jScript code (and 88 keystrokes) to connect with our FeathersJS server (not including the script library files)!
Step five: Entering our create row promise function.
FeathersJS relies heavily on promises (welcome to ES5-2018, by the way). Therefore, we will need a function that returns a promise that creates a new database record for us.
async function createTiny(name, address) { /* create(POST) */
let createResult
      = await app.service('tiny-connect').create({ name: name, address: address });
    console.log('createTiny function result: ' + JSON.stringify(createResult) );
    return createResult;
};
Step six: FINALLY! Lets see this thing in action.
Ok, if you have persevered through this long and lengthy, agonizing procedure (sarcasm intended), it’s now time to put these few lines of code into action:
createTiny('Mark Edwards', '123 Swallow Lane').then((value) => { /* create(POST) */
    console.log('createTiny: ' + JSON.stringify(value));
});
As unbelievable as this sounds, you have just used a minimal amount of javascript code, all running locally I should add, to insert a new database row over a network. Notice that much of the code is really just to satisfy our insatiable curiosity. Skeptics are encouraged to go back to where your database is hosted and of course double-check the results. Non-skeptics may want to as well.
“I want more”, you are screaming. “You promised me full CRUD”. Yes, I completely understand. Patience please. Part one only covers the ‘C” of CRUD (create). The next article will complete the acronym.

