New to Rust? Grab our free Rust for Beginners eBook Get it free →
Setting Up Rust Development Environment
To set up Rust on your computer, install Rust using rustup, which includes the compiler (rustc) and build tool (cargo). Use cargo new to create your first project, and run it with cargo run. For the best experience, use Visual Studio Code with the rust-analyzer extension.
Rust Learning Path
- Introduction to Rust
- Setting Up Rust Development Environment
- Your First Rust Program
- Variables and Mutability in Rust
- Constants and Immutability in Rust
- Type Annotations and Inference in Rust
- Variable Shadowing and Scope in Rust
- Rust Primitive Data Types
- Working with Strings in Rust
- Every Operator in Rust Explained
- Tuples in Rust
- Arrays and Slices in Rust
- Rust Decision Making: if & match
- Loops in Rust
- Reading Input from the Console in Rust
- Mastering Rust Functions (For Beginners)
- Understanding Ownership in Rust
- Borrowing and References in Rust
- Copy Types vs. Move Semantics in Rust
- Cloning Data in Rust
- Methods and Associated Functions in Rust
- Enums: Defining Variant Types in Rust
- Pattern Matching with Enums in Rust
- The Option Type: Null Safety in Rust
- Error Handling with Result
- Unrecoverable Errors in Rust
- Organizing Code with Modules in Rust
- Cargo Basics: Rust Package Manager
- How to Use External Crates in Rust
- Debugging Rust Compiler Errors
- Writing Comments and Documentation in Rust
- Code Formatting and Linting with rustfmt and clippy
- Rust vs JavaScript
If you are ready to start coding in Rust, the first step is to set up the development environment. In this post, I will walk you through installing the Rust toolchain, using the package manager, and choosing the right code editor. By the end, you will be ready to write and run your first Rust program.
Rust uses a command-line installer called rustup, which sets up everything you need: the compiler, the package manager, and helpful tools. You can write Rust on any major operating system including Windows, macOS, and Linux.
What Tools Do You Need to Write Rust?
To develop in Rust, you need three main tools:
- rustc – The Rust compiler. It turns your code into a fast, executable binary.
- cargo – The package manager and build tool. It helps you create projects, build them, manage dependencies, and run your code.
- rustup – The installer and version manager for Rust.
You also need a code editor. Many Rust developers use Visual Studio Code with the Rust plugin, but you can use any editor that supports Rust.
How to Install Rust
Visit the official Rust website: https://www.rust-lang.org
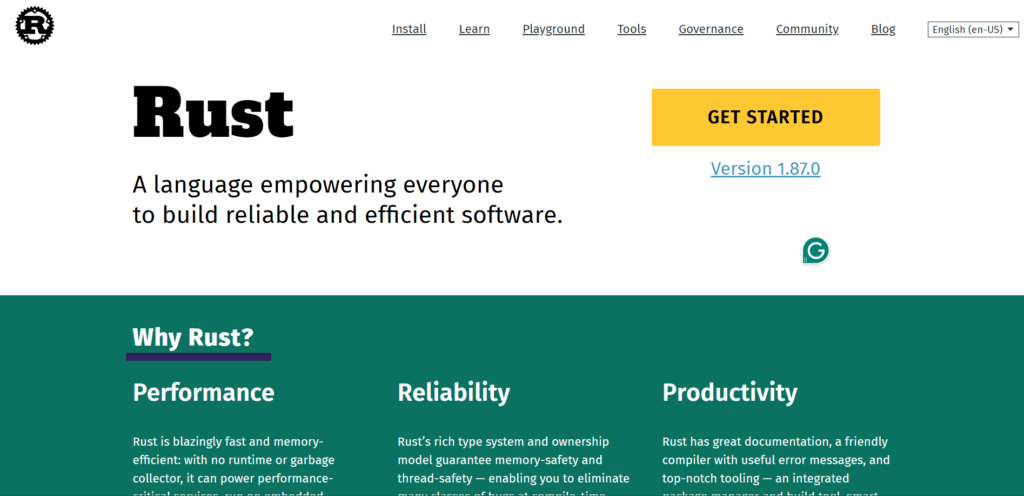
Click the Install button. It will show you a command like this:
curl --proto '=https' --tlsv1.2 -sSf https://sh.rustup.rs | sh
This command downloads and runs the rustup installer. If you are on Windows, use the installer file linked on the same page. Follow the steps in the terminal. The default settings are safe for most users.
When it finishes, run this to check if Rust is installed:
rustc --version
If you see the version number, Rust is now installed. You can also check cargo:
cargo --version
This confirms that your compiler and build tool are ready.
What Is rustup and Why Does It Matter?
rustup is more than just an installer. It lets you manage Rust versions and update tools. Rust updates often, and rustup makes it easy to stay current. To update Rust at any time, run:
rustup update
You can also use it to switch between different toolchains if you ever need that.
Choosing a Code Editor for Rust
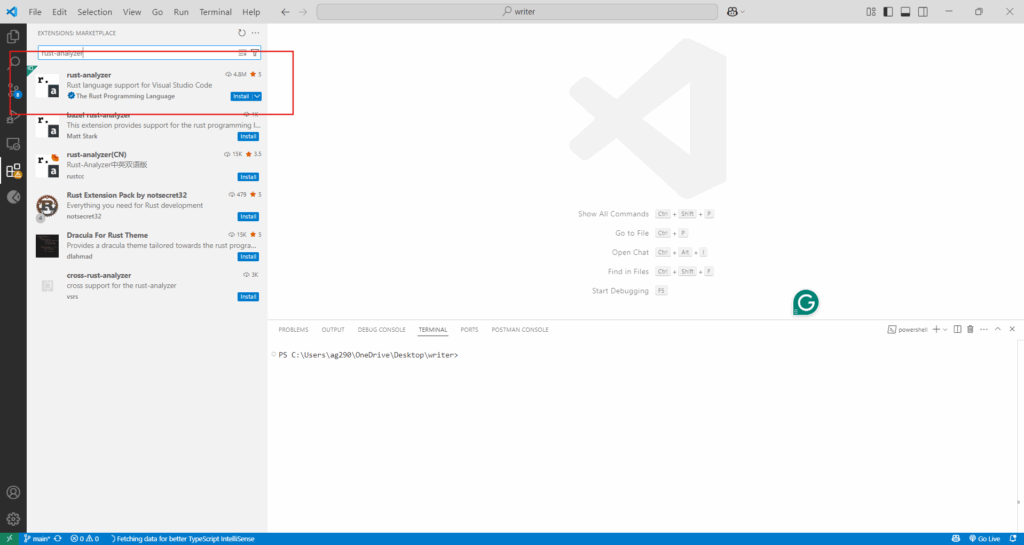
I recommend using Visual Studio Code (VS Code) with the rust-analyzer extension. It gives you syntax highlighting, code completion, error messages as you type, and more.
To install it:
- Open VS Code
- Go to Extensions
- Search for rust-analyzer
- Click Install
Once it is installed, open any Rust project and the extension will activate.
Your First Rust Project
Now that you have Rust installed, it is time to create your first project using cargo.
Open your terminal and run:
cargo new hello_rust
This creates a new directory named hello_rust with the following structure:
cssCopyEdithello_rust/
├── Cargo.toml
└── src/
    └── main.rs
- Cargo.toml is the configuration file for your project. It defines the project name, version, and dependencies.
- src/main.rs is the main source file. It already contains a basic program that prints “Hello, world!”
To run the program, move into the folder and use cargo run:
cd hello_rust
cargo run
You should see:
Hello, world!
This means everything is working. You have created and run your first Rust project.
Optional: Configuring Your Editor
If you want to make writing Rust smoother, here are some extra steps you can take:
- Enable format on save in your editor. Rust has a standard style enforced by rustfmt. Run rustup component add rustfmt if it is not already installed.
- Install clippy for catching common mistakes. Use rustup component add clippy and run cargo clippy to lint your code.
These tools help you write clean, idiomatic Rust from the start.
Summary
To write Rust, you need to install rustup, which includes cargo and rustc. Use cargo to create and run projects, and use rust-analyzer in VS Code for a smooth development experience. Once set up, you can run your first program in just a few minutes.
In the next post, we will look at that Hello, world! example in detail. I will explain what each part of the program does, so you can understand the structure of a basic Rust application. If you are new to programming in Rust, it will help you feel more confident writing your own code.