New to Rust? Grab our free Rust for Beginners eBook Get it free →
Upgrade Your Raspberry Pi to a Powerful Web Server
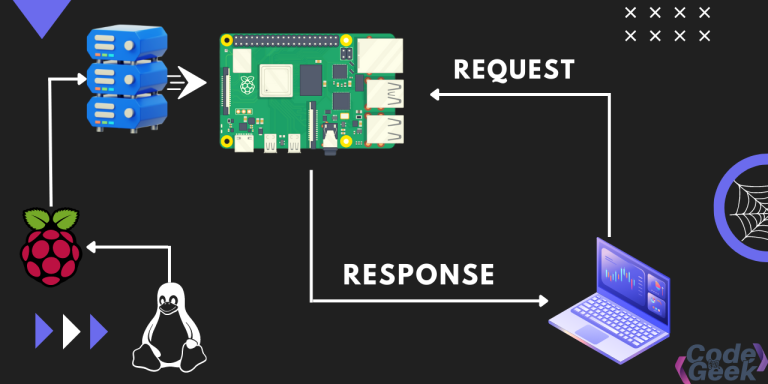
Raspberry Pi is a pocket-size computer that behaves just like a desktop computer and can be connected to a display, keyboard, and mouse. Being small yet powerful, pi is capable of much more powerful tasks than a desktop computer like home automation, theft detection, virtual assistant, etc., and a powerful web server. The role of servers is to simply display the website as a response to the user’s request. We will use a service called dataplicity for achieving our tasks.
Hosting a website or a project is a very crucial phase of any project. Because you present your work in front of the users. And you want it to be efficient and fast for them at the same time. There are many free/paid web hosting services. But do you have full control over those servers? Imagine having your own server right beside the computer you are reading this article on. We can achieve this by installing/upgrading a raspberry pi into a web server.
Also read: Using Raspberry-Pi To Solve a Networking Issue
Prerequisites
We need a raspberry pi for this tutorial. It’s great if you have or you can simply buy it on their official website or Amazon as it is very cheap compared to other computers or servers. Additionally, you will need a monitor, mouse, keyboard, and a memory card of at least 8 GB.
If you are willing to install a headless PI then you will simply need a memory card and an ethernet connection. Headless pi means we communicate with it via SSH (Secure Socket Shell) and any other devices like keyboard, etc are not required. A basic understanding of the Linux command line will do.
Setting Up Your Raspberry Pi
For a computer to work, you need an operating system. An operating system is an interface between the user and the computer hardware. The normal OS doesn’t work with Pi because of the ARM architecture. And RPi only runs with Linux. There are many third-party Linux distributions but I recommend you to install the official RPi OS from here.
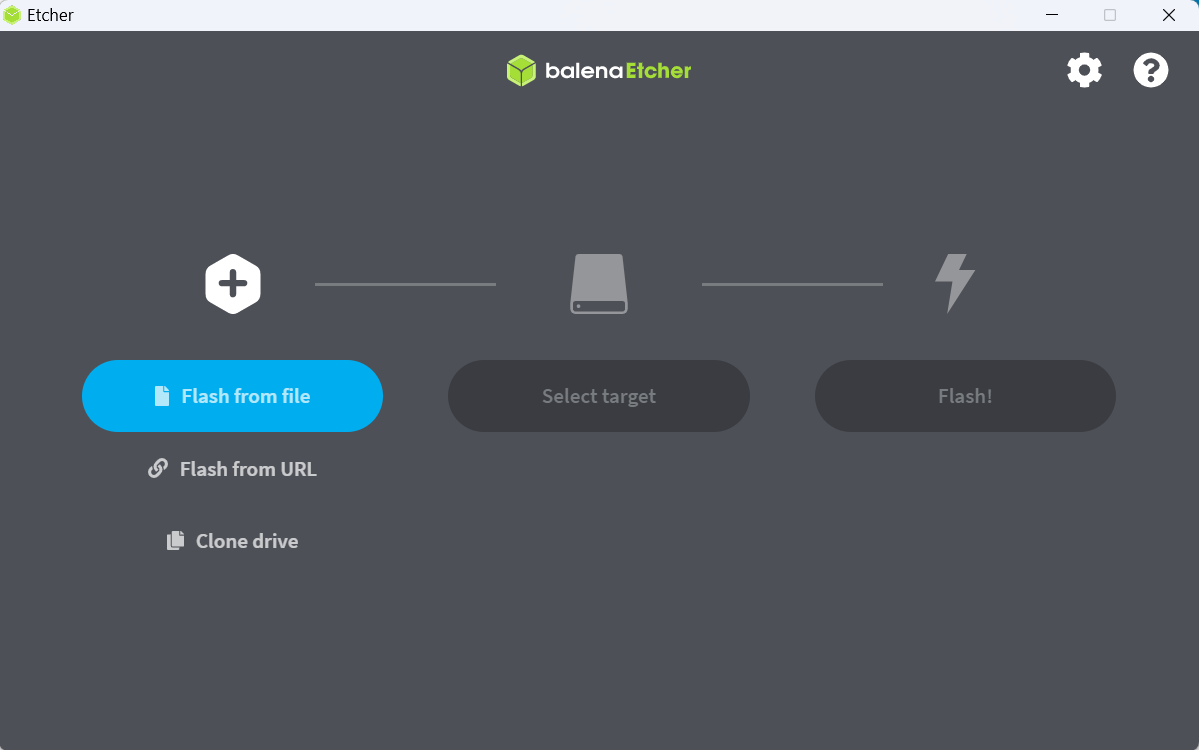
After downloading the file(image) you need to flash the image into the memory card. There are many tools like Balena Etcher, Rufus, and UnetBootin or if you are on ubuntu there’s a pre-installed application called “Startup Disk Creator” (if not installed it’s available on the software store).
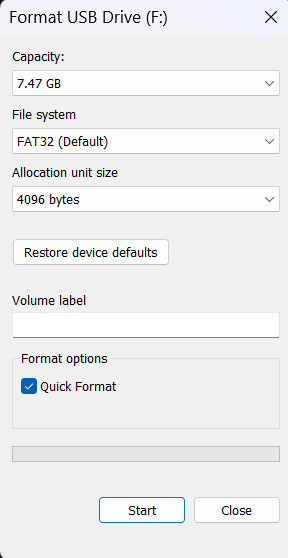
Now plug in your memory card with a card reader. And format it with FAT32 format like below.
Now launch any one of the flashing software. Simply select the image file you downloaded > Select the USB card reader > And hit FLASH!!!
Regular Approach
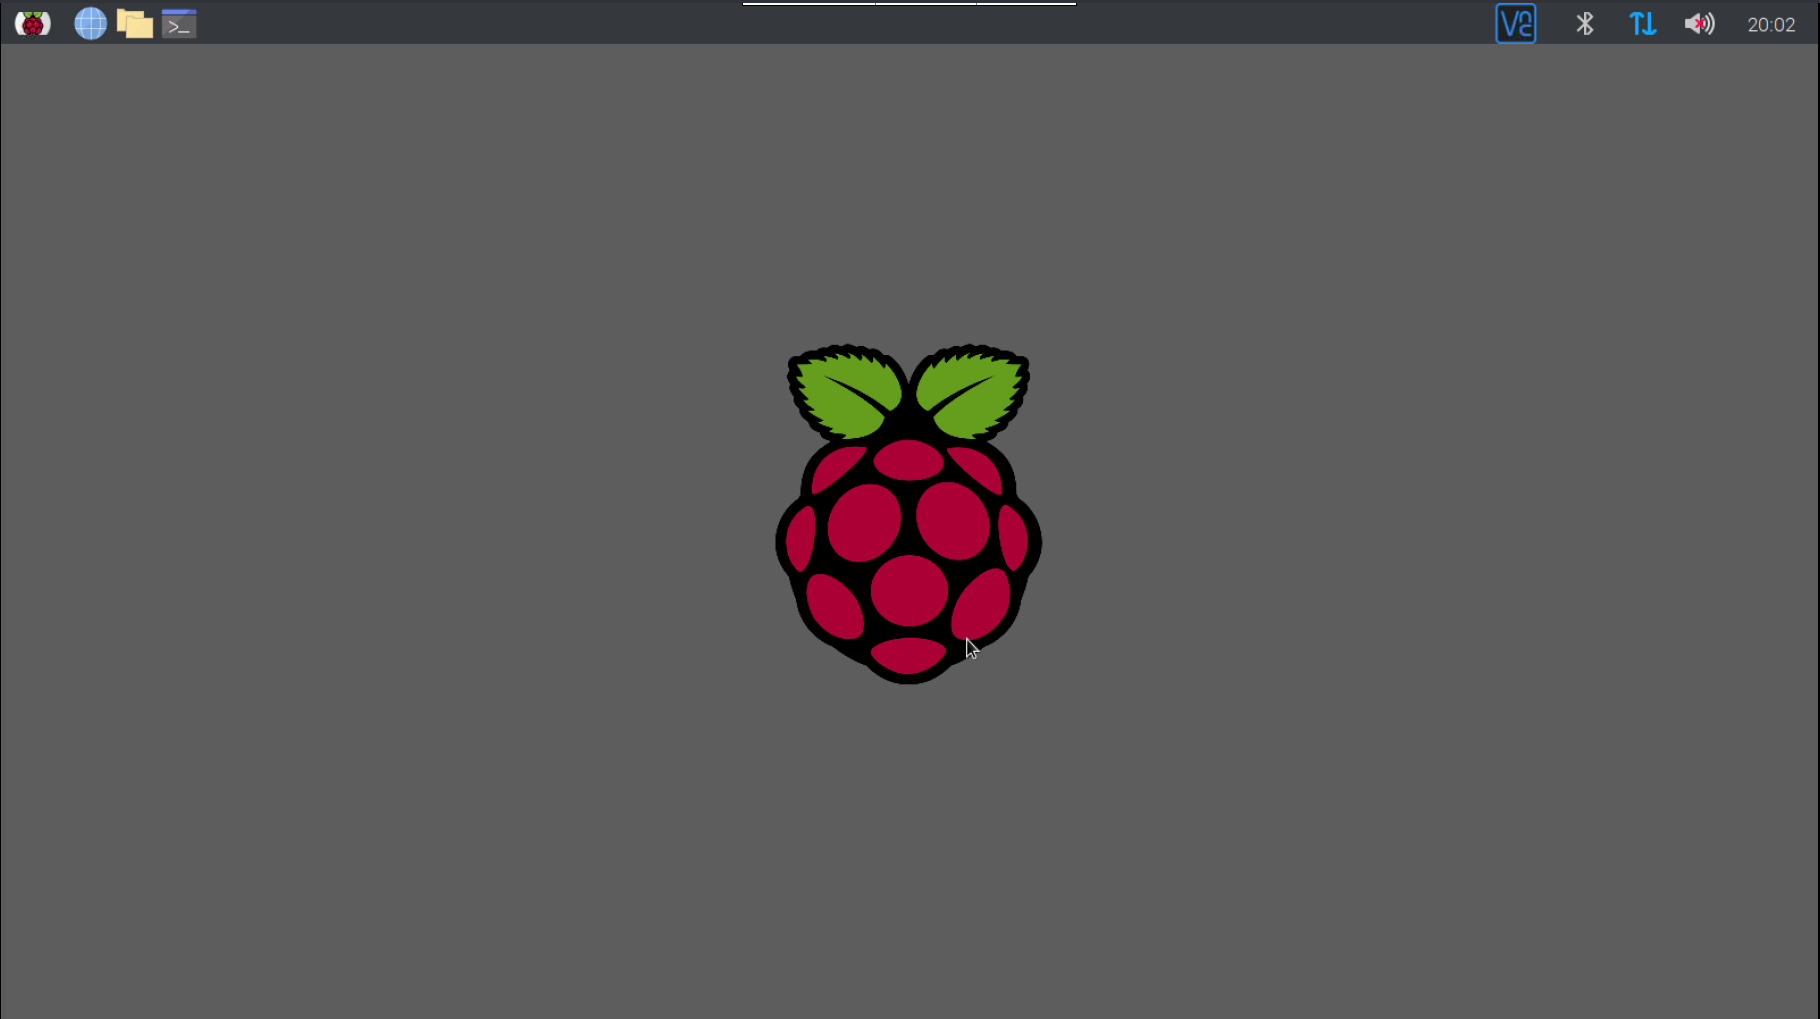
After flashing safely remove your memory card and insert it into your Pi. Connect your monitor, keyboard, and mouse and power up your Pi. It will ask for some basic setup during the first session just complete it. And if you don’t have an ethernet connection, no problem – Pi also has a wi-fi module.
Headless Approach
If you are going for the headless approach, detach the monitor and keyboard from the Pi after the initial setup. And make sure the ethernet cable is connected to the Pi. Now on your other computer open up a browser and log in to the admin panel of your router. It can be accessed mostly using the default IP address i.e http://192.168.0.1/.

Now, head over to the Bandwidth Control section. And look for our Pi. Note down or copy the IP address from there.

Open any terminal application depending on which OS you are using(I am using Ubuntu). And hit the following command.
$ ssh [email protected] #your copied ip
Where “pi” is the username of the device (in our case Pi) and “@” indicates to try to login with the given username with IP specified after it. You will get the following screen where it will ask to save the fingerprint or not? Type “yes” and hit enter. If asked for a password type “raspberry” as it is the default password, if you have changed it manually type that password. And hit ENTER!
See the below image for reference

And Booooooom!! You are inside your raspberry pi with a command-line interface. SSH lets you communicate or talk with other computers even in an unsecured environment in a secure way.
Updating your Raspberry Pi
Raspbian OS is a linux based operating system. The very first step after installing a Linux distro is to update the system.
For those who have been following the monitor approach just launch the terminal on your Pi. And for those who have followed the headless approach are already with the terminal interface. Now just hit the following commands to update your system.
sudo apt update && sudo apt full-upgrade
If it prompts for a password just type your password and hit ENTER. Password will not be visible when you type due to security reasons. Now, it will take some time depending on your internet speed. It will download and install all the required packages and software.
Installing Dependencies
We need a server software to serve web pages and to the user. A few examples are nginx, apache2, tomcat, Lighttpd, etc. Rather I prefer apache2 over any other servers because it is easy to install and configure in Linux systems.
Apache2 is a free and open-source HTTP-based web server. For installing the same hit the following command in the terminal.
sudo apt install apache2
After installation, you will need to start the apache server manually with the following command
sudo service apache2 start
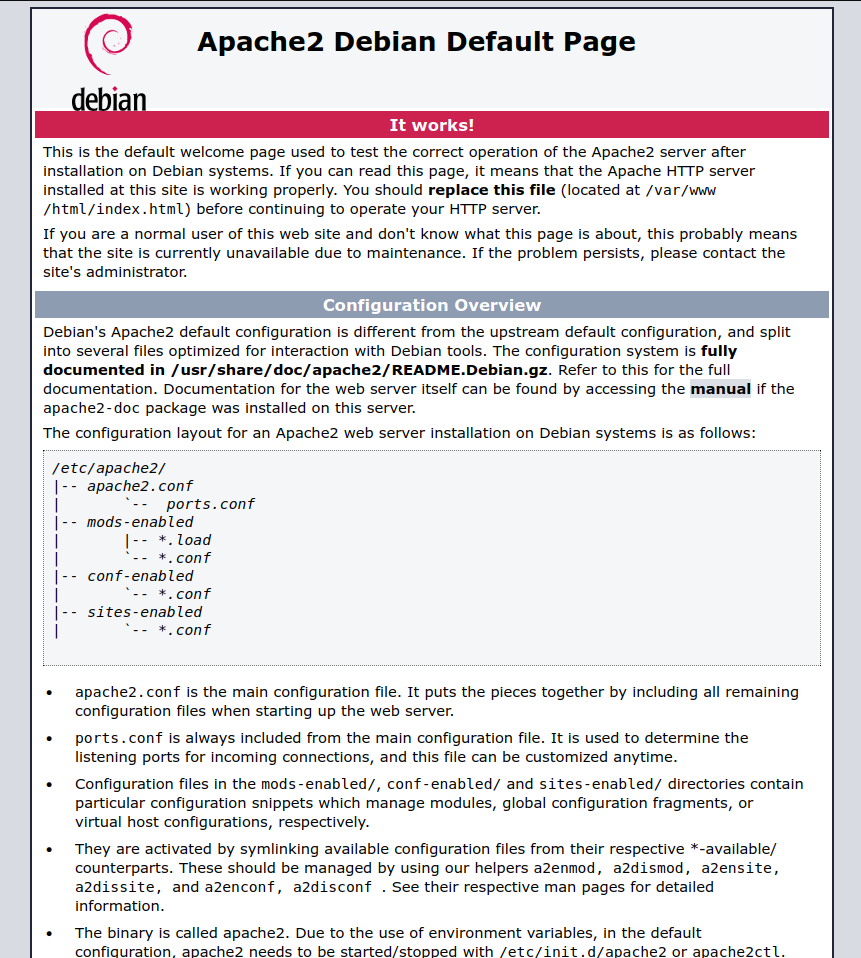
Now that it’s started you can always go to http://localhost/ or http://127.0.0.1/ to make sure apache is installed correctly. If you get the following screen that’s great we’re almost there.
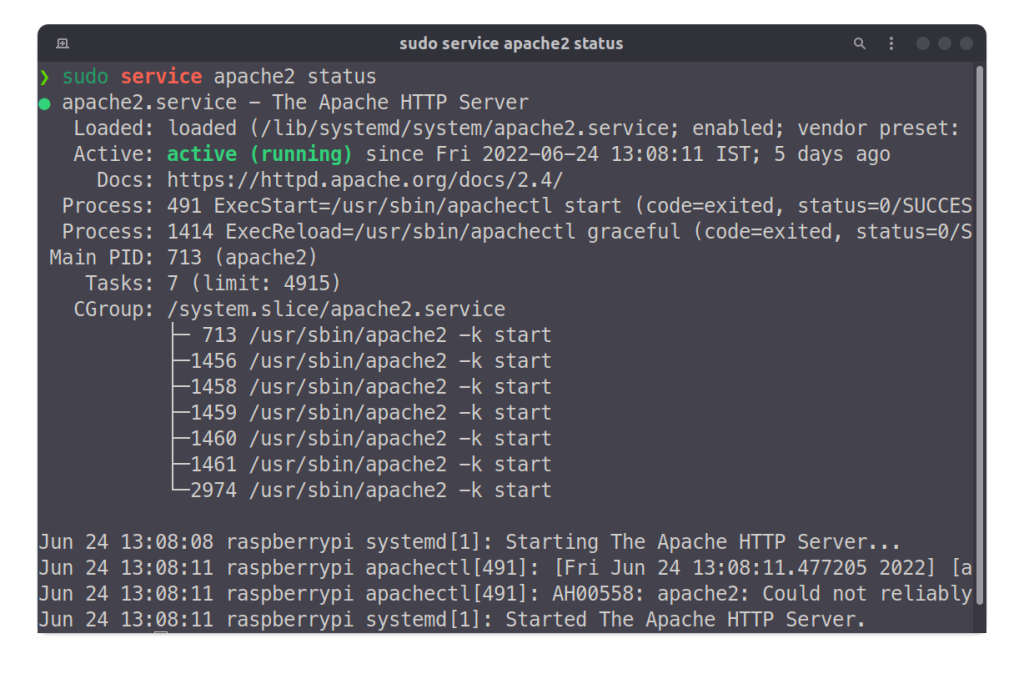
Or you can check the status of apache in your terminal itself
sudo service apache2 status
Before we proceed further we need to make sure that the apache2 service is started automatically after you power on you Pi. Hit the following in your terminal.
systemctl enable apache2
It’s now time to install dataplicity by going to their official website and sign up for an account for free. After you logged in, go to the devices page and click on add new device.
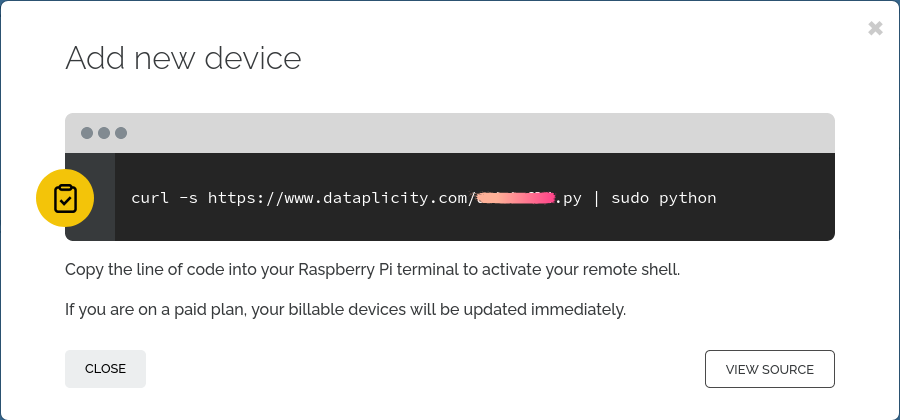
Copy the curl command and paste it into your Rpi terminal and hit enter.
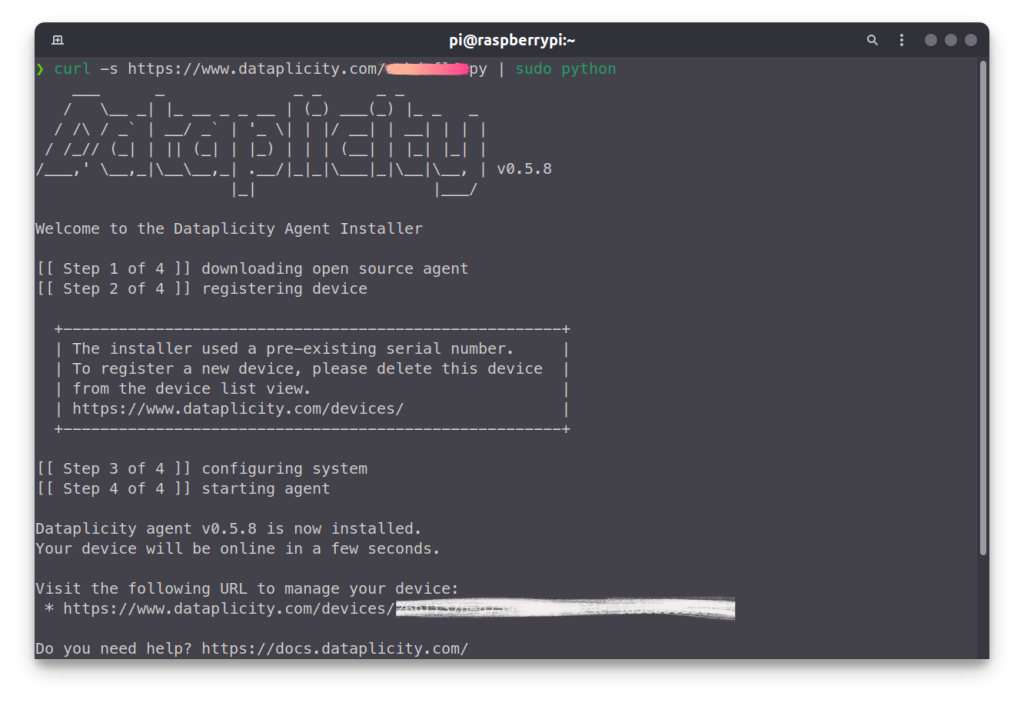
It may take some time for installing all the packages.
It’s done! Your Pi is now a server. Head to the devices page again and refresh it.
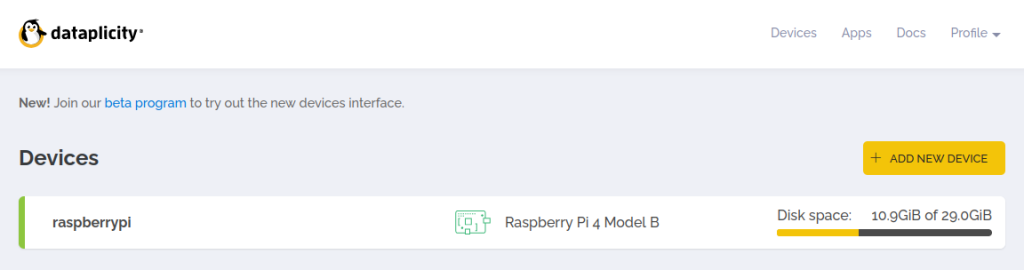
You will notice there’s a device added, it is our Pi. Click on that device. You will get the following page-
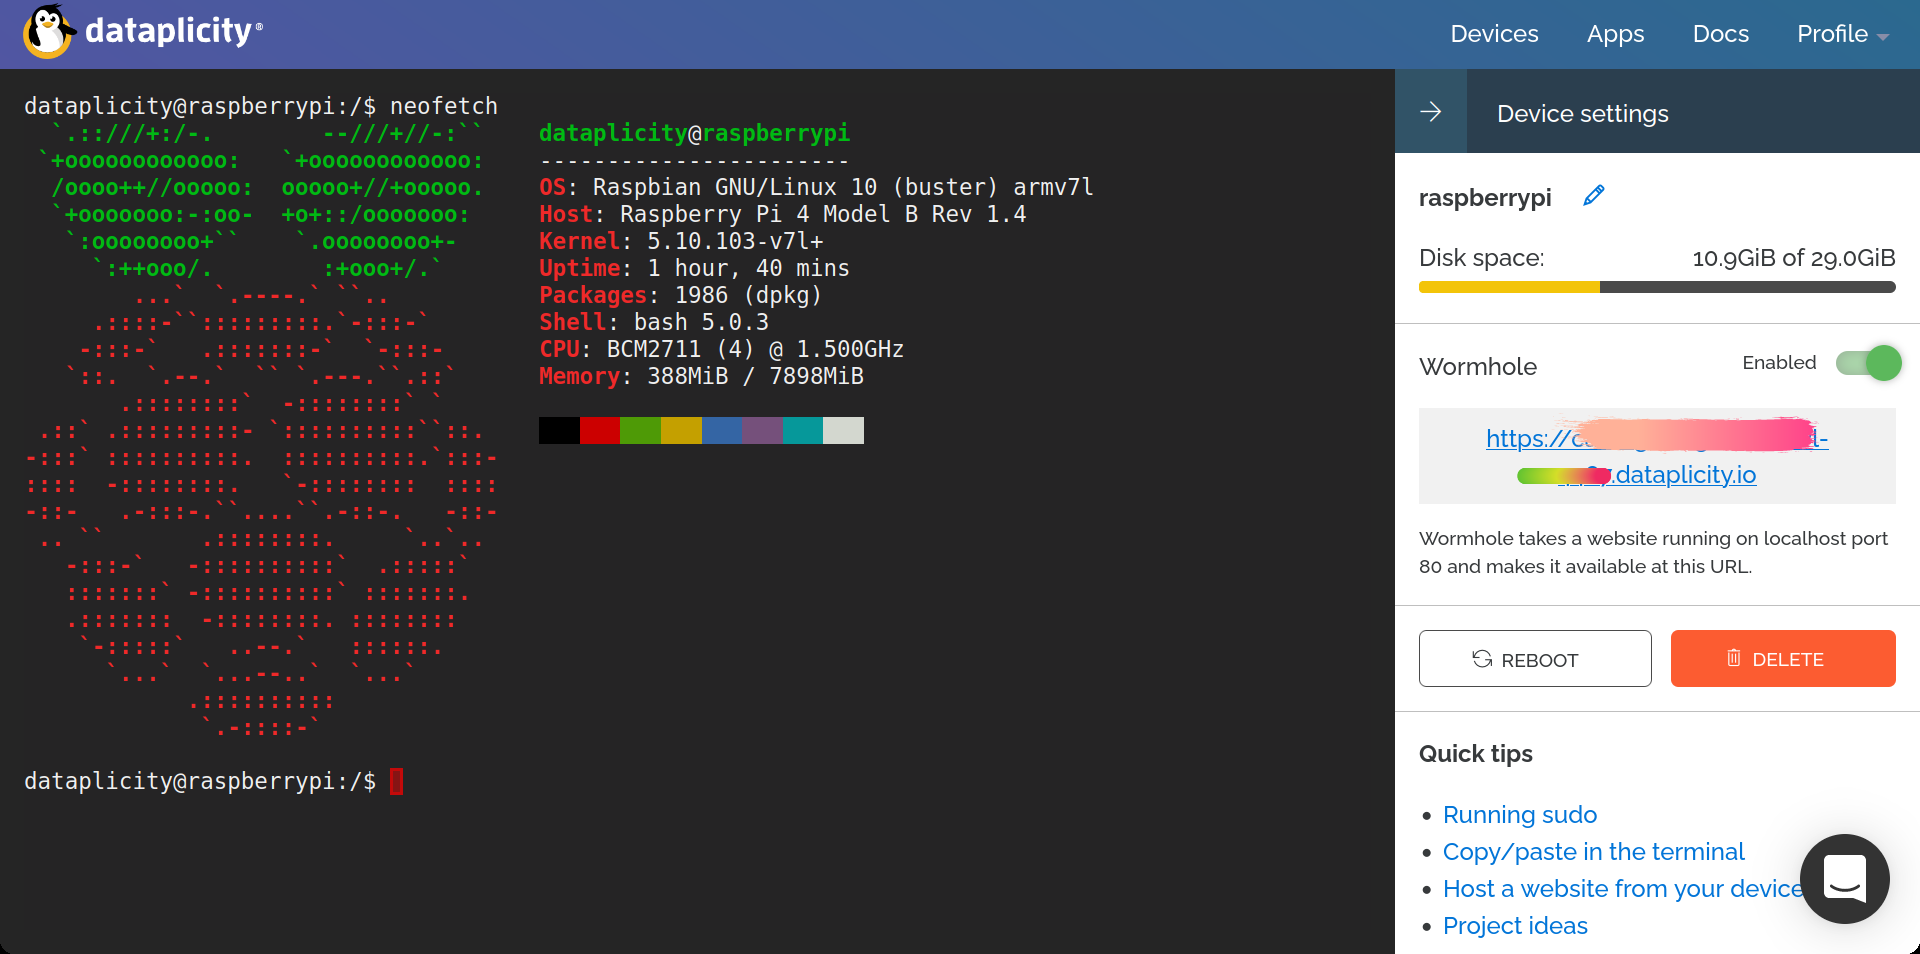
On the left side of the page is the remote terminal of your Pi. You can execute commands directly from here and it will take effect on the device. It doesn’t matter if you are on the same network or different only you need to connect your Pi and you devise on which you are running commands, to the internet.
On the right-hand side, the disk space is the storage of Pi. Below that is the wormhole. Enable the wormhole by clicking on the switch button. When it’s enabled you can access the website on your Pi from anywhere in the world with URL specified below like .dataplicity.io. Port 80 is forwarded and all the files and webpages are exposed and can be accessed easily.
If you click on that URL you will be redirected to an apache page. Remember this page when installing apache2? Yes, it’s the same page from your Pi. Now you can host as many websites as possible on your raspberry pi.
Host Your Own Website
Website hosting will be the first thing you want to do on your very own server. You can host as many websites as possible. Open up your terminal on Pi or SSH.
Navigate to the /var/www/html directory using the following command :
cd /var/www/html
ls
This html directory is where you will store all your websites and data. When you run ls command you will notice there is an index.html file. This is the HTML code for the apache page you see when you visit the wormhole link. You can change it with your own code to create a beautiful homepage.
Example
Let’s host different websites by creating different folders for different projects in the /var/www/html directory. First, navigate to the directory :
cd /var/www/html
Then create a folder for my python project :
sudo mkdir python
Navigate to the python directory :
cd python
Now let’s create an index page with the help of VIM which is an in-built text editor for Linux :
$ sudo vim index.html
And add the following html code –
<html>
<head>
<title>Href Attribute Example</title>
</head>
<body>
<h1>Hello World!!!</h1>
<br><br>
<p>
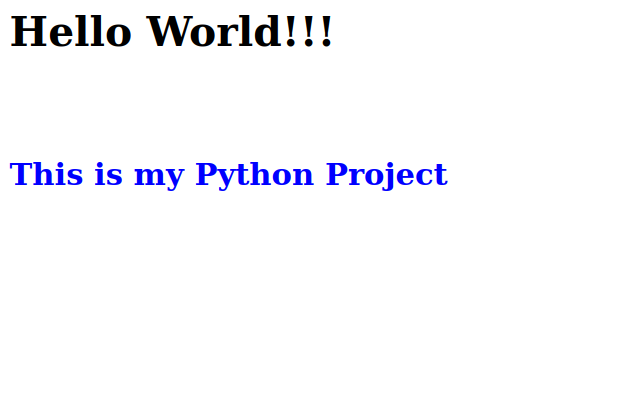
<h2 style="color : blue;">This is my Python Project</h2>
</p>
</body>
</html>
Now go to the wormhole URL of dataplicity, and you will land on the apache page. Now just add /python in front of the URL and you will get your project page :
In this manner, you create multiple directories and host as many projects as you want to depend on the storage. I will recommend using git to directly clone the project in the HTML folder instead of hardcoding it on the Pi.
Summary
Now you have your own server with full control over the resources. Although I will recommend disabling the wormhole on dataplicity dashboard when not required as it exposes port 80 of your Pi. But you can trust dataplicity as it also provides a free SSL certificate (HTTPS) on the URL. Hope this article helped you in another way and motivated you to create awesome projects.
Further reading
- RaspberryPI and Node.js: Step by Step Installation Guide
- Using Raspberry-Pi To Solve a Networking Issue
- Top 25 Best Arduino Projects To Try in 2022