Next.js provides a command line interface using which we can save our time spent in building and configuring a Next.js app. These include commands to start a local development server, change the default port, run ESLint, generate static HTML files and much more. Let’s start exploring these commands to increase our productivity!
To test Next.js CLI commands we first need a demo Next.js app. Let’s create one in a few easy steps.
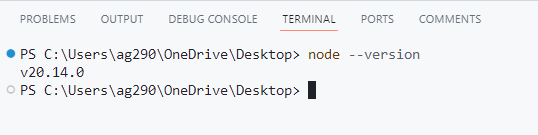
Step 1: Make sure that Node.js version 18.17 or higher is installed on your system
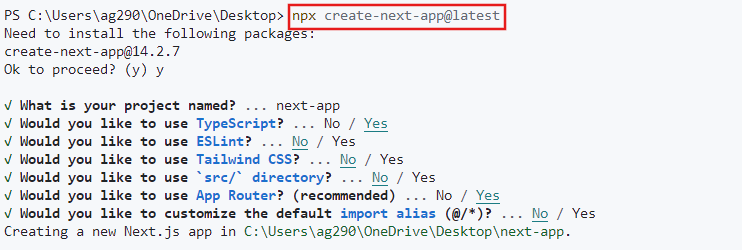
Step 2: Open the terminal and run the below command to initialize a new Next.js app:
npx create-next-app@latest
Choose any project name you want – all in lowercase, use hyphens (–) for space, and no whitespace.
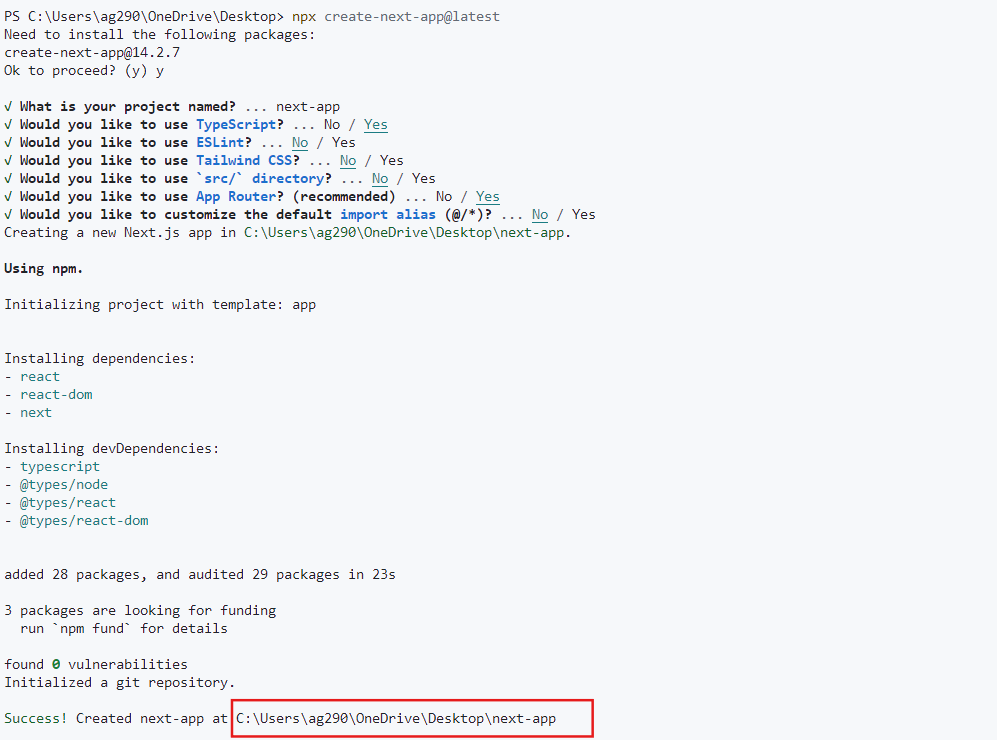
For the other parameters let’s go with the default option for now. Just check “Yes” for both TypeScript and App Router to follow along with us.
Once the project is set up, you will get the project path:
Step 3: Copy the project path and navigate to it:
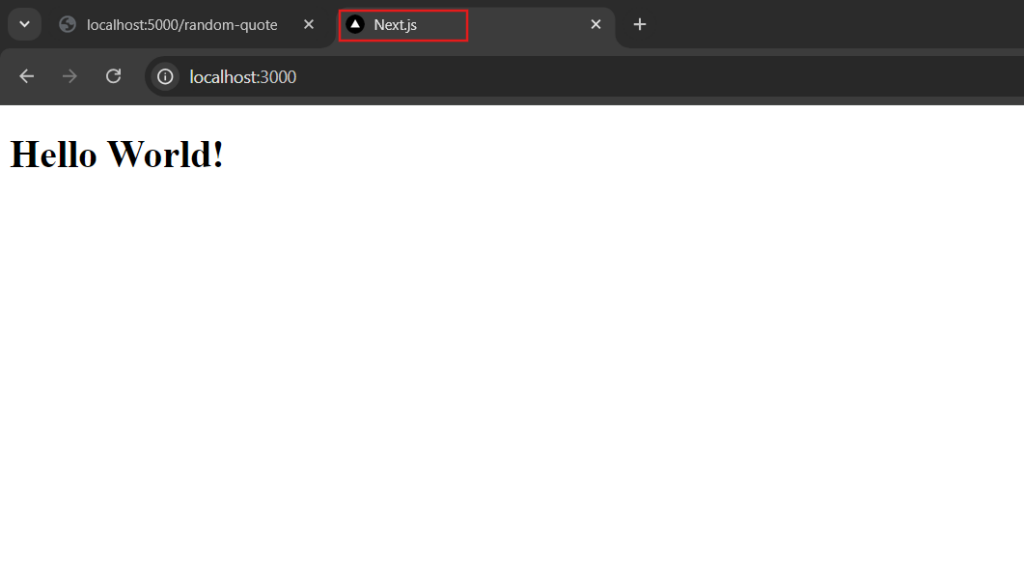
Step 4: Once the project is set up, open it inside a code editor and remove all the files inside the app directory and create a page.tsx file with the following code:
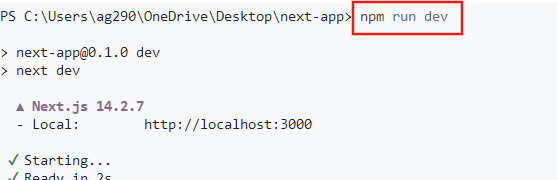
Step 5: Now execute the below command to test the application:
npm run dev
Here we are running the development server which listens on “http://localhost:3000”:
The “create-next-app” we used above is also a Next.js CLI tool that is used to initiate a new Next.js application with a default template (which we did) or from the Next.js GitHub repository.
How to Execute Next.js CLI Commands
If you directly try to execute these Next.js CLI commands, like let’s run “next dev”, you will see the system says it is not found:
This is because when we install Next.js, it is installed for that particular project inside the node_modules folder. This makes the next commands accessible within that project but not globally.
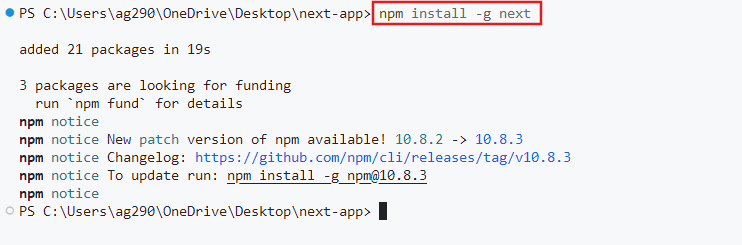
So either you install Next.js globally using the command “npm install -g next” or using the NPX.
Installing Next.js globally:
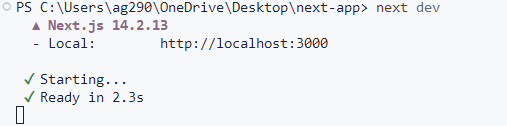
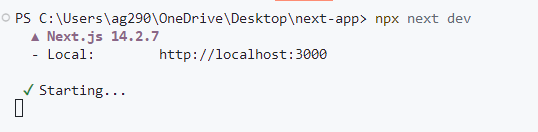
Now run “next dev” again:
See, it works.
Using NPX:
NPX comes with npm version 5.2.0+ which lets us execute binaries from the node_modules/.bin directory.
So it means if we run the command “npx next dev”, NPX search the local node_modules/.bin directory for the next binary and executes it. So eventually we don’t have to install Next.js globally.
The choice is yours but for this tutorial, we will use NPX as it comes with npm and is available on most computers.
Next CLI Commands
Let’s demonstrate the highly used Next.js CLI commands.
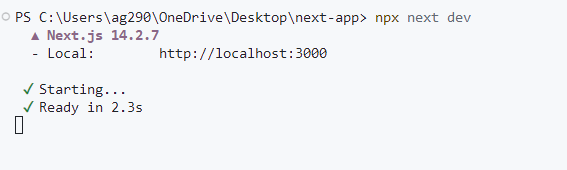
1. next dev
This is the most common command and we have also used this to start a development server. It works like “nodemon” and updates the server as soon as we change anything in the code.
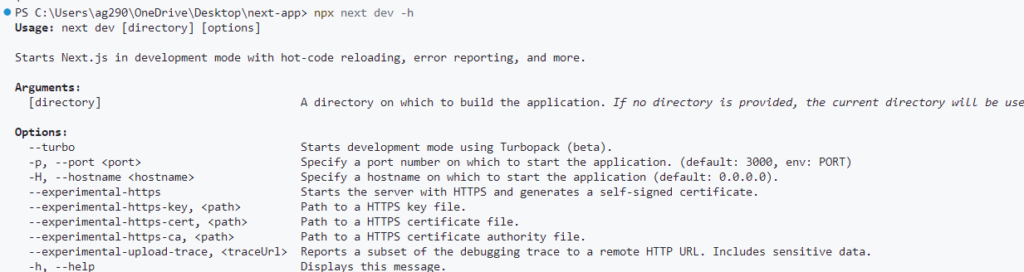
For each Next.js CLI command, we can use the “-h or –help” option to list all the available options and flags we can use with that command.
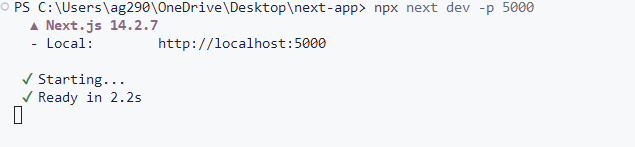
One interesting option among them is the “-p or –port <port>”, which can be used to change the default port from 3000 to whatever we want.
Note: The -p option can also be used with “next start”.
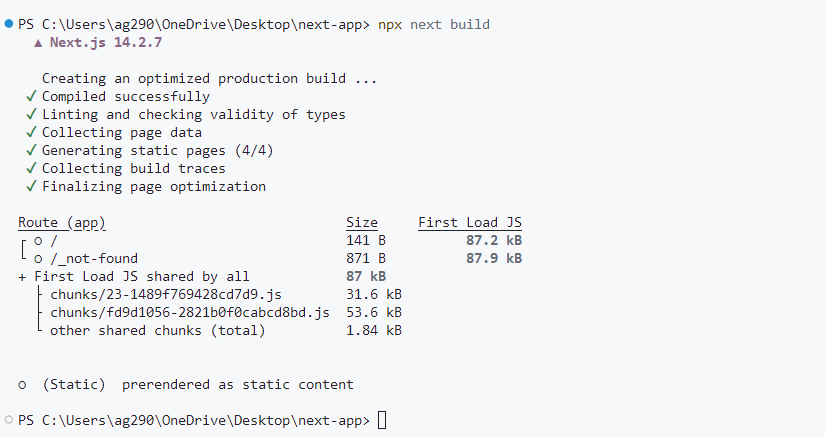
2. next build
This command is used when our Next.js app is completed and ready to be deployed. It generates a production build or we can say an optimized version of the application in the .next folder.
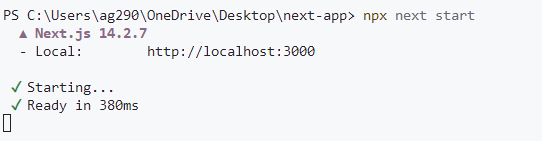
3. next start
After building the application for production, we can use this command to run the optimized application. It starts a Node.js server that serves the production build.
4. next export
This command exports the Next.js app as a static site, but this has been removed in favour of “output”: “export” in Next.js v14.0.0.
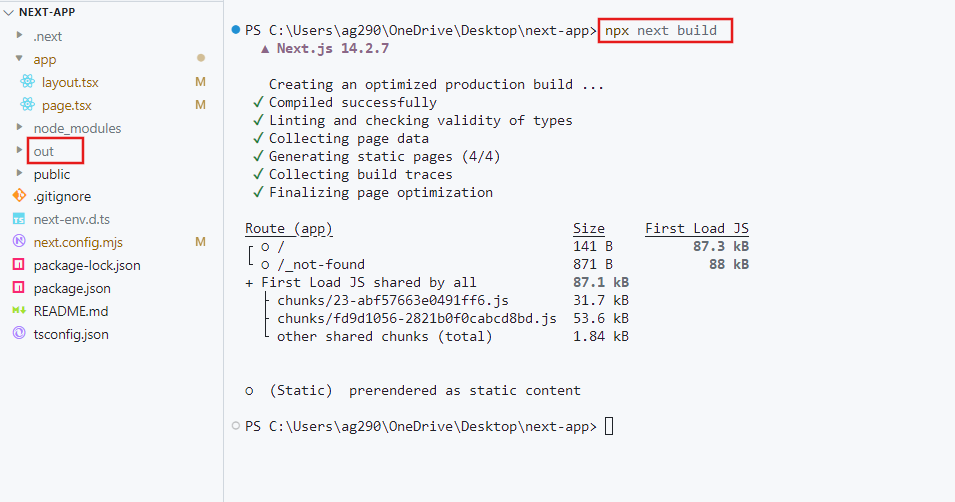
Now to export static assets, you need to modify the output mode to “export” in the ‘next.config.js’ or ‘next.config.mjs’ file located in your project directory:
Then run the ‘next build’ command to generate an ‘out’ folder containing HTML, CSS, and JS assets from your Next.js app.
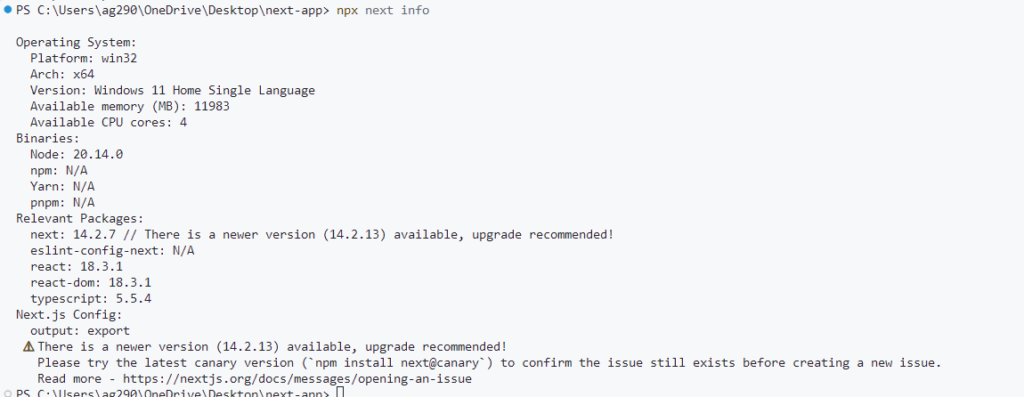
This command returns different details about our system like operating system, package versions, etc which is used when asking for help from the community.
6. next lint
This command runs ESLint, a tool to identify and fix errors in JavaScript code.
We can also change the configuration for ESLint inside the file eslintrc.json.
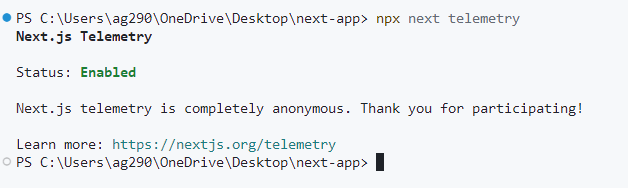
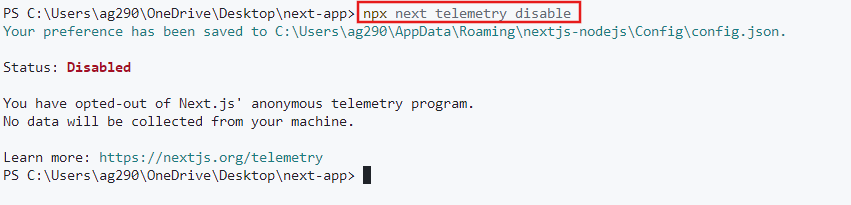
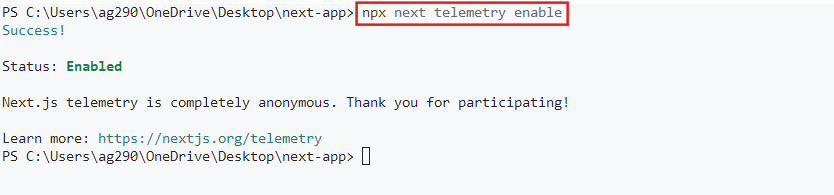
7. next telemetry
Next.js fetches telemetry data for the improvement of the framework.
We can enable or disable this using “next telemetry” command like this:
Summary
In this guide, we have seen many useful Next.js CLI commands that can boost our productivity to the next level.
Let’s summarise them:
next dev: To start the development server with auto-reloading.
next build: To build the application for production.
next start: To start the application in production mode.
next export: To export the Next.js app as a static site.
next info: To display information about the Next.js environment.