New to Rust? Grab our free Rust for Beginners eBook Get it free →
How to install Atom editor in Ubuntu

Atom is one of the most commonly used text editors for writing programs. It is not only light in weight but also offers a large number of features and customizability. It also supports third-party libraries that are super useful. For instance, the Atom repository has a package Atom Beautify for code formatting based on predefined rules that automatically enhances the appearance of your code by beautifying it.
Atom is an open-source, user-friendly, cross-platform text editor for Windows, macOS, and Linux operating systems. You can also apply the themes that you like best, basically, the benefits of it are endless.
Installing Atom on Ubuntu
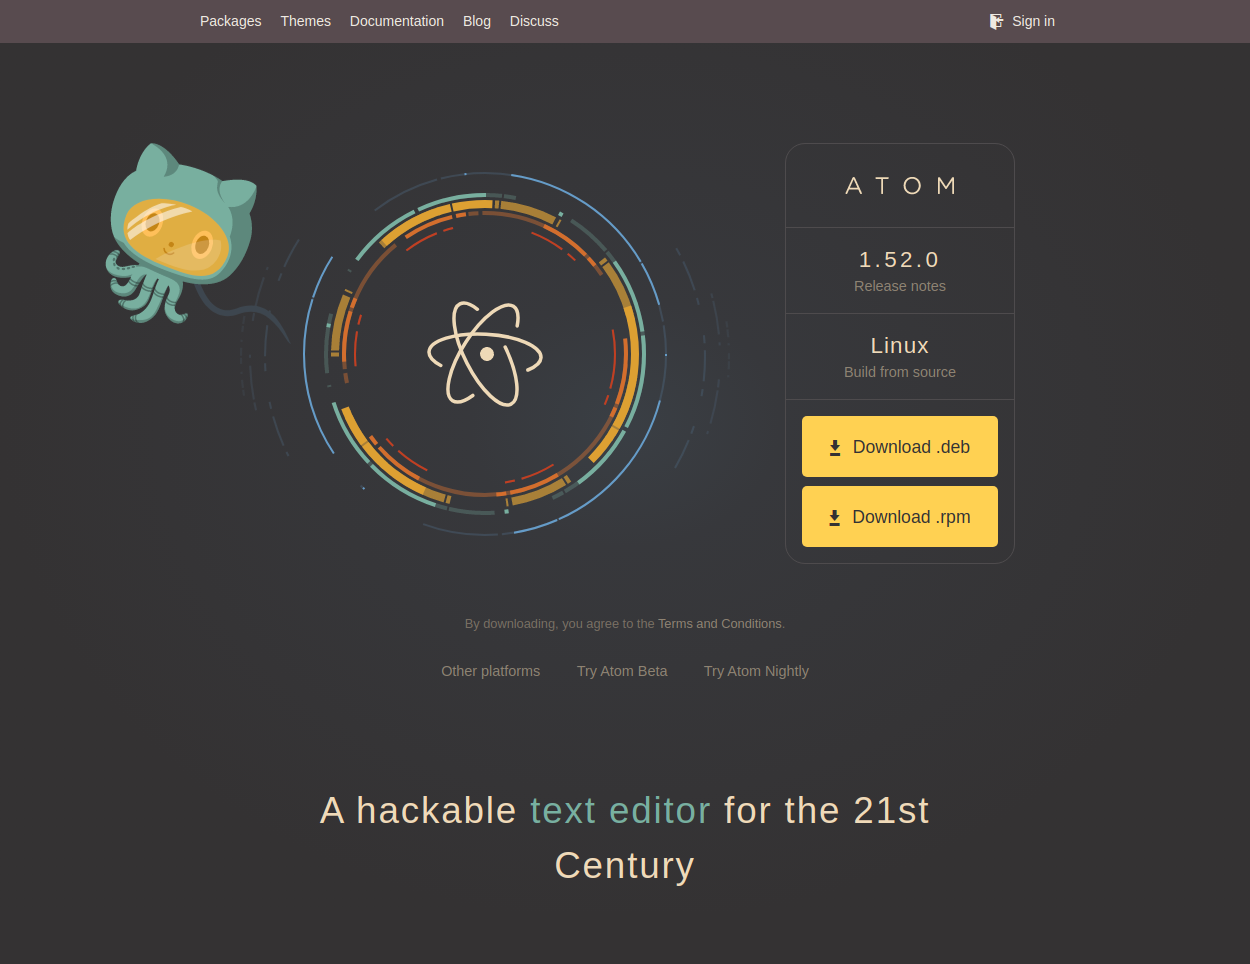
To install the Atom editor in your Ubuntu system, you can visit the official website here to download its setup. Just click on the Download button and open it with the Ubuntu software manager.
If you are a command line person, you can install it by following the steps shown below.
Execute the following commands one by one in your terminal for the installation of Atom in Ubuntu.
Step 1: Add repository from the Official Atom Editor Website
Installing Atom first requires you to add the official Atom repositories to your system. This will ensure that you install the latest version as Atom updates regularly to fix bugs and provide new features. So open the terminal and run the below command:
wget -qO - https://packagecloud.io/AtomEditor/atom/gpgkey | sudo apt-key add -
sudo sh -c 'echo "deb [arch=amd64] https://packagecloud.io/AtomEditor/atom/any/ any main" > /etc/apt/sources.list.d/atom.list'
Press Enter if it asks for permission.
Step 2: Update the Ubuntu System
To refresh the packages list on your Ubuntu system and make sure you have the latest and secure versions, you need to run the below command:
sudo apt-get update
It will take some time. Be patient.
Step 3: Install Atom on Ubuntu
Now, it is required to run one last command for the final step of installation of Atom on your Ubuntu system, after which the package manager automatically starts downloading all the necessary files from the repositories you have added and makes the Atom editor run. Below is the final command:
sudo apt-get install atom
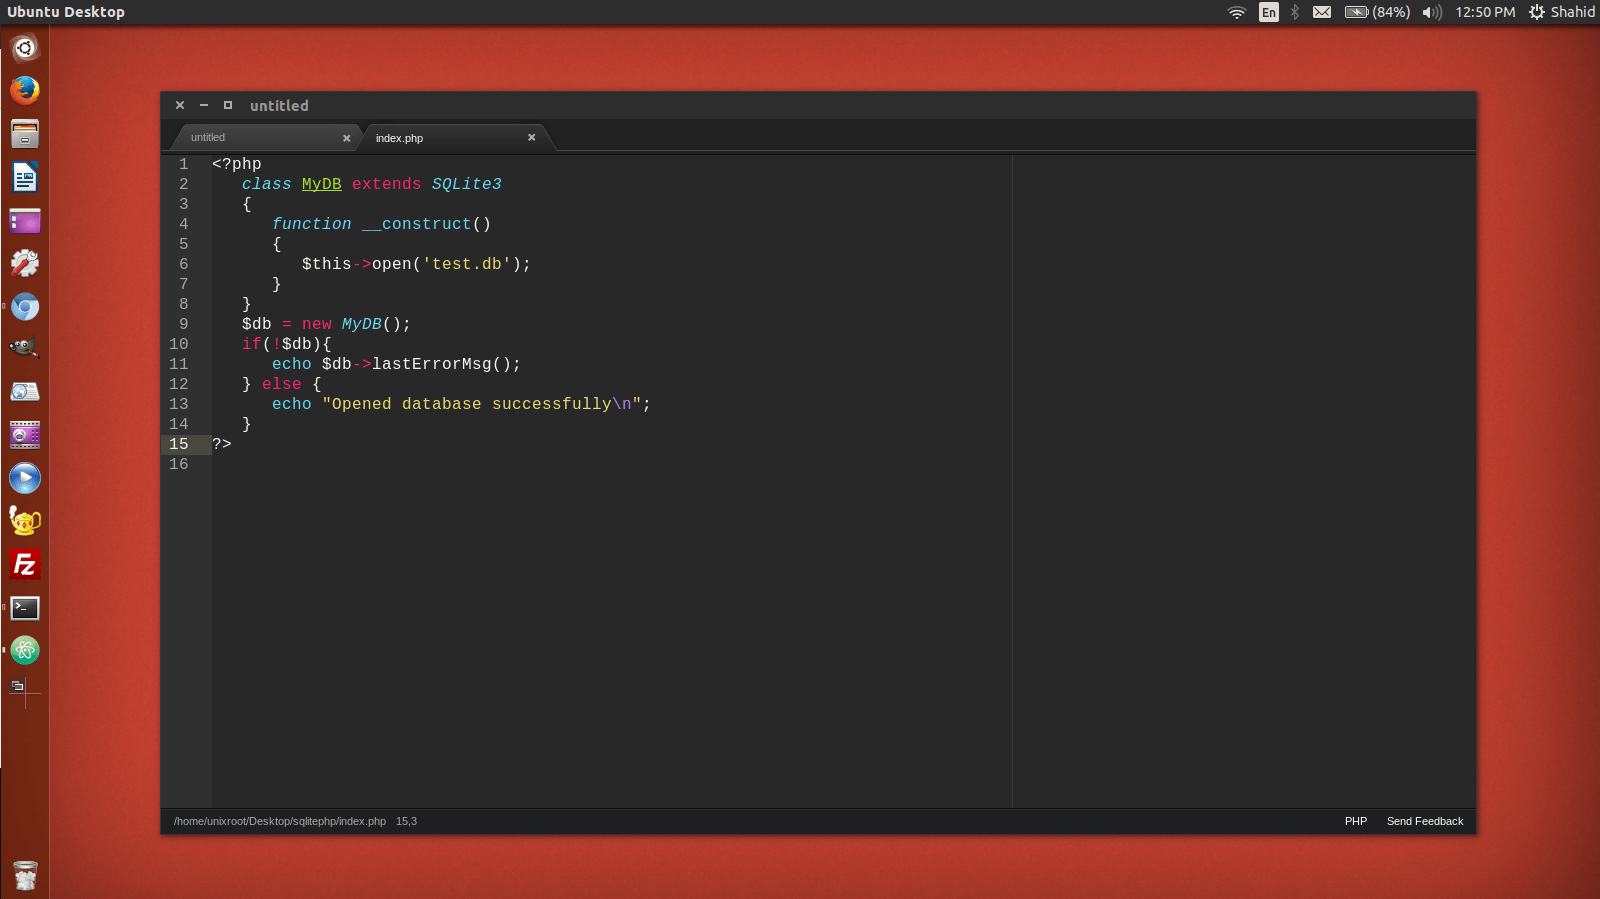
Here is a screenshot of Atom running in Ubuntu.
You can then install extensions to enhance the functionalities of the Atom editor. Here are the top 5 packages you should consider installing in Atom.
Note: Just keep in mind that Atom is a text editor, it is not considered a full-blown IDE (Integrated Development Environment).
Conclusion
The tutorial is short yet straightforward. If you are using other code editors then you should definitely install Atom editor and give it a try, it has a really better interface and one of the earlier editors which brings customization into action. Hope you have successfully learned how to install it on Ubuntu.
If you have just installed Ubuntu, you should definitely check out the Best things to do after installing Ubuntu.