
New to Rust? Grab our free Rust for Beginners eBook Get it free →
How Can the Default Node Version Be Set Using NVM: A Step-by-Step Guide
![[NODE JS] Way To Set The Default Node Version By Using NVM](https://codeforgeek.com/wp-content/uploads/2023/09/NODE.JS-Way-to-set-the-default-node-version-by-using-NVM-768x512.png)
NVM stands for Node Version Manager. It is commonly used by developers working with Node.js. It allows developers to manage multiple versions of Node.js on a single machine. It enables you to easily switch between different Node.js versions to ensure compatibility with your projects. With NVM, you can install, uninstall, and switch between Node.js versions.
In this article, we will see a step-by-step guide to setting the default Node version by using NVM.
Also Read: How to Fix Missing Write Access Error When Using NPM
Setting the Default Node Version by Using NVM
Let’s see how to set the default Node.js version using NVM. Whether you’re a developer working on multiple projects with different Node.js version requirements or simply looking to ensure your system uses a specific version by default, this process will be helpful for you. You can use the Node Version Manager (NVM) to set the default Node.js version by using the nvm alias command.
Let’s dive into the steps required to establish your preferred default Node.js version with NVM.
Step 1: Install NVM (if not already installed)
If you haven’t already installed NVM on your system, you can do so by following the installation instructions for your specific operating system. You can typically install NVM using a script provided on their GitHub page.
For Windows, you can follow the below steps:
1. Download NVM:
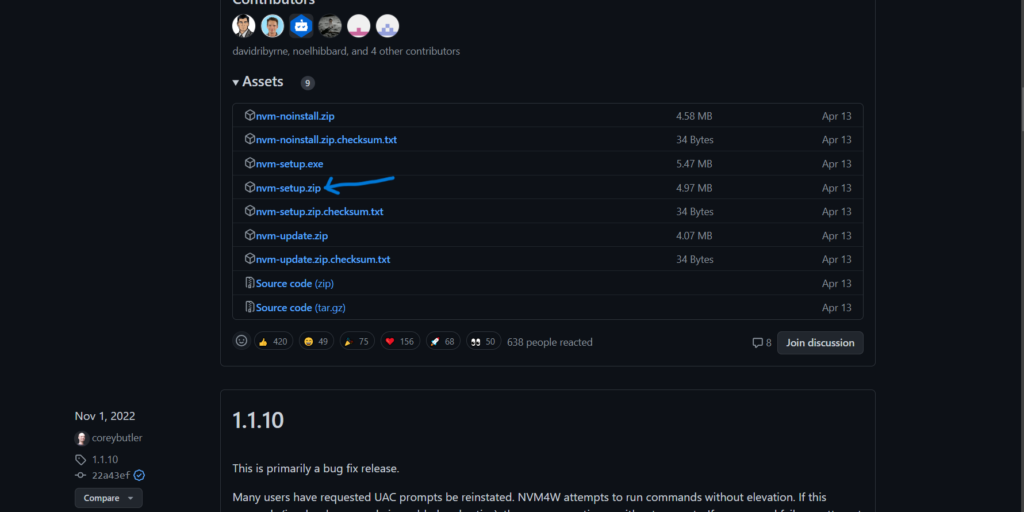
Visit https://github.com/coreybutler/nvm-windows/releases and download the latest stable version of NVM for Windows. Look for the “nvm-setup.zip” file.
2. Install NVM:
Once the download is complete, extract the contents of the “nvm-setup.zip” file to a location on your computer and run the nvm-setup.exe installer.
3. Follow the Setup Wizard:
The NVM setup wizard will guide you through the installation process. During the installation, you can choose the installation location and other options. The default settings are usually fine.
4. Initialize NVM:
After installation, you need to open a new command prompt or PowerShell window to start using NVM. The installation process should also offer to create a “settings” file for you.
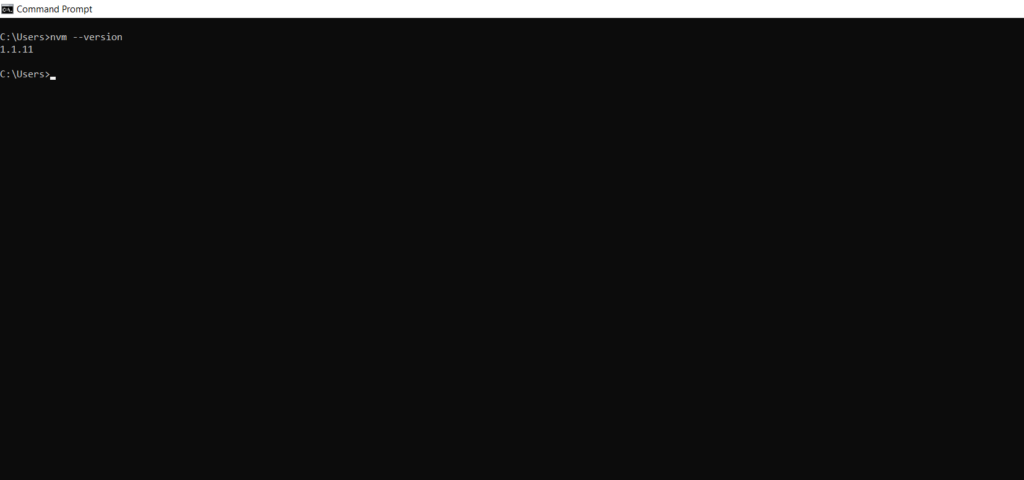
5. Verify NVM Installation:
To verify that NVM is correctly installed, run the following command:
nvm --version
This command should display the version of NVM you installed.
For Unix-based systems, you can use the following command to install NVM:
curl -o- https://raw.githubusercontent.com/nvm-sh/nvm/v0.39.1/install.sh | bash
Step 2: List Available Node.js Versions
Before setting the default Node.js version, you should list the Node.js versions currently available for installation. You can do this by running:
nvm ls
This will display a list of installed Node.js versions, and the one you want to set as the default should be listed.
Step 3: Install the Desired Node.js Version
To set the default Node.js version, you first need to install the version you want. Use the nvm install command to install the specific Node.js version. Replace your_desired_version with the version number you want to install:
nvm install your_desired_version
For example, if you want to install Node.js version 14.17.4, you would run:
nvm install 14.17.4
Step 4: Set the Default Node.js Version
Set the default Node.js version using the nvm alias command. Replace your_desired_version with the version number you want to set as the default:
nvm alias default your_desired_version
For example, if you want to set Node.js version 14.17.4 as the default, you would run:
nvm alias default 14.17.4
Step 5: Verify the Default Version
To ensure that the default version has been set correctly, you can check it using the nvm current command:
nvm current
This command will display the currently set default Node.js version. It should now reflect the version you selected.
That’s it! You have successfully set the default Node.js version using NVM. From this point forward, when you open a new terminal session, it will use the version you specified as the default.
Conclusion
Now we have reached to the end of this article. Hope it has elaborated on “Setting the default node version by using NVM”. By following the steps outlined in this article, you can ensure that your system uses your preferred Node.js version as the default. This simplifies the management of Node.js versions for your projects. NVM provides a flexible and efficient solution to switch between different Node.js versions for various projects. For more such articles on Node and Express follow https://codeforgeek.com/.
References
- https://stackoverflow.com/questions/47190861/how-can-the-default-node-version-be-set-using-nvm
- https://github.com/nvm-sh/nvm


