New to Rust? Grab our free Rust for Beginners eBook Get it free →
Hosting Nodejs App on Clouding.io Platform

Introduction
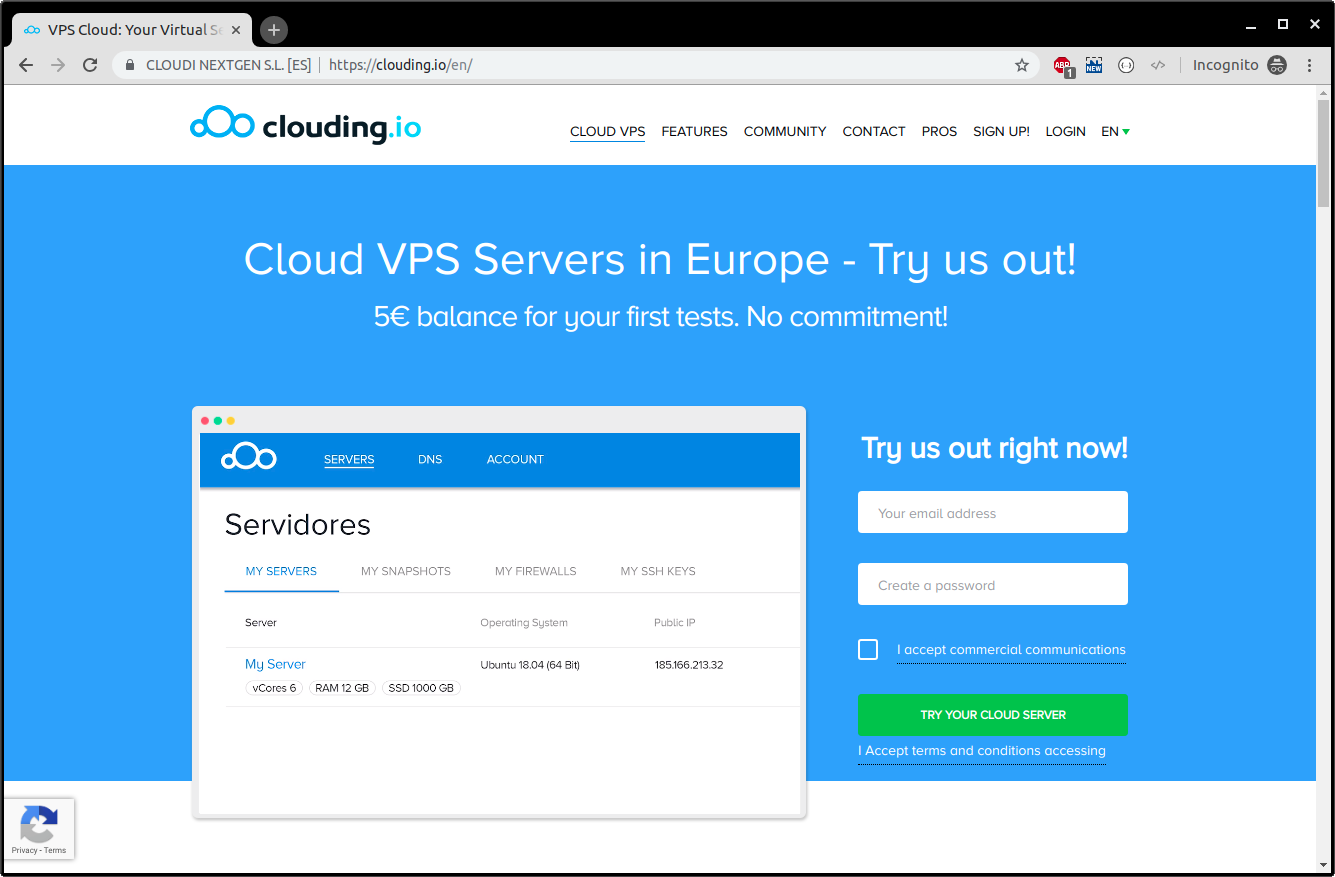
In this article, we are going to cover the development and deployment of the Nodejs App on the Clouding.io platform. Clouding.io is the Cloud VPS service that offers affordable, SSD-based virtual private servers to host your application.
Why Clouding Platform
Clouding.io has affordable virtual private servers with very fast processors, wide bandwidth, and SSD for fast processing. Clouding.io aims to be the most efficient virtual private servers provider with cutting-edge technology.
Some of the eye-catching features are:
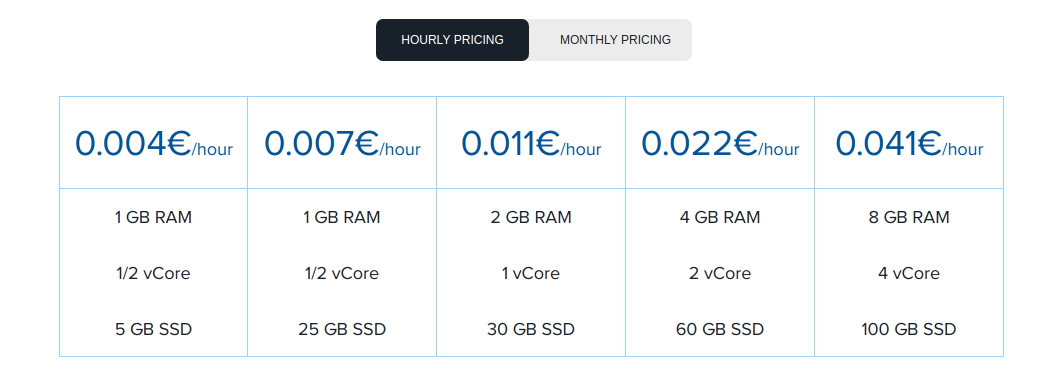
- Affordable price range:
- 3X Replica
- Anti-DDoS
- SSD Drives
You can start using Clouding.io for around 3 Euros ( 3.8 USD ) a month that will give you 1 GB of RAM and 5 GB SSD disk storage.
Clouding.io keeps 3 copies of your cloud servers. If one fails, another one is started automatically on different hardware, so you don’t even realize the issue. This allows a high-availability platform.
Clouding.io uses various security measures to keep intruders away from your system. It detects untrustworthy IP addresses and applies the prevention mechanism from connecting to your Server.
While most of the cloud servers charge extra bucks for SSD and normal drives, Clouding.io uses SSD by default. It speeds up the read/write of the data hence increasing the efficiency of your application.
To learn more about the Clouding.io features, click here.
Enough about features and price, let’s build one app and deploy it on the Clouding.io platform.
Let’s build our app!
Building Node App
Let’s build our app. We are going to build a sample form where users can submit details and verify the user using Google recaptcha.
Here are the steps we’ll take to develop this program:
- Submit form using Ajax.
- Get the google response key in Node.js Server.
- Reverify the key and give the response to UI.
To submit the form using Ajax we will use jQuery.form library. For the Server, we will use Express and for HTTP calls we will use request.
Create a new directory and create your Node project using the following command.
npm init --y
Let’s install the dependencies
npm i --save express request body-parser
To integrate Google reCAPTCHA in your web application, we need to first get the authorization keys. Click here to visit the Google reCAPTCHA website.
After logging in, add your website details.
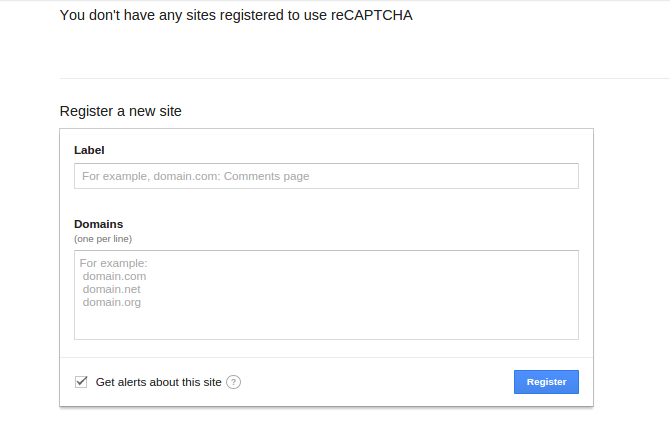
After registration Google will provide you the following :
1: Site key.
2: Secret key.
Here is the HTML code to generate a simple form with Google reCAPTCHA.
Google reCAPTHA Demo
Here is our JavaScript code to perform Ajax form submit.
Add this code right after loading the scripts in HTML page.
Here is our Nodejs code.
const express = require('express');

const bodyParser = require('body-parser');

const request = require('request');

const router = express.Router();

const app = express();
app.use(bodyParser.json());
app.use(bodyParser.urlencoded({extended : false}));
router.get('/',function(req,res) {
// Sending our HTML file to browser.
res.sendFile(__dirname + '/index.html');
});
router.post('/submit',function(req,res){
// g-recaptcha-response is the key that browser will generate upon form submit.
// if its blank or null means user has not selected the captcha, so return the error.
if(req.body['g-recaptcha-response'] === undefined || req.body['g-recaptcha-response'] === '' || req.body['g-recaptcha-response'] === null) {
return res.json({"responseCode" : 1,"responseDesc" : "Please select captcha"});
}
// Put your secret key here.
var secretKey = "--paste your secret key here--";
// req.connection.remoteAddress will provide IP address of connected user.
var verificationUrl = "https://www.google.com/recaptcha/api/siteverify?secret=" + secretKey + "&response=" + req.body['g-recaptcha-response'] + "&remoteip=" + req.connection.remoteAddress;
// Hitting GET request to the URL, Google will respond with success or error scenario.
request(verificationUrl,function(error,response,body) {
body = JSON.parse(body);
// Success will be true or false depending upon captcha validation.
if(body.success !== undefined && !body.success) {
return res.json({"responseCode" : 1,"responseDesc" : "Failed captcha verification"});
}
res.json({"responseCode" : 0,"responseDesc" : "Sucess"});
});
});
// This will handle 404 requests.
router.use("*",function(req,res) {
res.status(404).send("404");
})
app.use('/', router);
// lifting the app on port 3000.
app.listen(3000);
Let’s test the app. Run it using the following command.
node app.js
And visit localhost:3000 to view the app.
Awesome! Let’s push this code in the Github repository. Create a new Github repo and execute the following command to push your code in the Github.
git init

git add .

git commit -m “first push”

git remote add origin << github repo URL >>

git push origin master
Once it is pushed to the Github repository, let’s deploy it in Clouding Server.
Hosting the App
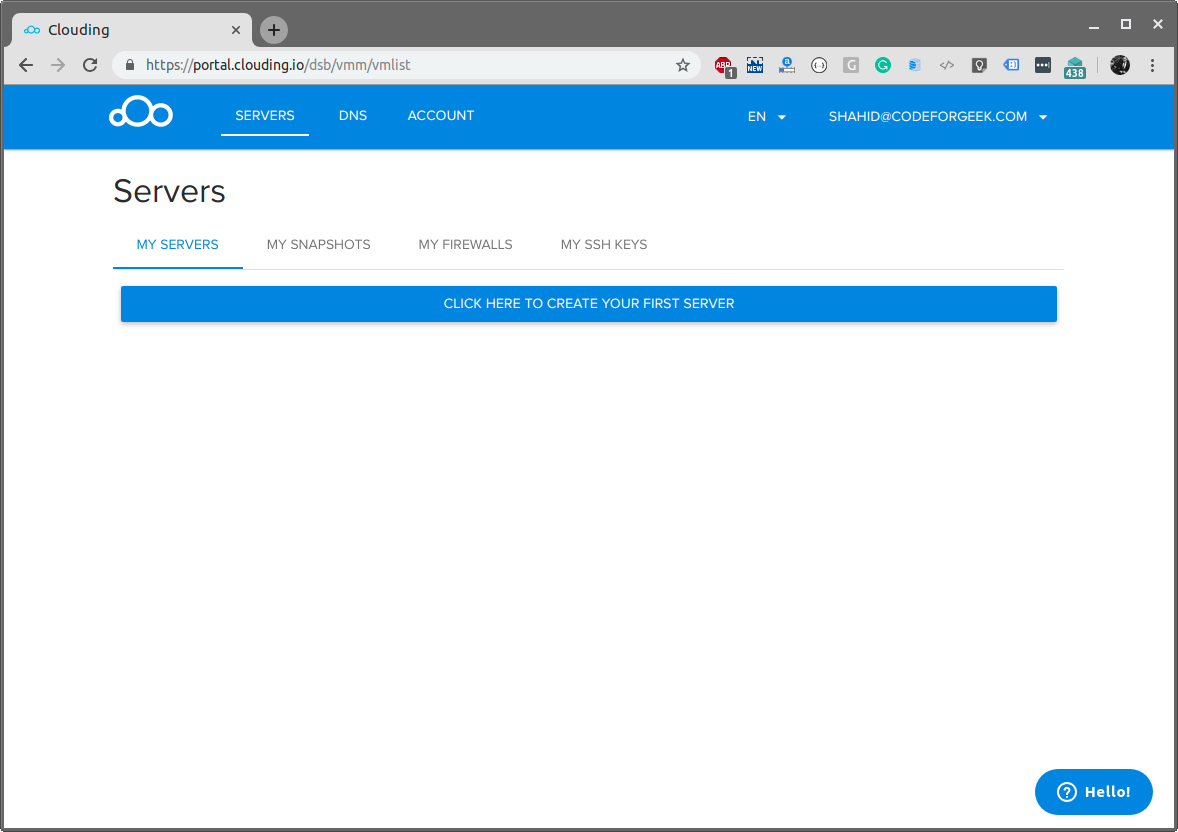
Visit the Clouding.io website and signup with your email account. Once your account is verified, you can test the server with free credit for 5 Euros.
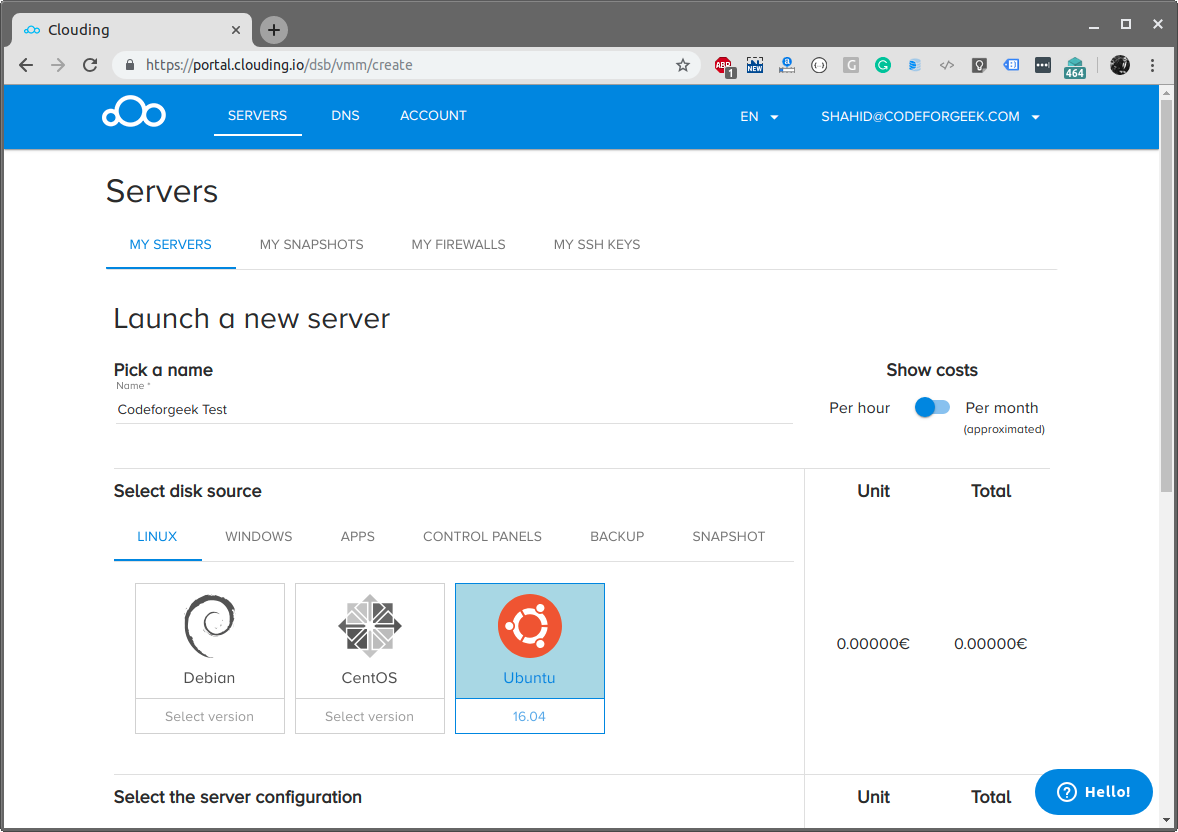
In the Clouding.io portal, click on the server creation button.
Choose the operating system and server configuration and click on the Submit button once done.
Clouding will then create a new Server and once it is ready you should see the status as active.

Click on the Server you want to access and you should see the details in the settings section.
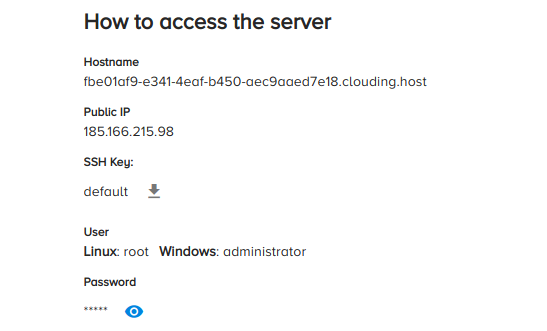
Open up your terminal and SSH into it.
ssh username@yourserver IP
Then enter the password.
Let’s update the server.
sudo apt-get update
Let’s install Git.
sudo apt-get install git
Let’s install Nodejs.
curl -sL https://deb.nodesource.com/setup_11.x | sudo -E bash -

sudo apt-get install -y nodejs
Let’s install PM2.
npm i -g pm2
Let’s clone the project.
git clone << your github url >>
Switch to the project directory and install the dependencies.
npm install
Then run the app using the following command.
pm2 start app.js
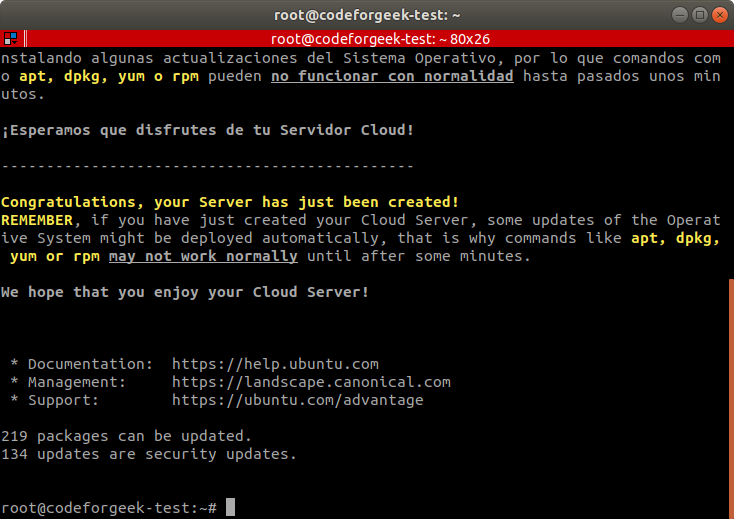
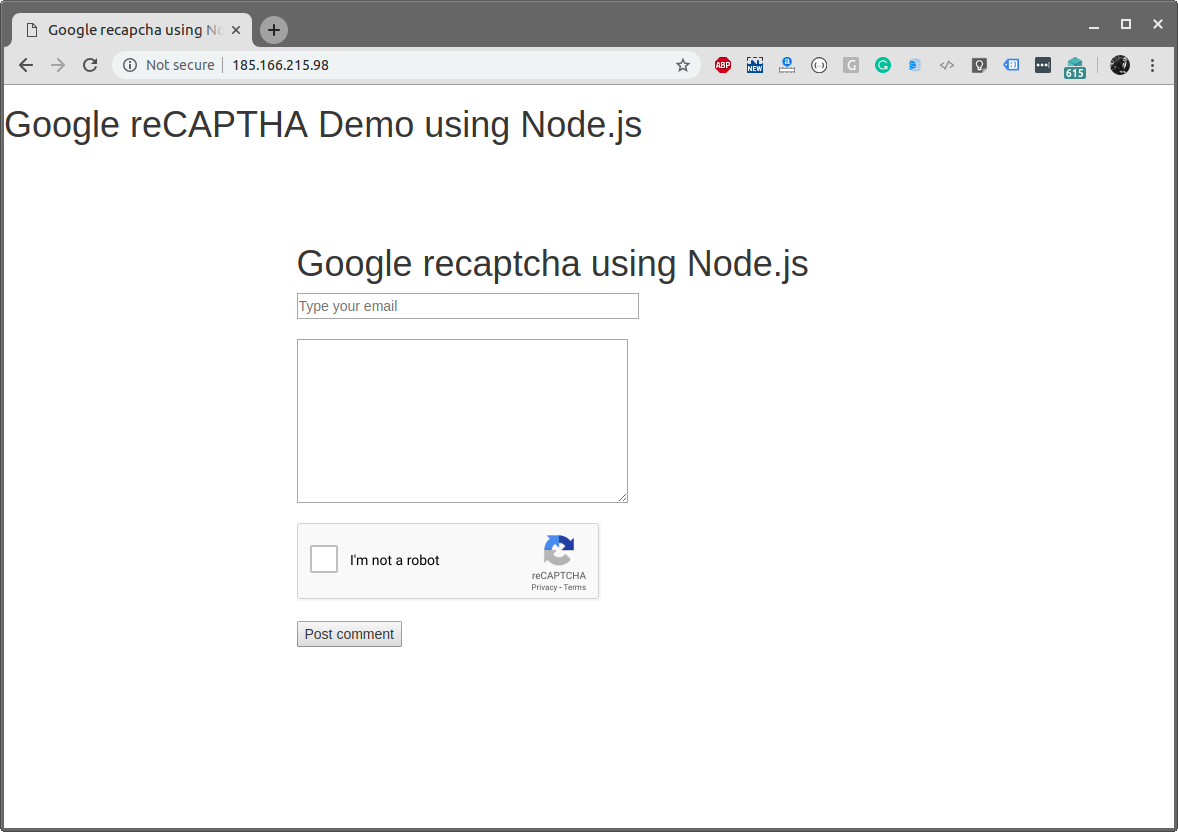
Now visit your Server URL and you should see the app running.
Congratulations! You have hosted your Node app on a Clouding.io Server.
Conclusion
Clouding.io is one of the affordable and cutting-edge cloud services I have tested and tried. Give this service a try and you won’t regret it. We have also learned how to create and deploy a fresh app to our virtual private server created on Clouding.io.
Further Study
How to Check If a File Exists in Node.js
Node.js MySQL Tutorial
Top 5 Must Have Visual Studio Code Extensions