
New to Rust? Grab our free Rust for Beginners eBook Get it free →
Getting Form Data in Node.js

When creating a to-do list application it is required to add a functionality of getting the to-do entered as input by the users, similarly, when creating a register page it is required to somehow get the entered username, password and other fields.
Well for the form-sending part, we just have to create an HTML form page and then send it to the user using the GET method by invoking the sendFile() method. However, getting the data from that form into the server file is the main hurdle.
Although this was quite difficult in the old version of Express, with the new update it has become quite easy. In this article, we will see the step-by-step process of getting form data in Node.js.
How to Get Form Data in Node.js?
To get form data using Express in Node.js, we can create an HTML file with a form and send that file to the user using sendFile() method, we have a separate article where we provide the step-by-step guide to send an HTML file in Node.js.
After sending the file we somehow have to get that uploaded data in the input field of the form of the HTML file.
In the early stage of the express module, we have to use a separate module “body-parser” in order to handle form data. The Express v4.16.0 onwards includes a built-in middleware function for the same purpose, this middleware is itself based on Body Parser, so it no longer needs to be installed manually.
We just have to initialize it and then use req.body object inside the callback of the POST method to access the form data for a specific field name. Let’s see this in detail using a step-by-step practical guide.
Fetching Form Data in Node.js
Let’s create a simple application to see how to receive form data in Node.js.
Setting Up the Environment
1. Create a folder containing two files “app.js” and “index.js” & open it inside the Code Editor:
2. Then in the terminal, type the following commands:
npm init -y
this will initialize the Node Packages Manager, by which we can install any Node.js framework.
npm i express
this will install Express as a module in your application.
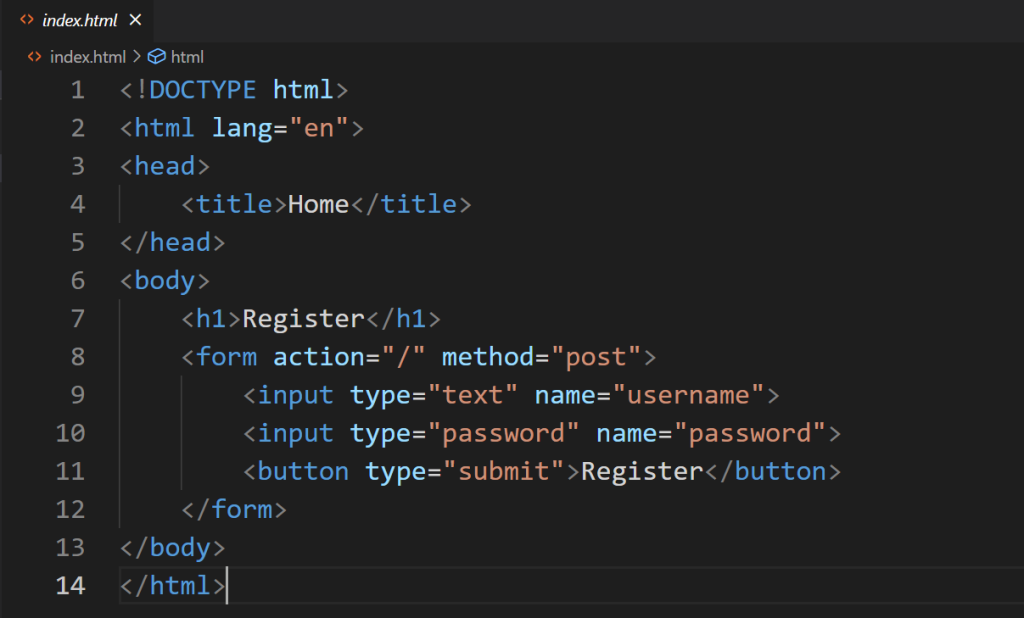
3. Inside the “index.html” file, create an h1 tag with a form. Inside the form, specify the action as “/” and the method as “post” which is used in the “app.js” file to handle form data. Then pass two inputs with different names, these names are used to get the specific data entered on these inputs, and then finally a button of “submit” type to submit the form.
Writing Code for Getting Form Data
Let’s now write code in the “app.js” file.
1. Inside the “app.js” file, import the express module.
const express = require('express');
2. Create a constant “app” and set it to “express()”, which means creating an instance of an express module, by which any of the express functions can be called.
const app = express();
3. Then initialize the express to parse JSON data to get the form data, the form data is nested data so we also have to specify the URL encoding as extended true.
app.use(express.json());
app.use(express.urlencoded({extended: true}));
This parses incoming JSON data in the request body. Also, the second line lets us handle URL-encoded data in our application.
4. Then use the “get” method of express to define the logic for the “/” route. Inside this method, use res.sendFile() method which is used to send the HTML form we just created as a response.
app.get("/", (req, res) => {
  res.sendFile(__dirname + "/index.html");
});
We don’t have to take care of the HTTP header as Express handles it itself.
For example, when handling JSON data, Express JS automatically sets the Content-Type header to “application/json” and when handling URL-encoded form data, it sets the Content-Type header to “application/x-www-form-urlencoded”. Similarly, Express can also handle other headers, such as Content-Disposition, if required.
5. Use the “post” method of express to handle the post request, we have already set the method to post in the HTML file, and then we specify the route for which we want to handle the post request and the route is “/” which we also define in the HTML file.
app.post("/", (req, res) => {

});
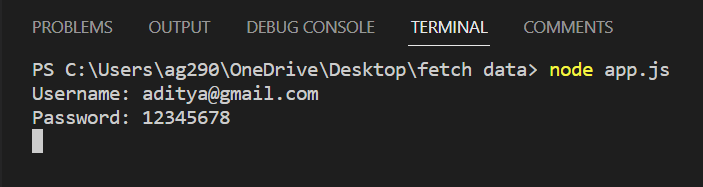
6. Inside this method, we fetch the username and password with the name specified to the input using the “res” which is a response object. Then pass the value into individual constant and log the constant in the console using the console global object. Then finally end the method by sending a message as a response.
app.post("/", (req, res) => {
const username = req.body.username;
const password = req.body.password;
console.log("Username: " + username);
console.log("Password: " + password);
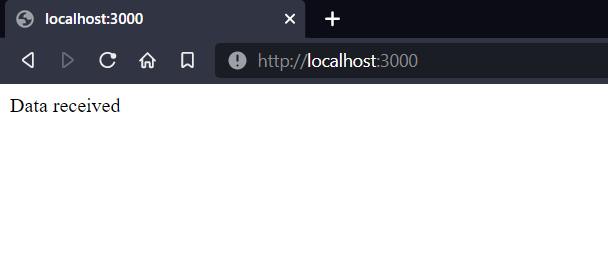
res.send("Data received");
});
7. Create a port to test our application on browsers using the “listen” method and pass the 3000 port as an argument.
app.listen(3000);
Run the Application
The main application code is written in a single file “app.js” that runs on executing the below command in the terminal.
node app.js
Open the Application
Enter the below URL inside the search bar of a web browser to open the application.
http://localhost:3000/
this will open the Node.js application we set to port 3000.
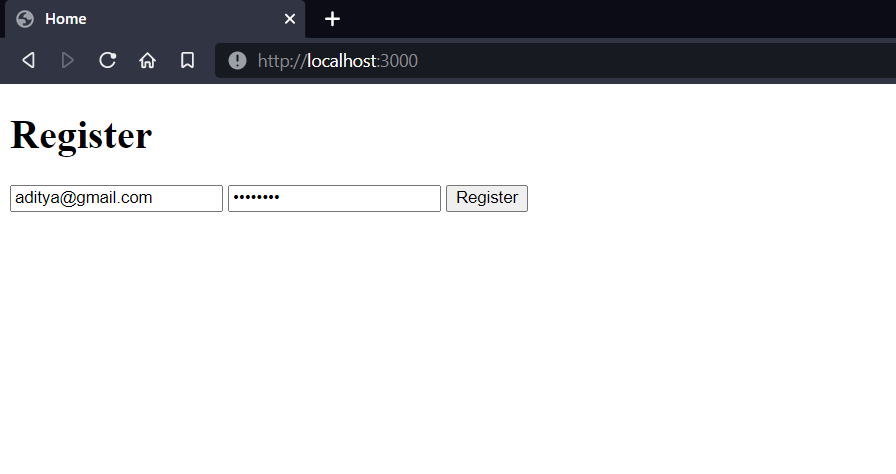
Getting Form Data:
Complete Code for Handling Form Data
Above we have successfully managed the form-data. Just for simplicity or if you want to get the code to handle the data directly without going deep into the concept then consider the following code:
const express = require('express');

const app = express();

app.use(express.json());
app.use(express.urlencoded({extended: true}));

app.get("/", (req, res) => {
  res.sendFile(__dirname + "/index.html");
});

app.post("/", (req, res) => {
  const username = req.body.username;
  const password = req.body.password;
  console.log("Username: " + username);
  console.log("Password: " + password);
  res.send("Data received");
});

app.listen(3000);
Also Read: Handle GET and POST Request in Express
Summary
Fetching data from the form is useful during web development when an application is required to get data from users for different purposes like creating a new account, authenticating the user’s username and password, creating the todo, fetching email to send newsletter or authentication code, sending form data to database, uploading files, etc.
For this, you just have to use two lines, “app.use(express.json());” and “app.use(express.urlencoded({extended: true}));” and then you are able to access the form data using the req.body object within your route handler.
Reference
https://expressjs.com/en/api.html


