New to Rust? Grab our free Rust for Beginners eBook Get it free →
How to Disable a Button in jQuery Using the prop() Method

If you have been shopping a lot online during the sale, you must have noticed that after a certain time of a new product release, it goes out of stock, and you are not able to click the add to cart button, as it got disabled. Did you know that we can also do the same using the prop() method, a new addition to the library — introduced in jQuery 1.6? Well, there’s no need to worry, as we bring you this tutorial where we will discuss in detail about this method and also show its practical usage in multiple cases. So let’s begin.
Introduction to jQuery prop() Method
The prop() method in jQuery allows users to manipulate the properties of HTML elements. Unlike the attr() method, which retrieves the attribute values in HTML, prop() focuses on modifying the properties of DOM elements. Properties show the current state of a DOM element within the browser environment, whereas attributes show the initial state of an element in the HTML.
Syntax:
$(selector).prop(propertyName, value);
- $(selector): It is used to target one or more HTML elements in the DOM.
- propertyName: The name of the property that you want to set for the selected element.
- value: The value which you want to assign to the specified property. It can be of any data type, and it depends on the property that you are setting. For boolean properties like “disabled” or “checked”, you can use true to enable the property and false to disable it.
Disabling a Button Using jQuery prop() Method
Let’s see how we can disable a button that has an id of ‘btn’:
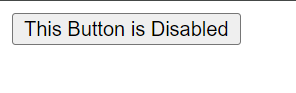
<button id='btn' type='submit'>
    This Button is Disabled
</button>
The above HTML code will give this as an output:
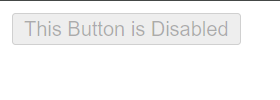
As our Button is working now, let’s disable it:
$('#btn').prop('disabled', true);
The prop() method is called on the button element and the button is disabled because we have passed disabled as the first argument and true as the second argument
Disabling a Button on Click
Let’s say you are making a quiz form for students, and you don’t want the students to do multiple submissions, to refrain from it, you want to disable the submit button, as soon as it is clicked.
To do that, let’s create a submit button first:
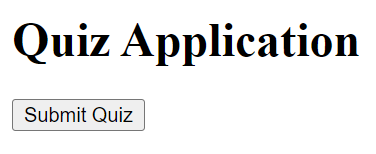
<form id="quizForm" action="/submitQuiz" method="post">
    <button type="submit" id="submitButton">Submit Quiz</button>
</form>
The form has an ID named quizForm and a submit button with the ID submitButton.
The jQuery code which we need to disable the Submit button immediately after clicking it once:
$(document).ready(function(){
        // Define a function to disable the submit button
        var disableButton = function() {
            $('#submitButton').prop('disabled', true);
        };

        // Attach a click event listener to the submit button
        $('#submitButton').click(disableButton);
    });
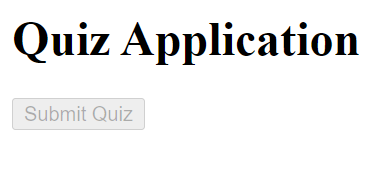
As we can see, the Submit Quiz button is disabled as soon as it gets clicked.
Disabling the Submit Button When Input Is Empty
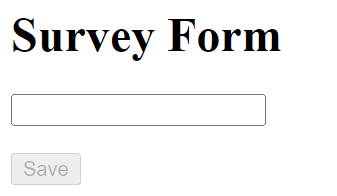
Assume that you are managing a survey report, and you want to prevent people from submitting the form empty. To do that, we have to disable the “Submit” button until the text is filled.
Let’s create the button first:
<div>
  <input id="myInput" name="name" />
</div>
<br>
<button id="myButton" disabled>Save</button>
In the above code, the <input> field is provided for users to input their responses and the <button> element is included for users to submit their responses. Initially, this button is disabled.
The jQuery code that we need to enable or disable the Submit button based on the content of an input field:
$(document).ready(function(){
    var checkInput = function() {
        const content = $("#myInput").val().trim();
        $('#myButton').prop('disabled', content === '');
    };

    $(document).on('keyup', '#myInput', checkInput);
});
In the above code, the disabled property of the submit button (#myButton) is updated using jQuery’s prop() method. It is set to true if the content of the input field is empty so that it can prevent users from submitting the form with empty input.
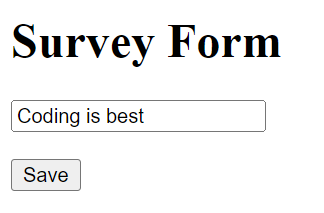
As we can see, the moment we input some value, the Save button is enabled.
Conclusion
Now that we have reached the end of this tutorial, we hope that you now have enough information to be able to create a button and disable it according to the necessity of your project. With the given example and every little detail about the parameters, you are all set to create your own interactive buttons.
Explore jQuery with these tutorials:
Reference
https://developer.mozilla.org/en-US/docs/Web/HTML/Attributes/disabled