New to Rust? Grab our free Rust for Beginners eBook Get it free →
How to Animate Route Transitions in App Directory: A Simple Way

If you want to know how to add transitions when navigating between pages or routes, this guide is for you.
In this article, we will see how to add page transitions in the App router in the simplest way possible. We will be taking help from a very popular open-source motion library named Framer Motion. Let’s get started.
Click here to follow our exclusive Next.js series!
Adding Page Transitions in Next.js
To start with we have a simple Next.js app having the following three routes or pages:
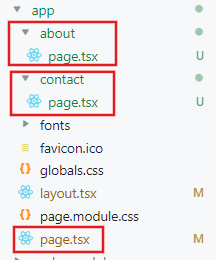
app/page.tsx:
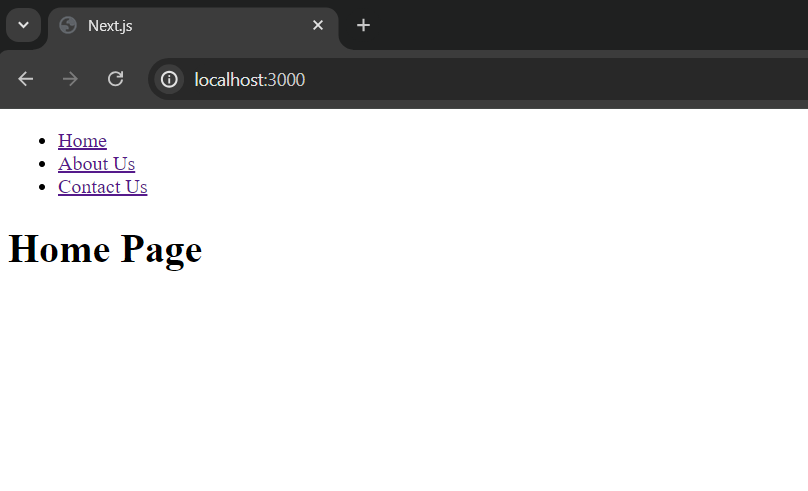
const HomePage = () => {
    return <h1>Home Page</h1>;
};

export default HomePage;
app/about/page.tsx:
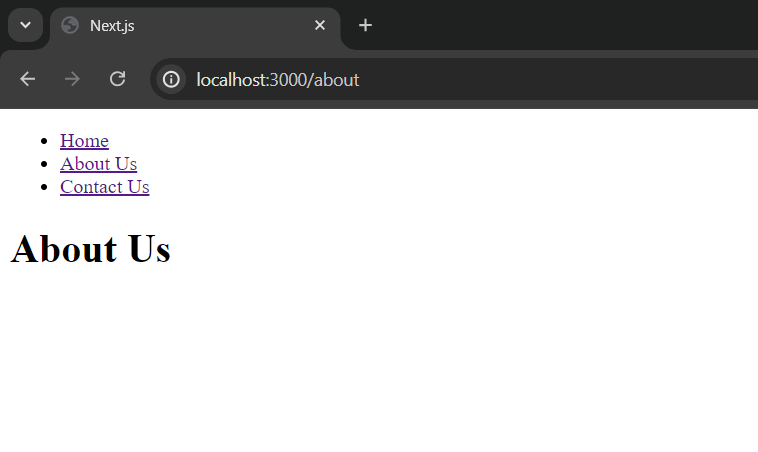
const AboutPage = () => {
    return <h1>About Us</h1>;
};

export default AboutPage;
app/contact/page.tsx:
const ContactPage = () => {
    return <h1>Contact Us</h1>;
};

export default ContactPage;
This will eventually create three pages: home (“/”), about (“/about”) and contact (“/contact”). This process is called file-based routing which we have covered in our previous tutorial.
Navigating Between Pages
We will use the <Link> component to navigate between pages without triggering a full page reload, making the overall user experience better by providing seamless and fast page navigation.
We will use this <Link> component inside the root layout (app/layout.tsx) so that each page (page.tsx) will have it.
app/layout.tsx:
import Link from 'next/link';

export const metadata = {
  title: 'Next.js',
  description: 'Generated by Next.js',
}

export default function RootLayout({
  children,
}: {
  children: React.ReactNode
}) {
  return (
    <html lang="en">
      <body>
        <ul>
        <li><Link href="/">Home</Link></li>
        <li><Link href="/about">About Us</Link></li>
        <li><Link href="/contact">Contact Us</Link></li>
        </ul>
        {children}
      </body>
    </html>
  )
}
Now we can easily navigate from one route to another.

Click here to learn more about the Link component and navigating between pages in Next.js.
Adding Page Transitions
To add page transitions we can create a file app/template.tsx. The template file customizes the rendering behaviour of routes or dynamic segments within the app directory. It resets the state of these segments when navigating, providing a fresh start on each navigation.
We can import page transitions into the template file using the Framer Motion library to trigger the animation whenever a user navigates to a route. But before that, we need to install it first.
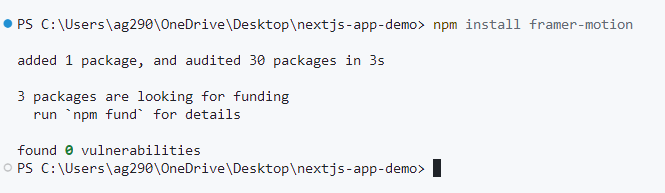
To install framer-motion, run the following command in the Next.js project directory:
npm install framer-motion
If you are using Yarn:
yarn add framer-motion
Now we will be able to use framer-motion inside our template file.
app/template.tsx:
"use client"
import { motion } from "framer-motion"

const variants = {
  hidden: { opacity: 0 },
  enter: { opacity: 1 },
}

export default function Template({ children }: { children: React.ReactNode }) {
  return (
    <motion.main
      variants={variants}
      initial="hidden"
      animate="enter"
      transition={{ duration: 0.5, delay: 0.10 }}
    >
      {children}
    </motion.main>
  )
}
Here we have imported motion from the framer-motion library. Then created a variants object to define two animation states: “hidden” (opacity 0) and “enter” (opacity 1). Then created a Template component that uses motion.main to apply these animations to its children, transitioning from hidden to visible in 0.5 seconds with a 0.10-second delay.
The transition we have applied here is not so advanced, to keep the code simple for everyone, but you can visit the official Framer Motion page for more complex animation options, it is really easy to apply.
Summary
In short, to add page or route transitions in Next.js, all we have to do is create an app/template.tsx file and use the Framer Motion library to create a transition that will trigger when navigating between pages or routes.
To learn more about the layout.tsx file, visit: How to Add Layouts in Next.js.
Reference
https://nextjs.org/docs/app/api-reference/file-conventions/template