New to Rust? Grab our free Rust for Beginners eBook Get it free →
Adding Node.js to the System Path: GUI & CLI Approach

Setting up the PATH environment variable for Node.js is not required, it simplifies the development process. You may still load each Node.js tool or module separately, but you won’t need to give their whole path when you set the PATH variable. This improvement makes the development process easier.
This tutorial walks over the methods and fundamental procedures for setting up the environment Path variable for Node.js on Windows.
Also Read – NodeJS: Installation, Setup, and Creating a Hello World Application in NodeJS
Configuring the Node.js PATH Variable
The two methods for configuring the PATH variable for Node.js on Windows are listed and described below along with the appropriate actions to take.
1. Setting Up Node.js PATH Variable Using GUI
A graphical user interface, or GUI, is a program’s visual representation that enables users to interact with it using windows, menus, buttons, and icons.
Follow the procedures given below to set or configure the PATH environment variable using a graphical user interface:
Step 1: Select Directory
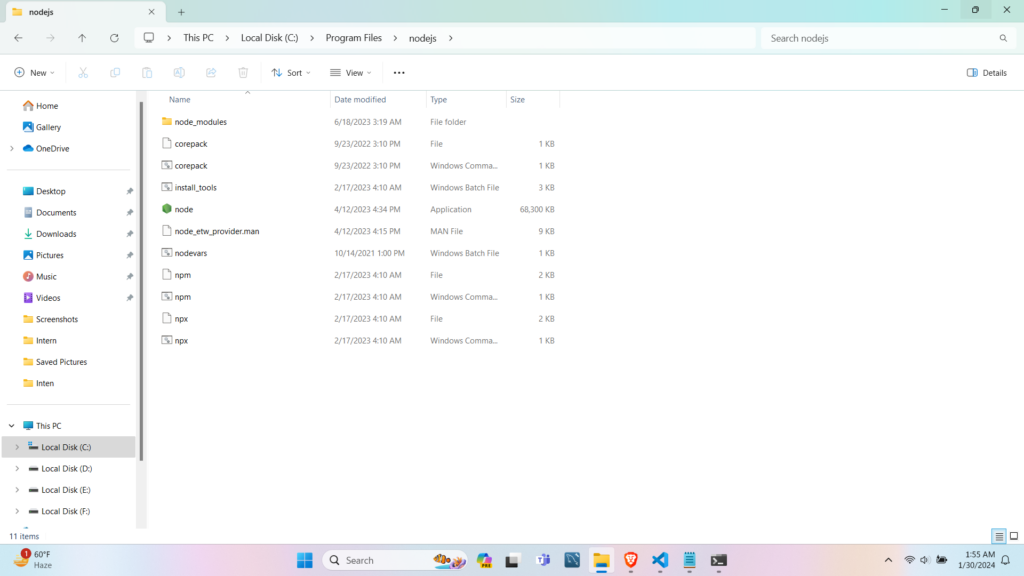
Locate the “nodejs” directory within the “Program Files” folder if Node.js is installed in “64-bit” mode, or inside the “Program Files(x86)” folder if Node.js is installed in “32-bit” mode. Next, enter the “nodejs” directory and copy the directory path where the “node.exe” file is located.
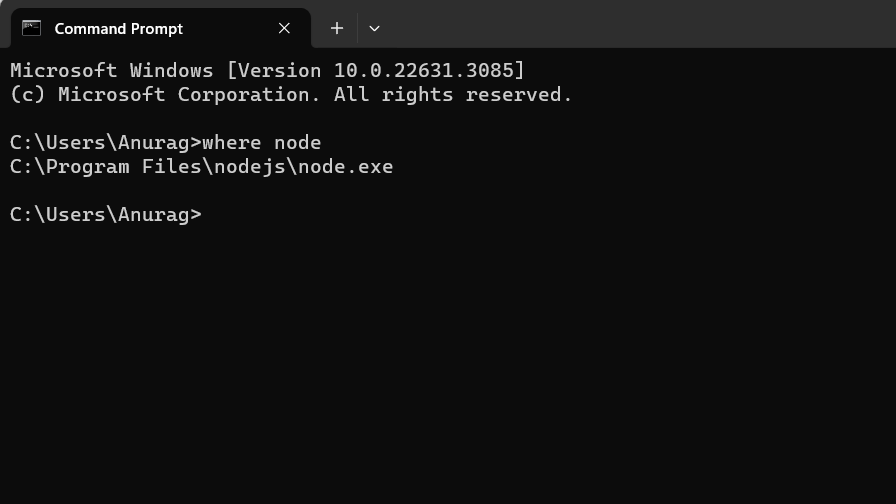
Or we can use the command prompt or terminal to run the “where node” command if the “node.exe” file cannot be located. Using this command, you may find the file’s location on the system.
Step 2: Open Environment Variables Settings
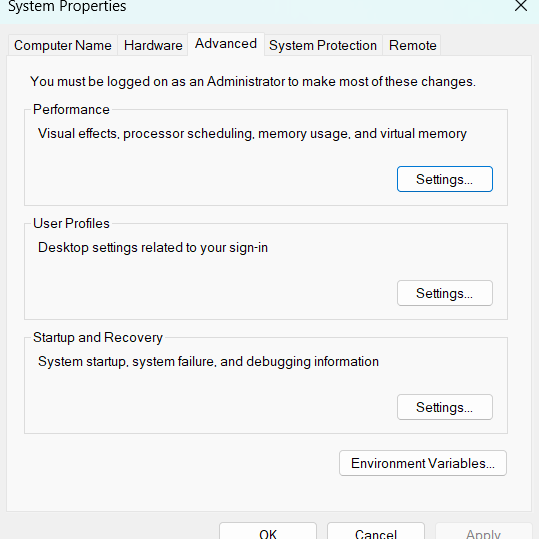
Click on the Start Menu icon, search env, select “Edit the system environment variables” from the menu and then click “Environment Variables”.
Step 3: Edit System Environment Variables
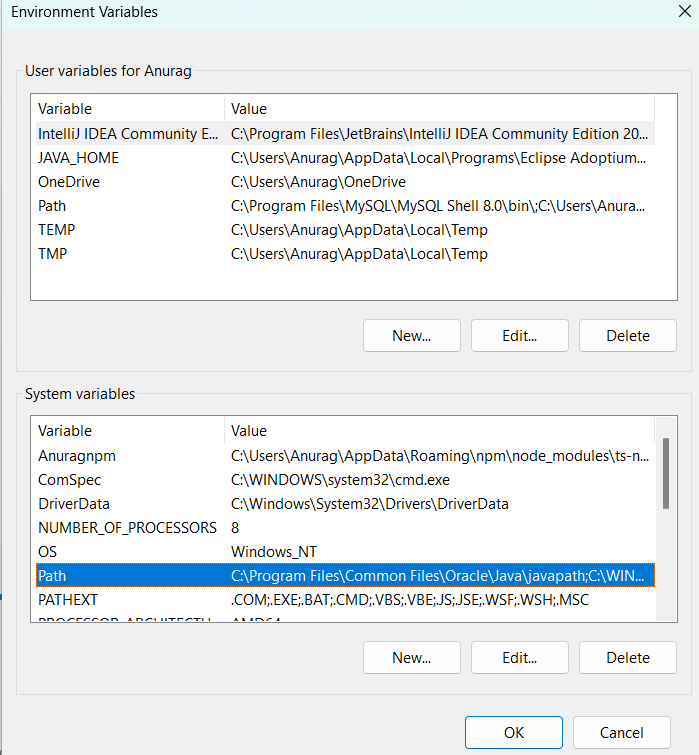
Locate and pick the “Path” variable from the “System variables” and Click on the “Edit” button.
Step 4: Add System Variable
Click “New” and enter the path where Node.js are installed and then click “ok”.
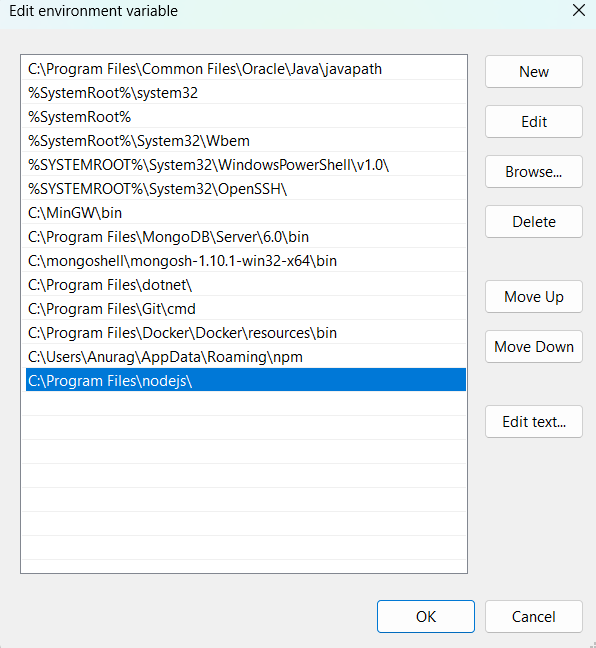
Step 5: Click “OK” on each open window to apply the changes and then restart the command line.
Step 6: Verify Node Installation
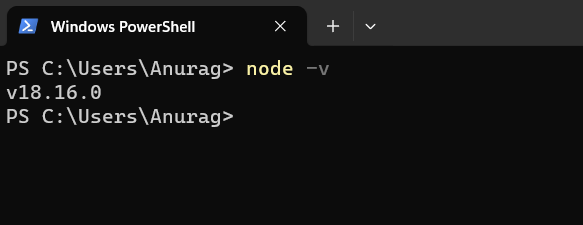
Use the following command to verify node installation:
node -v
If Node.js is added to PATH, this command will display the installed Node.js version.
2. Setting Up Node.js PATH Variable Using CLI
The Command-Line Interface (CLI) is a text-based platform that enables users to engage with a program by inputting commands into a terminal or console. Employing the CLI involves executing commands via the terminal to set or modify environment variables while specifying the PATH for Node.js.
To set or configure the PATH environment variable for Node.js utilize the Command Prompt CLI terminal and visit the below steps:
Step 1: Open the Command Prompt
First, launch the Command Prompt via the “Startup” menu.
Step 2: Setting up the Path Variable For Node.js
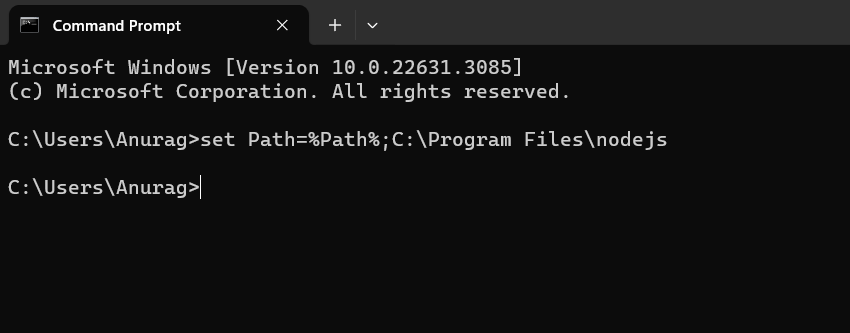
To set the value temporarily for the path environment variable, use the command:
set Path=%Path%;C:\Program Files\nodejs
Step 3: Setting up the Path Variable For Node.js Permanently
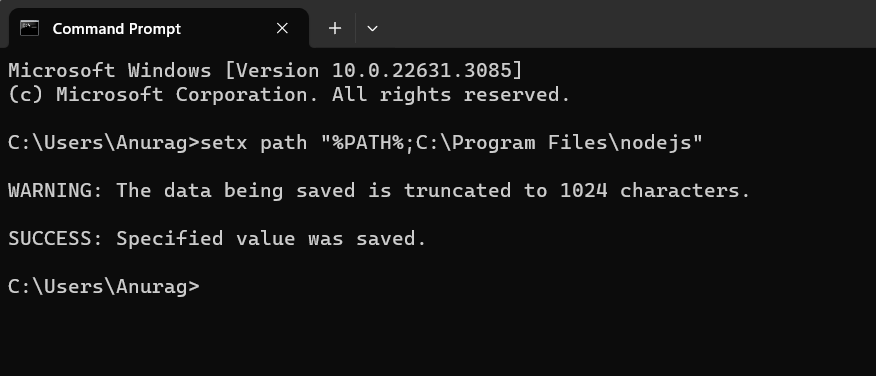
To set the value Permanently for the path environment variable, use the command:
setx path "%PATH%;C:\Program Files\nodejs"
That’s all the procedure for configuring the PATH environment variable for Node.js.
Conclusion
In conclusion, the process of adding the Node.js path to the system variables, as discussed through the GUI and CLI methods, empowers developers with diverse approaches for configuring their development environment. Whether using the CLI’s command-line efficiency or the GUI’s visual simplicity, both approaches accomplish the same thing: they integrate Node.js seamlessly. Because of this flexibility, developers are guaranteed to select the approach that best suits their tastes and workflow. Through proficiency in both GUI and CLI methods, developers can effectively manage their Node.js applications.
Continue Reading:
- Resolving ‘node’ is not recognized as an internal or external command
- Reading File Line by Line in Node.js
Reference
https://github.com/nodejs/node-v0.x-archive/issues/4356


