New to Rust? Grab our free Rust for Beginners eBook Get it free →
How to run Node.js files in VS Code: A Step-by-Step Guide
Node.js is an open-source cross-platform JavaScript runtime built on Chrome’s V8 JavaScript engine. Node.js uses the process model instead of the traditional web server model, which makes it super useful for web development. It allows developers to use JavaScript to create server-side applications that can handle multiple requests simultaneously without any clash between the requests which makes it ideal for building real-time, data-intensive applications.
In this tutorial we will be learning about Visual Studio Code (VS Code), VS Code installation, Node installation, and how to run Node.js executables in VS Code
Introduction to Visual Studio Code (VS Code)
Visual studio code or VS Code is a free and open-source code editor developed by Microsoft. It is meant to be highly flexible and customizable and works with almost all programming languages and frameworks.
VS Code offers a number of tools and functionalities that makes the development of an application really easy. With VS Code, the process of writing, reviewing, debugging, and testing the code becomes really easy. It has an integrated terminal, git, and an enormous range of extensions to enhance its performance as per the wish of the user.
VS code is really lightweight in nature which makes it a popular choice among developers as a light but powerful code editor. It works on Windows, MacOS, and Linux. It is constantly updated and improved on the basis of the reviews and feedback from the developer community.
Installation of VS Code
The installation of VS Code has the following steps :
- Follow the link to download VS code, “https://code.visualstudio.com/download“.
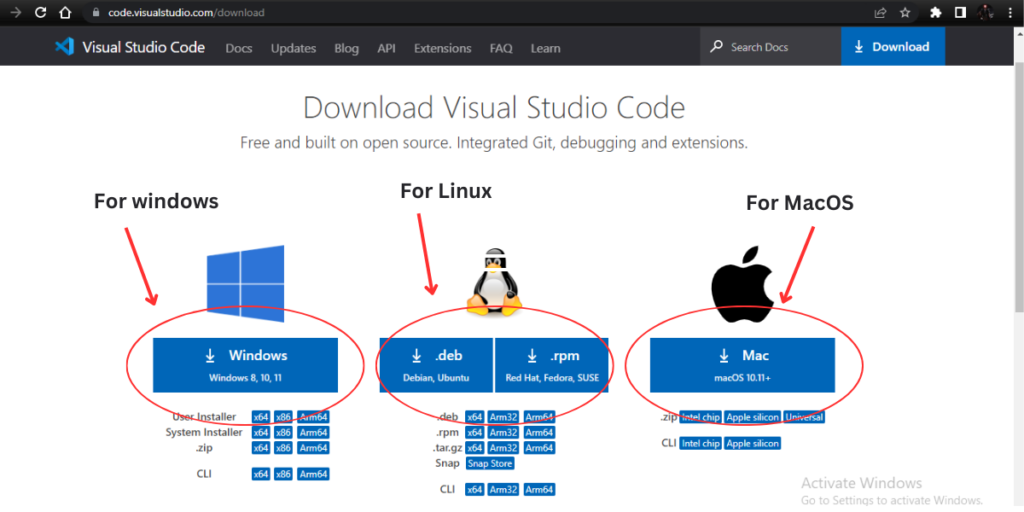
- Once the file is downloaded follow the onscreen instructions in order to install VS Code.
- After the installation is complete, launch VS code.
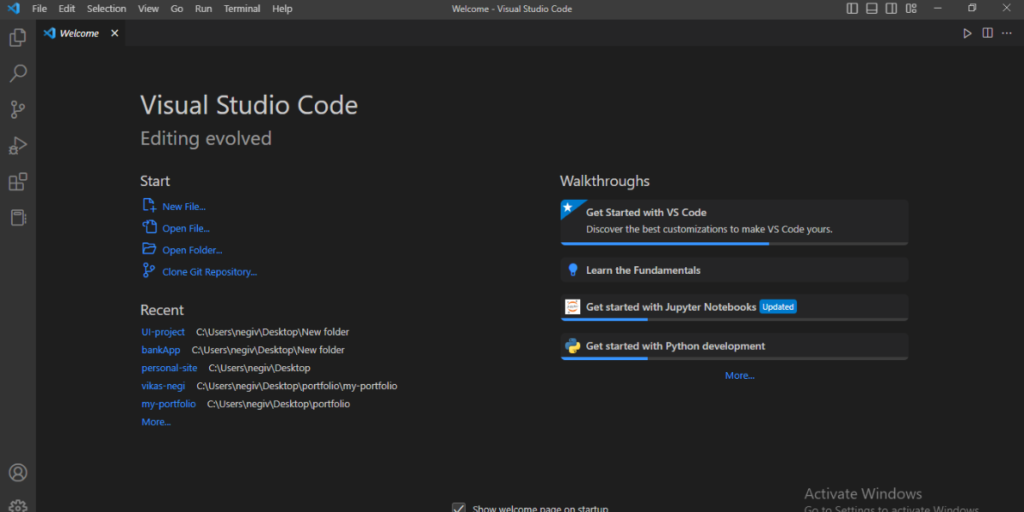
That’s it. You can use VS code for code editing. You just need to install extensions corresponding to your requirements and go.
Installation of Node.js
In order to run Node.js executables in VS code we can use the integrated terminal in VS code. But in order for that to work we need Node installed on our system beforehand. Follow the steps to install the node :
- Go to the Node.js website at https://nodejs.org/en/.
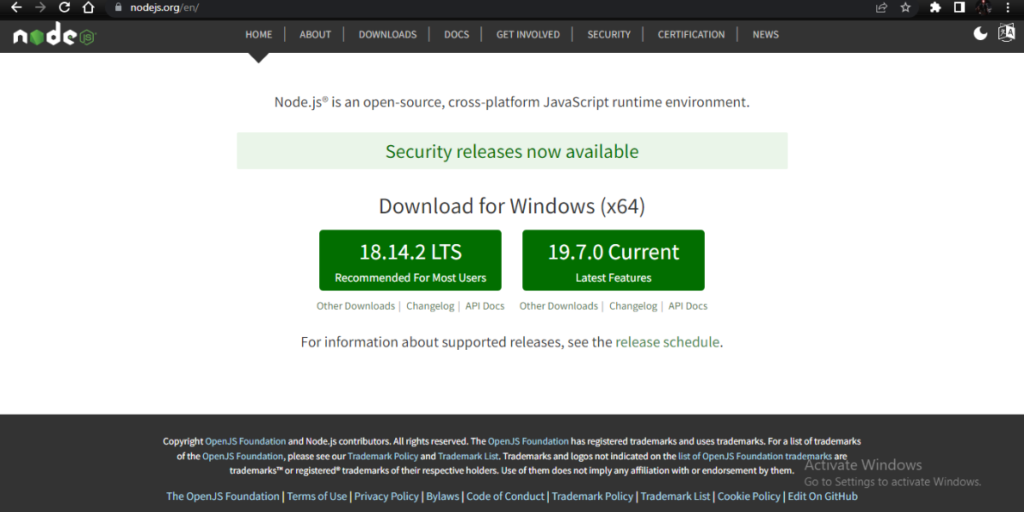
- It will automatically detect your operating system and will direct you to the Node.js installer for your operating system. Download the Node.js installer.
- Run the installer and follow the onscreen instructions in order to install Node.js.
- Once the installation is complete, you can verify that Node.js is installed by opening a command prompt (Windows) or terminal (macOS or Linux) and typing the following command.
node -v
Running Node.js Files in VS Code
Once we are done with the installation of VS Code and Node.js, running Node.js files become super easy. You can run Node.js files in VS by following the steps below :
- Open the folder in VS Code which has the Node.js files, that are to be run.
- Then in order to run the files open the integrated command line interface in the VS Code by navigating to the terminal in the menu bar at the top and then by opening a new terminal. The same thing can also be achieved by following the shortcut “ctrl + shift + `” in windows.
- Then just write the following command followed by the file name.
node file_name
That’s it. Using this command in the CLI integrated with VS code we can run Node.js executables in VS code.
Summary
VS Code is an open-source cross-compatible code editor. It is highly flexible and customizable. We can write any type of code in it. Apart from that it comes with a bunch of functionalities, tools, and extensions which make coding way simpler, easier, and more interesting. VS code is meant to handle big projects, i.e., we have an interface within VS code to create, delete and edit files and folders. This article gives a brief walkthrough of the process of installing VS Code, installing Node.js, and running Node.js files in VS code. We have tried simplifying things as much as possible. Hope it helps.
References
https://nodejs.org/en/
https://code.visualstudio.com/

