
New to Rust? Grab our free Rust for Beginners eBook Get it free →
Postgres with Nodejs Install & Set-Up: Easy 7 Minute Step-by-Step Guide for macOS
This tutorial will walk you through the steps to install and set up Postgres with Nodejs on MacOS.
Please read the installation guide for Postgres with Nodejs for Windows here if you are a Windows user.
You are at the right place if you always wanted your awesome Nodejs application to have a Postgres database management system.
Most Nodejs development tutorials will only show you a NoSQL database type integration, especially MongoDB, because of its popularity achieved from the MERN stack (MongoDB, Express, React, Nodejs) or the MEAN stack (MongoDB, Express, Angular, Nodejs).
However, some of you are comfortable using SQL database types, most popularly Postgres, which we will discuss today.
By the end of this hopefully entry-level tutorial, you should have understood the steps to install Postgres with Nodejs on your Mac operating system.
I have segmented this into two parts. The first part will conquer the installation of PostgreSQL on your machine and the second part will help you setting up Postgres with Nodejs.
What is the PostgreSQL Database Management System?
PostgreSQL refers to itself as the world’s most advanced open-source database. This is an SQL-compliant relational database management system that is and is completely free and extensible.
The PostgreSQL database management system features a relational i.e., SQL, and non-relational i.e., JSON querying support.
Being around for almost three decades now, this DBMS is highly stable and reputed. That means you have nothing to worry about its learning curve, reliability, accuracy, and assurance of performance. It can be used as a primary database for web and mobile applications data storage.
Installing & Setting Postgres with Nodejs on MacOS
Let’s get started with our Postgres with Nodejs installation.
1) Download PostgreSQL Installer for MacOS
To install Postgres with Nodejs on Mac, you will first need an installer. Visit the official download page of PostgreSQL installers on EnterpriseDB.
2) Pick your Preferred Version of PostgreSQL
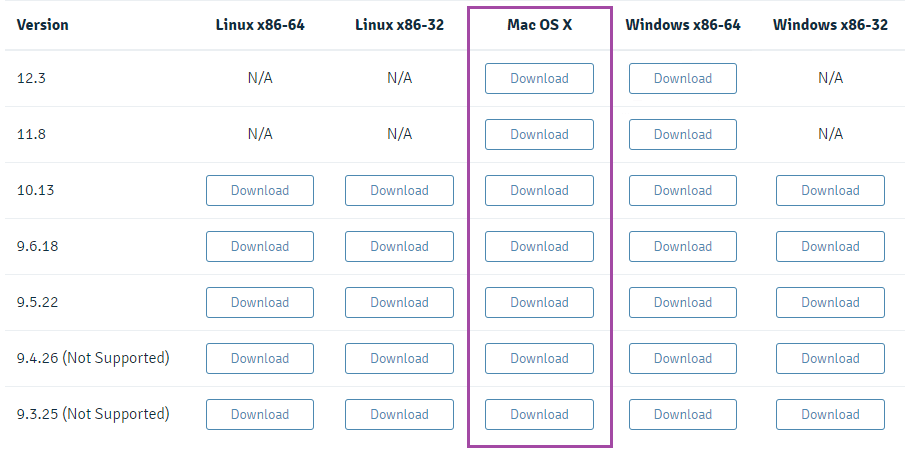
Once you hit the Download button, your download should start immediately. Once it does, it will take some time depending on your internet connection. It is always recommended you download the latest version of PostgreSQL.
3) Set up PostgreSQL for Mac OS X using Installer
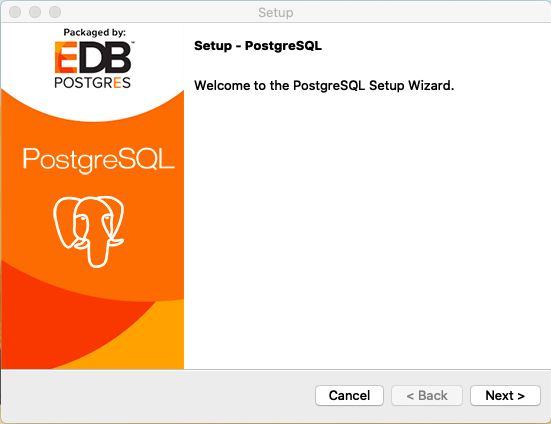
Launch the installer and get started.
Step 1: Click Next.
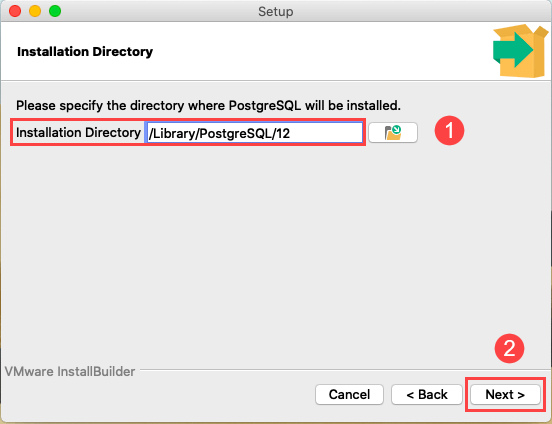
Step 2: Select a directory of your choice where you want Postgres to be installed and click Next.
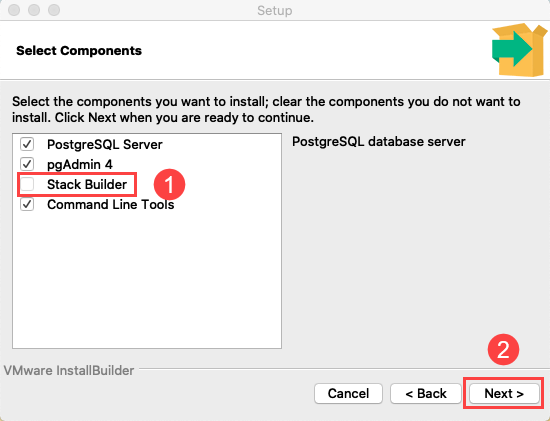
Step 3: Select the required components and click Next. You may choose to uncheck ‘Stack Builder’ but the rest are necessary.
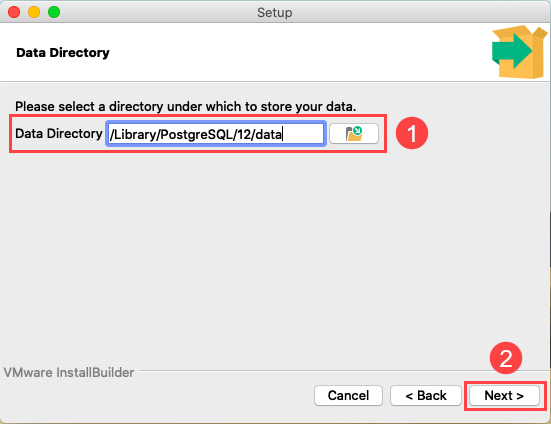
Step 4: Create or specify a directory for PostgreSQL to store your application’s data and click Next.
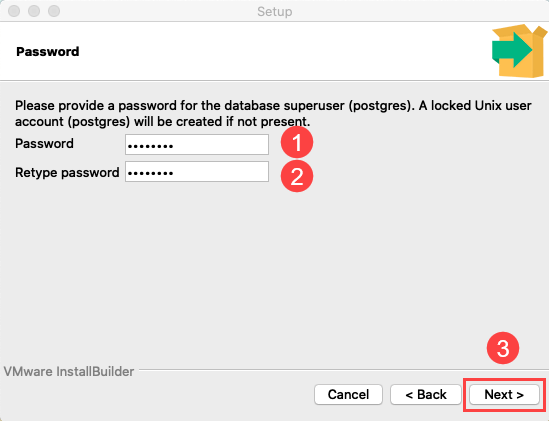
Step 5: Choose a password for Postgres users and click Next. Make sure you remember this password or note it down somewhere, as you’ll require to enter it further down the installation.
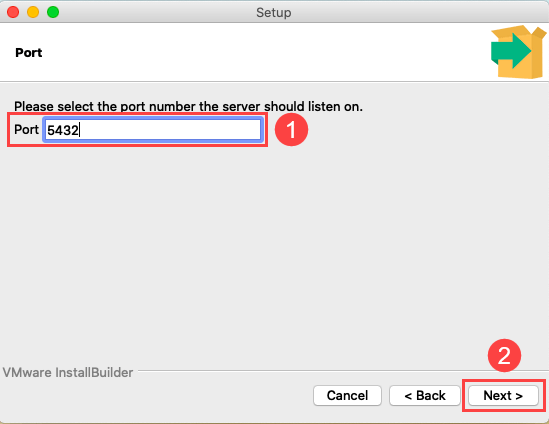
Step 6: Specify a unique Port number where your PostgreSQL database server must listen to and click Next. Postgres uses port number 5432 by default; however, you may change it to something unique.
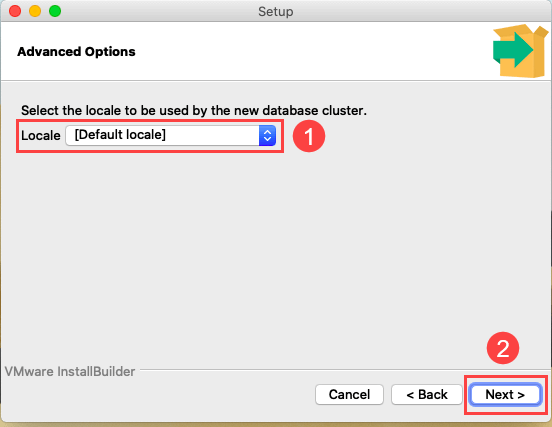
Step 7: Select a locale for PostgreSQL. By default, PostgreSQL will go with the default locale of your operating system and click Next.
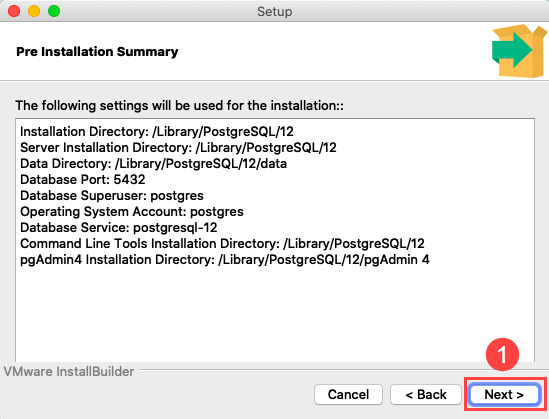
Step 8: Check if everything in the Preinstallation Summary is good to go and click Next.
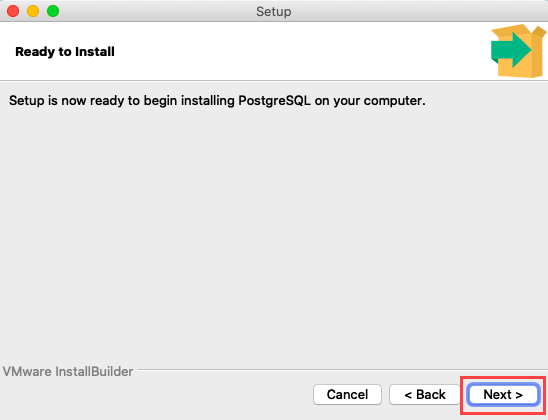
Step 9: Click Next to begin the installation.
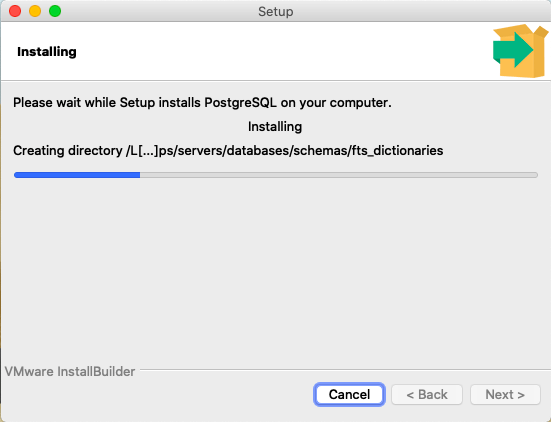
Step 10: Wait until the download completes and click Next.
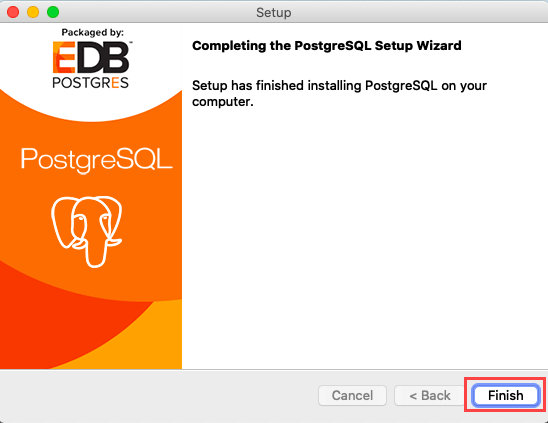
Step 11: Hit Finish.
Creating a Sample Local Database
Now that we have Postgres installed on our Mac machine, let us create a sample local database to get started. Likewise, you may create a working local database for your application and start using it to store your application’s data.
Step 1: Launch the pgAdmin from Launchpad.
Step 2: Enter the password for the Postgres user you entered during installation.
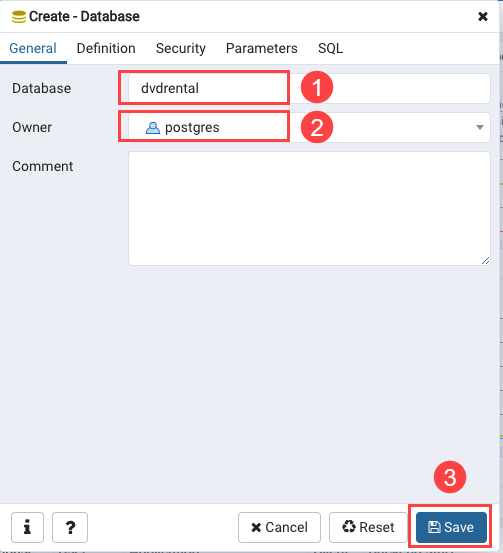
Step 3: Right-click on Postgres 12 and select Create > Database. This will now open a dialog box to let you create a new database.

Step 4: Enter a name for your Database and let the user be postgres. Once you’re done, hit Save.
Step 5: Download and unzip the sample database you created. You will find a directory with multiple files in it.
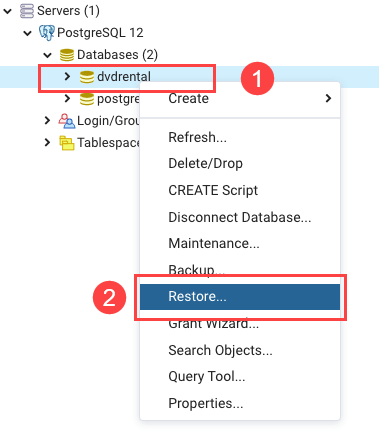
Step 6: On the left-hand side menu, under Databases, right-click your newly created database and look for the Restore… button in the menu.
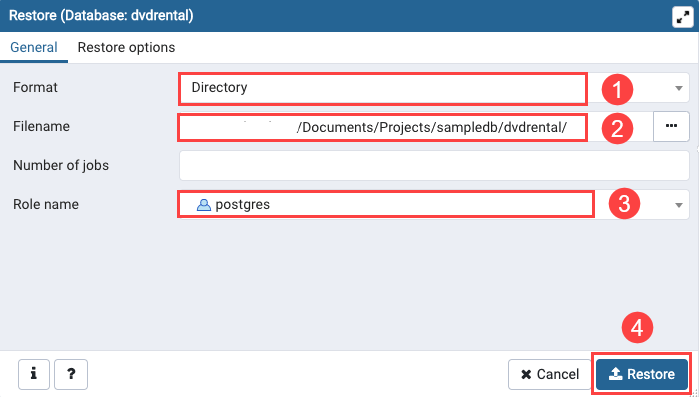
Step 7: Configure the Restore utility as:
- Select the directory as Format.
- Specify the directory that contains your newly created database as Filename.
- Let the Role name be postgres.
- Hit Restore once you’re done with the steps a, b and c.
Step 6: Wait for a few seconds until you see this success notification.
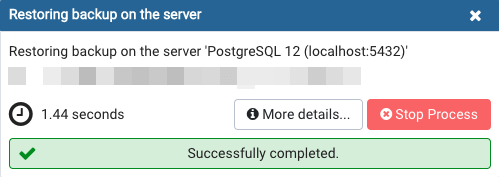
This ensures that you have successfully created a new database and restored it from the downloaded file.
Setting up Postgres with Nodejs on Mac
Let us now move on to the next step of integrating Postgres with Nodejs projects on your Mac machine.
This post assumes you have installed Nodejs on your machine. If you haven’t, click here to learn how.
Step 1: Open your Git Bash terminal and create your project directory.
$ mkdir POSTGRES_NODEJS_APP
Step 2: Pass this command to list out files in the current directory. If you find your newly created project directory name, simply jump to the next step.
$ ls
Step 3: Change the directory to your project directory.
$ cd POSTGRES_NODEJS_APP/
Step 4: Create your Nodejs Project.
$ npm init -y
Your package.json file should now be created and should look like this:
{
  "name": "POSTGRES_NODEJS_APP",
  "version": "1.0.0",
  "description": "",
  "main": "index.js",
  "scripts": {
    "test": "echo \"Error: no test specified\" && exit 1"
  },
  "keywords": [],
  "author": "",
  "license": "ISC"
}
Step 5: Create .js file for your Nodejs project.
$ touch index.js
Step 6: Install the ‘pg’ and the ‘pgtools’ packages using NPM. The pgtools package will allow us to modify our database(s) on the PostgreSQL server.
$ npm i pg pgtools
Step 7: Open your .js file in your editor and set up a connection to your db, like this.
const pgtools = require("pgtools");
const config = {
  user: "postgres",
  host: "localhost",
  password: "some+random?password!",
  port: 5432
};

pgtools.createdb(config, "newDb", function(err, res) {
  if (err) {
    console.error(err);
    process.exit(-1);
  }
  console.log(res);
});
Step 8: Run your .js file to create your database.
$ node index.js
The output should look like this:
Result {
command: 'CREATE',
rowCount: NaN,
oid: null,
rows: [],
fields: [],
_parsers: [],
RowCtor: null,
rowAsArray: false,
_getTypeParser: [Function: bound ]
}
Step 9: To check if your connection was successful, run this command to get a list of your created databases. Now, look for your newly created database. If you find it, it means your DB was created and the connection was successful.
$ \l
The output should now look like this indicating a successful Postgres with Nodejs set up:
List of databases
Name | Owner | Encoding | Collate | Ctype | Access privileges
-----------+----------+----------+-------------+-------------+-----------------------
newDb | postgres | UTF8 | en_PH.UTF-8 | en_PH.UTF-8 |
postgres | postgres | UTF8 | en_PH.UTF-8 | en_PH.UTF-8 |
Conclusion
This tutorial will walk you through the simplest steps to install and set up Postgres with Nodejs on MacOS By the end of this hopefully entry-level tutorial, you should have understood the steps to install Postgres with Nodejs on your Mac operating system.
Noteworthy References
PostgreSQL Tutorial – Official Postgres Tutorial Website


