New to Rust? Grab our free Rust for Beginners eBook Get it free →
Next.js Installation: Step-by-Step Instructions
Next.js is a powerful React framework that provides features like built-in TypeScript support, middleware, APIs, pre-rendering, server-side rendering, file-based routing, etc, which React lacks. It also lets us write backend code, making it ideal for both the client side and server side while React is limited to the client side.
It can create web apps with fast loading, high performance, and SEO such as e-commerce platforms, content management systems, corporate websites, progressive web apps, APIs, microservices, etc.
In the previous tutorial, we talked about Introduction to Next.js, in this we will learn how to install and use it.
Installing Next.js
Next.js does not require any additional installation process, we just have Node.js installed and we can easily create a Next.js project using a simple command line utility create-next-app. The steps are given below:
1. Install Node.js
The first thing we have to make sure of is that Node.js must be installed in our system in which we will be using Next.js.
To install Node.js, download the setup file from the Node.js official website.
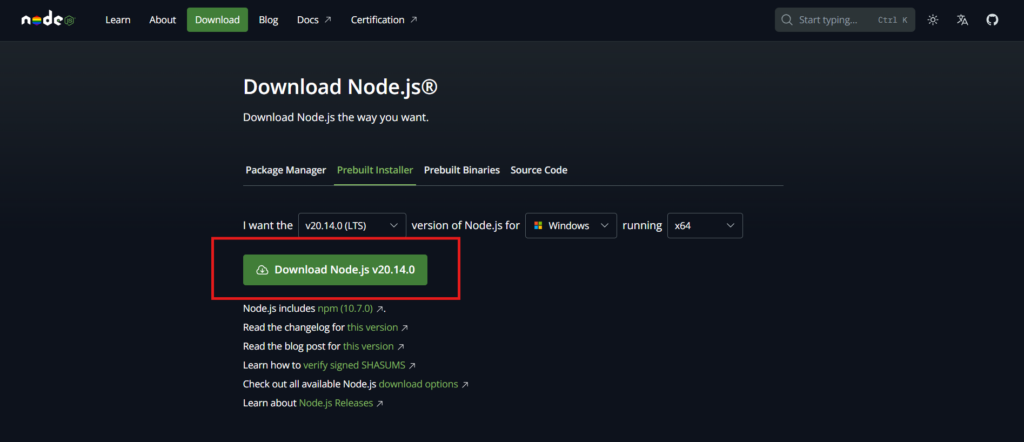
Now proceed with the Node.js setup wizard and go with all the default options.


Once you have Node.js installed, make sure to restart your system before proceeding.
2. Verify Node.js Installation
To make sure that Node.js is installed properly open the command prompt and type the command:
node --version
make sure that it returns a version.

3. Check for Required Version
Next.js requires Node.js version 18.17 or higher, so if you are using an older version of Node.js, make sure to update it.
If not, you will get an error like this:

Click here to learn how to update Node.js to any version of your choice.
4. Initialising Next.js
To set up a new Next.js project, we can use the create-next-app command-line tool present on the npm registry. This tool (package) is provided by the Next.js team and can be used with NPX, Yarn, or PNPM.
To get started, open up a terminal and run the command:
npx create-next-app@latest

Write any name you want but it should be in all in lowercase with no whitespace. You can use hyphens (–) instead of spaces. For the other options let’s go with the default for now.
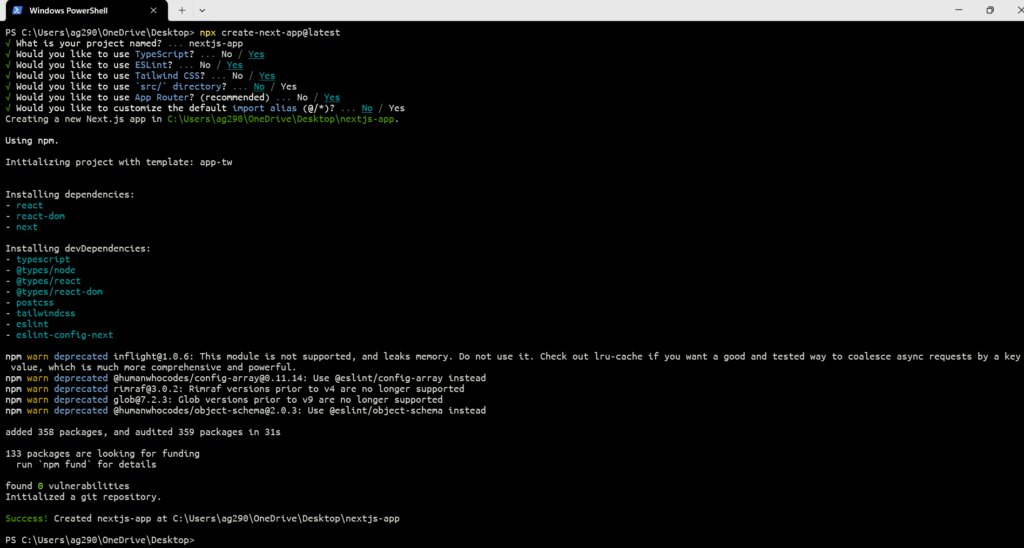
Once all the required dependencies and packages are installed, you will get the exact project path. You can copy it to navigate to the project folder.
5. Run Next.js Application
Let’s check if the Next.js application we created is working or not.
A basic way to know which script to use to run the project is to look at the package.json file scripts section. Open the package.json file and look for the script to run the project.

As you can see, we have a dev script and a start script to run the project. Let’s go with dev.
npm run dev

If you get any error then it means that one or more of the above steps have not been followed properly.
Output:
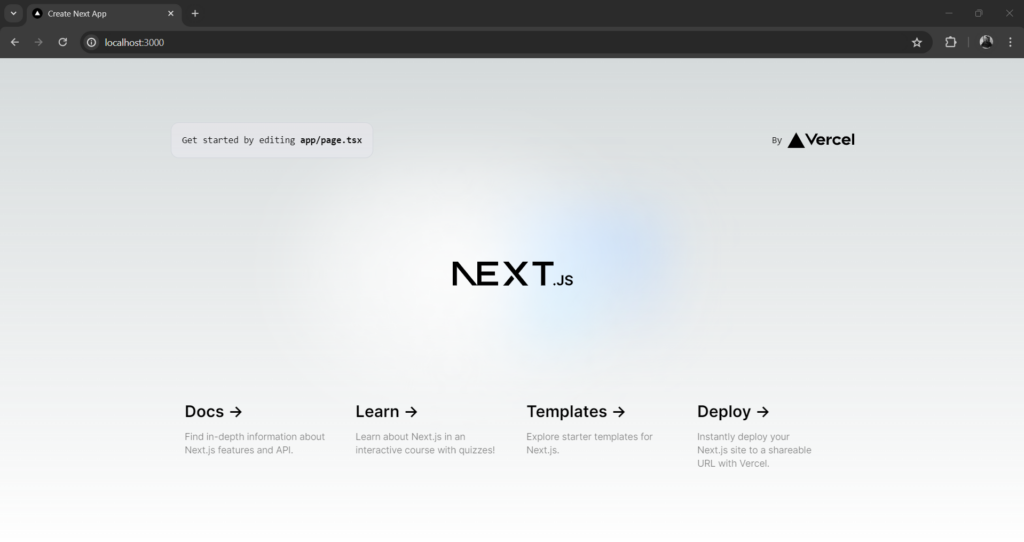
We can see that the application we just created is running successfully, this means the installation of Node.js and Next.js with all the required dependencies is done successfully.
*What Next?
Summary
Let’s summarize what we learned. To install Next.js, it is required that the Node.js version Node.js 18.17 or later is installed on the system. Then we can directly execute the “npx create-next-app@latest app-name” inside the project folder, where app-name is the name of the project and that’s it, Next.js is properly installed and ready to use. To run it, move on to the project directory and run “npm run dev” to start the development server.
Reference
https://nextjs.org/docs/getting-started/installation


