New to Rust? Grab our free Rust for Beginners eBook Get it free →
JavaScript Prompt Dialog Box Tutorial – Alert, Confirm, and Input Examples

If you have been coding in JavaScript for longer, you have already covered the methods dealing with numbers and strings, which are frequently used. There are other special methods in JavaScript that can turn out to be important while creating web pages. The alert(), prompt(), and confirm() methods display a dialog box to communicate with the user in different ways. In this tutorial, we will learn about these methods with the help of practical examples.
Displaying a Dialog Box with the alert() Function
The alert() method in JavaScript is used to show a virtual alert box that provides a message or warning to the user. The alert() requires the user to close the alert box before moving to the other sections of the website. It is frequently used for displaying informational messages, notifications, cautions and error alerts.
Syntax
alert(message);
- ‘message’: The text you want to display in the alert dialog.
Example
Below is an example of the alert method to help you understand how it works:
<!DOCTYPE html>
<html lang="en">
<head>
    <title>Alert method</title>
</head>
<body>
    <p>Click to see the alert </p>
    <form>
        <input type = "button" value = "Alert" onclick = "myFunc();" />
    </form>
<script>
    function myFunc() {
        alert("Here is the alert!");
    }
</script>
</body>
</html>
Output
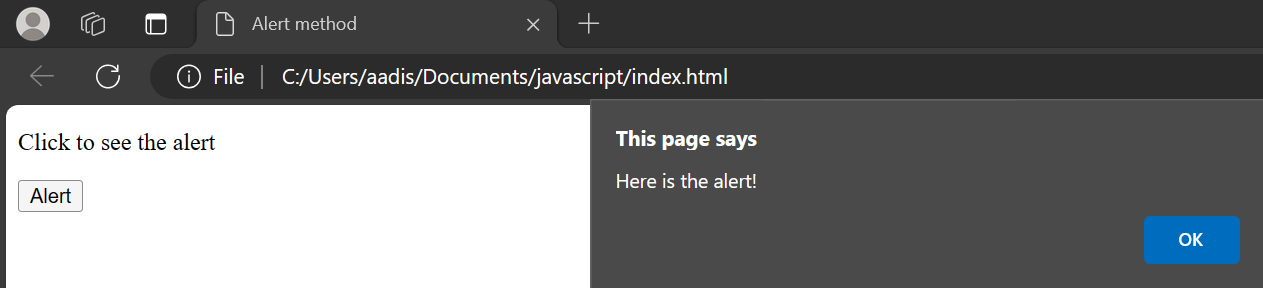
As you can see, the alert() method returns “Here is the alert!’ when you click the button “Alert”.
When you click the “OK” button, the alert will be dismissed.
When designing UI interactions, dialog boxes can be paired with template literals in JavaScript and checked with browser features like navigator for a complete experience.
JavaScript prompt() Method to Get User Input
The prompt() method in JavaScript, also known as a window prompt, is used to display a dialog box that asks users to provide input. This method lets the user enter an input value, and the prompt dialog box then captures that user input for use in the JavaScript program. It is frequently used to gather information from users or to request some input from users.
Syntax
prompt(message, defaultText);
- ‘message’: The text you want to display in the dialog.
- ‘defaultText’: The default value which will be displayed in the input field of the dialog box. (optional)
Example
Below is an example of the prompt method to help you understand how it works:
<!DOCTYPE html>
<html lang="en">
<head>
    <title>Prompt method</title>
</head>
<body>
    <p>Click to see the prompt </p>
    <form>
        <input type="button" value="Prompt" onclick="myFunc();" />
    </form>
    <script>
        function myFunc() {
            let userInput = prompt("Please enter your name:", "User");
            if (userInput !== null) {
                alert("Hello, " + userInput + "! Welcome to our website.");
            } else {
                alert("You have canceled the prompt.");
            }
        }
    </script>
</body>
</html>
Output
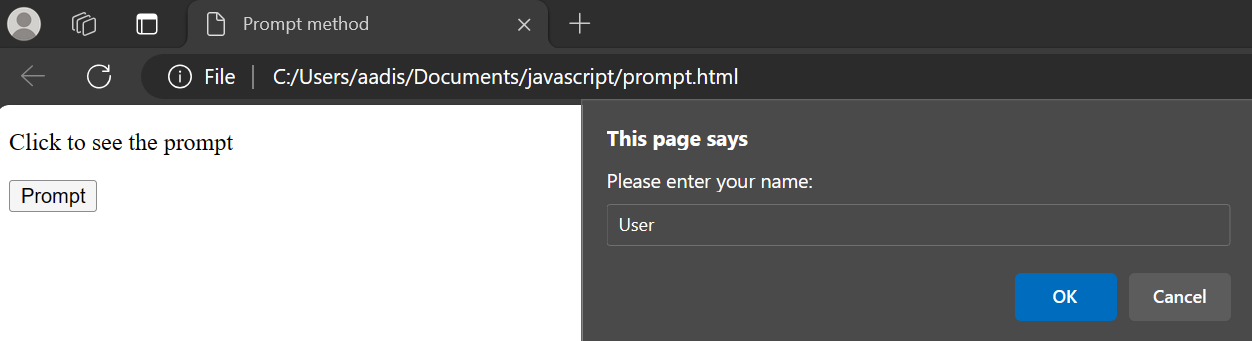
As you can see, the prompt() method returns a dialog box that prompts you to fill in the input when you click the button named “Prompt”.
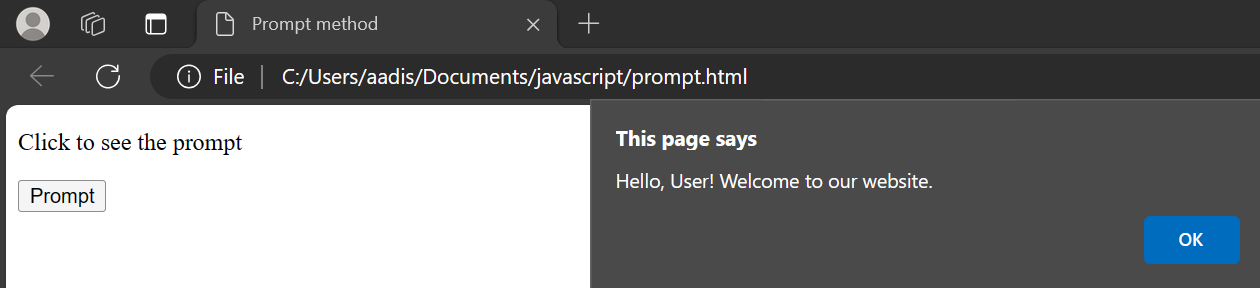
After you provide the input and click “OK”, the prompt dialog returns the string you entered, which can be displayed in a message.
If the user clicks the Cancel button, the prompt dialog box returns null, which can be handled in the script to indicate cancellation.

JavaScript confirm() Method to Return User Choices
The confirm() method is a built-in JavaScript API that creates a modal dialog box, allowing you to interact with users by asking them to confirm an action. The confirm() method allows users to confirm or cancel an action. It is frequently used to ask users to confirm a decision or action.
Syntax
confirm(message);
- Here, the message parameter defines the text shown inside the dialog, and the output depends on whether the user clicks OK or Cancel.
Example
Below is an example of the confirm method to help you understand how it works:
<!DOCTYPE html>
<html lang="en">
<head>
    <title>Confirm method</title>
</head>
<body>
    <p>Click to see the confirmation dialog</p>
    <form>
        <input type="button" value="Confirm" onclick="myFunc();" />
    </form>
    <script>
        function myFunc() {
            let result = confirm("Do you want to proceed?");
            if (result === true) {
                alert("User confirmed.");
            } else {
                alert("User canceled.");
            }
        }
    </script>
</body>
</html>
Output
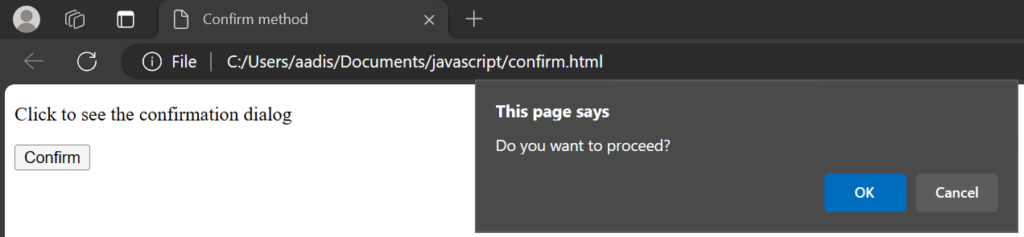
As you can see, the confirm() method displays a dialog box with a message and “OK” and “Cancel” buttons when you click the button named “Confirm”.
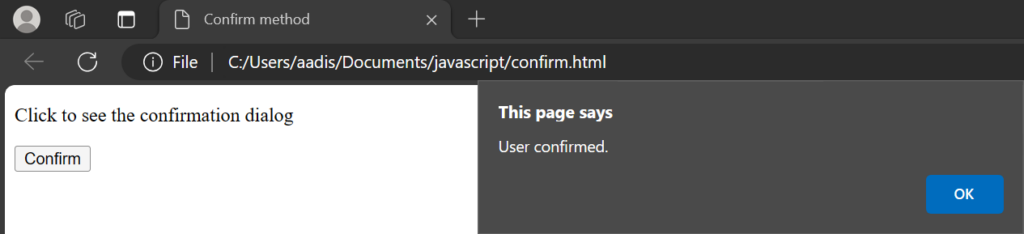
You will see the confirmation dialog.
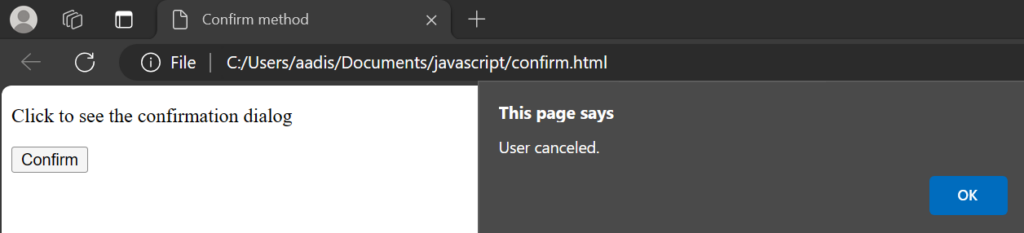
If you cancel the prompt by clicking “Cancel”, you will see a message which will indicate the cancellation.
By combining these methods into your website, you can use HTML events, HTML DOM methods, and even HTML objects to display a dialog box that interacts with users effectively.
Working with Arrays and Web APIs
JavaScript dialog boxes can also work with data such as arrays. For example, you can use a const variable to store user input, add it into JS arrays, and process it further. These examples also show how dialog boxes integrate with web APIs, making them more useful in real browser applications.
Key Takeaways on JavaScript Dialog Methods
- In JavaScript, the alert(), prompt(), and confirm() methods are built-in tools that allow developers to define simple interactions with users through modal dialog boxes. These methods let you create dialog flows for collecting user input, confirming actions, or displaying messages. For example, a prompt dialog can capture a string, an integer, or even a multiline input depending on how it is implemented.
- When working with these methods, remember that each dialog box returns a value, a string for input, true or false for confirmation, or null if the user clicks Cancel. You can store these results using var, let, or const depending on your preferred coding style. While dialog boxes provide a straightforward interface for quick tasks, their overuse can disrupt the user experience and prevent smooth navigation.
- In practice, it’s best to predefine how you want to use a dialog box in your code, keeping the implementation clear and minimal. Dialog boxes are great for teaching and small projects, but in larger applications, developers usually rely on custom UI components that offer more flexibility and control.
- By understanding when to create dialog interactions and when to move beyond them, you’ll ensure that your web applications remain both functional and user-friendly.
For more details, you can also explore the official documentation on Microsoft Learn.
Also Read:
Reference