New to Rust? Grab our free Rust for Beginners eBook Get it free →
How to Deploy a React App With Cloudflare Workers
The release of Workers Sites made it super-easy to deploy static applications to Cloudflare Workers. And with the rise of JAMStack-like architectures, static sites have become a simple way to combine highly-available static assets with high-performing backend code.
In this how-to guide, I’m showing how to use Wrangler and Cloudflare Workers to deploy a static React website.
Note! You don’t need to have experience with React framework to follow the steps described in this guide. What’s more, you can apply what’s described in this guide to other frameworks—Vue or Angular—and even static site frameworks like Gatsby or Hugo.
Wrangler, Workers, and JAMstack
Before we jump straight to coding, let’s quickly remember what Wrangler, Cloudflare Workers, and JAMStack stand for:
- Wrangler is an open-source command-line tool made by the Cloudflare team, making it easy to create new projects, preview, and deploy them in a very straightforward way.
- Cloudflare Workers are super-powered versions of background scripts that run in the browser alongside your app. The Worker scripts run on Cloudflare edge network, in-between the app and browser, which lets devs build an app directly on edge, not depending on origin servers entirely.
Workers are an excellent tool if you need to deploy static websites. First, your app gets distributed to over 190+ locations around the world. Second, it will be served directly from Cloudflare Content Delivery Network (CDN) at a server incredibly close to your users.
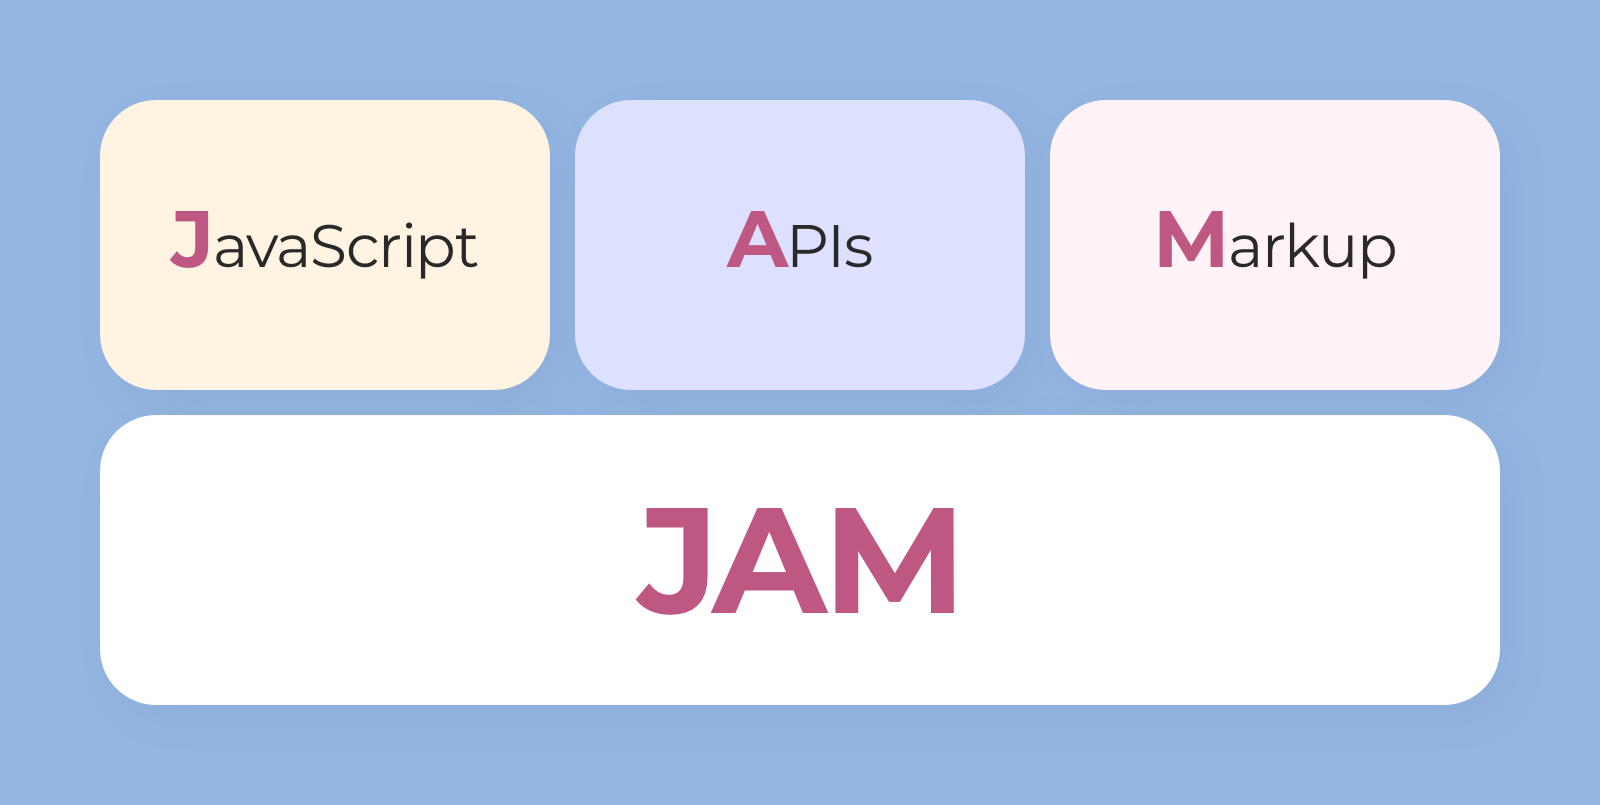
Now, what does JAMstack mean?
It’s a modern web architecture that is based on client-side JS (J), reusable APIs (A), and pre-built Markup (M).
But just any project that relies on a client-server coupling is not necessarily built with the Jamstack. For example, a monolithic server-run web app built on Ruby or Node isn’t a JAMstack app. Nor is a site built with CMS like WordPress, Drupal, Joomla.
Here are the best practices that define a JAMstack project:
- Entire site/app on a CDN
- Atomic deploys
- Instant cache invalidation
- Everything lives in Git
- Automated builds
Using JAMstack, devs can make more performant (serve pre-built markup and assets over a CDN) and less expensive (hosting of static files doesn’t cost a lot or even free) sites.
What Tools You’ll Need to Use
You’ll need a few things to publish your site on Cloudflare Workers:
- A Cloudflare account and API keys for that account
- A subscription to the Workers Unlimited plan
- Wrangler version 1.4.0+
- Access to the command-line
We will also be using create-react-app to create an example project for this tutorial having no build configuration. You can download it here.
How to Create a Static Site
As I’ve said, you don’t need to be experienced in React programming to make a simple static app. In this guide, we’ll use create-react-app to quickly deploy a React application to Cloudflare Workers.
To start, run
npx create-react-app command + the name of your project
Here is the command.
npx create-react-app my-static-site
create-react-app command creates a new project and includes all the relevant dependencies needed to build the project.
How to Generate a Project
Once create-react-app has finished setting up your project, go in the folder, and run wrangler init –site command. This will generate a Workers configuration for your project.
cd my-static-site && wrangler init --site
For most static sites, there’s no need to change the Workers script. By default, it looks at an incoming request and serves the corresponding asset from Workers KV based on that route.
For example, if your site is deployed at website.com, requesting website.com/pageone.html will look for a file in KV called pageone.html, and send it back to the client.
The asset returned from KV is cacheable: it’ll be cached with Cloudflare’s CDN automatically, making subsequent requests even faster.
How to Configure and Publish Your Project
To prepare your app for deployment, open up wrangler.toml the file represents the configuration for your project, and Worker Site is the default code needed to run it on the Workers platform.
For now, we’ll just use the default Workers configuration.
Open up wrangler.toml and paste in a couple of configuration keys—you’ll need your Cloudflare account ID to indicate to Wrangler where you actually want to deploy your application.
Here’s how to get your Cloudflare account ID: Go to your Cloudflare account — Workers — on the sidebar scroll down and find your account ID (a string of numbers and letters) — copy it to your clipboard.

Back in wrangler.toml paste in your account ID.
The bucket key in wrangler.toml indicates the location—your ‘build’ folder that Sites will deploy to Workers. Lots of front-end apps and static site generators use the public folder instead of create-react-app which uses the build folder.
Next, let’s change the bucket key in wrangler.toml to build:
# ... previous wrangler config
[site]
bucket = './build'
entry-point = 'workers-site'
As you’ve configured wrangler.toml file, save it and run npm run build.
npm run build command tells create-react-app to build your site, and wrangler publish command will deploy it to Workers:
npm run build && wrangler publish
create-react-app builds your project in a couple of seconds, and wrangler publish takes your project to build it and upload all of the static assets to Workers KV as well as the necessary script to serve those assets from KV to your users.
Now, you can open your new project in the browser and see the results.
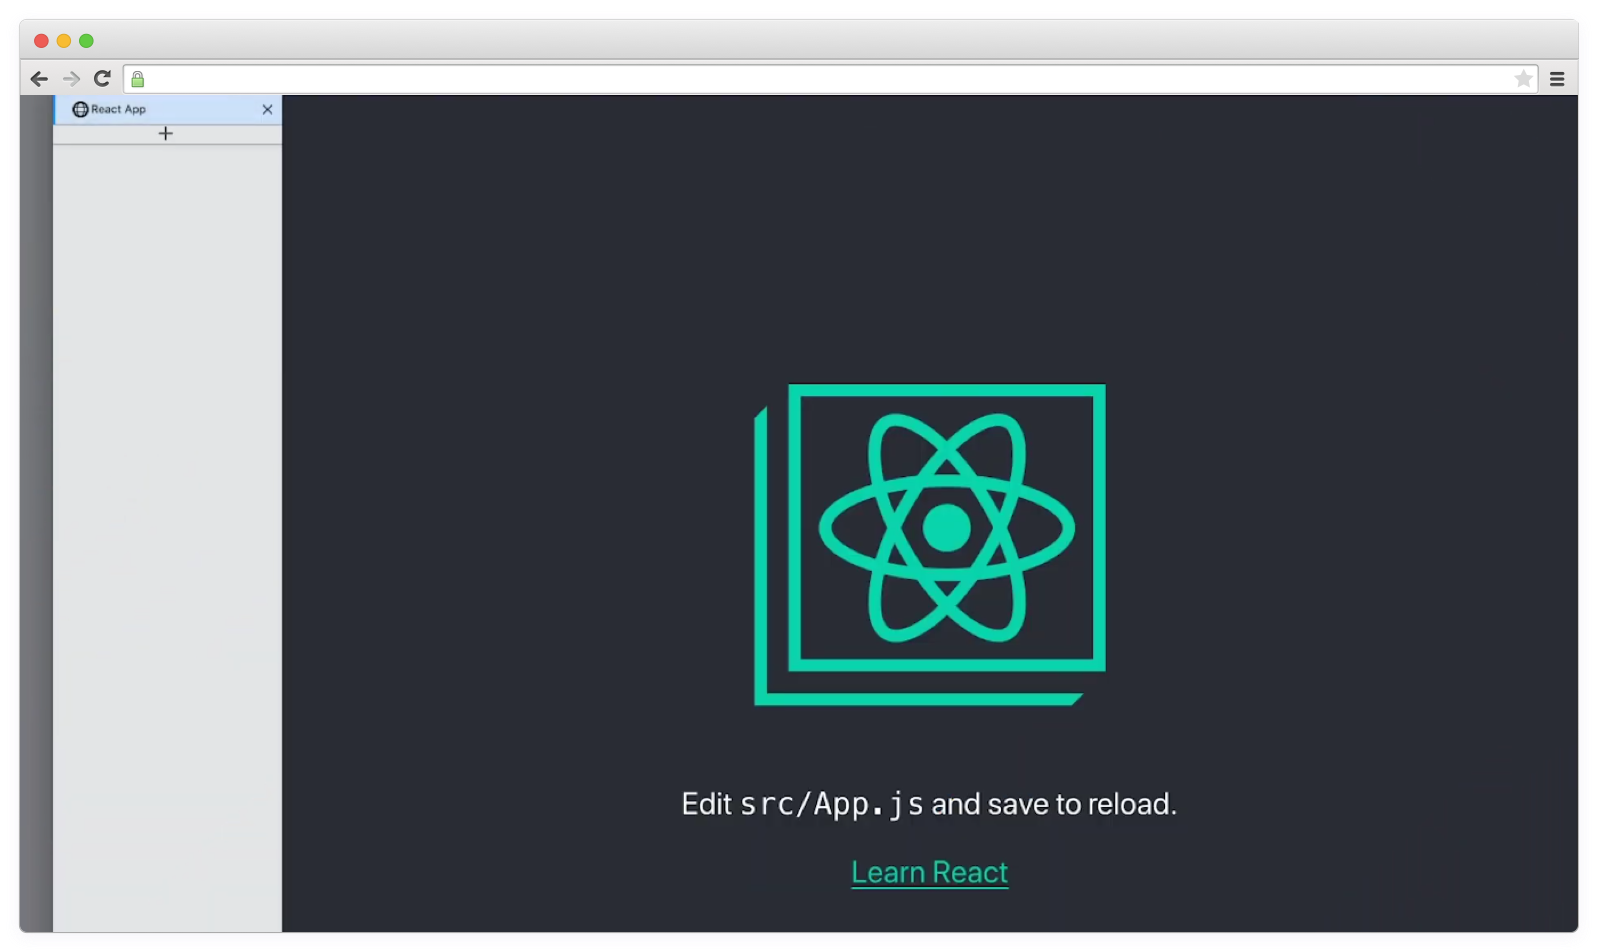
That’s it! In a couple of minutes and a brief amount of config, you will have deployed an application that’s automatically cached on the Cloudflare servers so it stays super fast.
By the way, there’s the final version of the codebase available on GitHub. If you want to jump right to coding, you may take the code, customize it, and deploy it for your own projects.