
New to Rust? Grab our free Rust for Beginners eBook Get it free →
How to Connect to the Ethereum Network using Node and Web3
Introduction
In order to build a decentralized application, we need to connect to the Ethereum (or other) blockchain. In this tutorial, we are going to learn how to connect to the Ethereum blockchain using Node and Web3.
Prerequisite
- Ethereum test net node ( we’ll use Infura.io for same)
- Latest Node.js installed
- Web3.js installed
Connect to the Ethereum Blockchain using Node
First, let’s create a new account on Infura.io. Infura is a blockchain as a service platform and provides us a testnet and mainnet nodes of Ethereum, IPFS, etc.
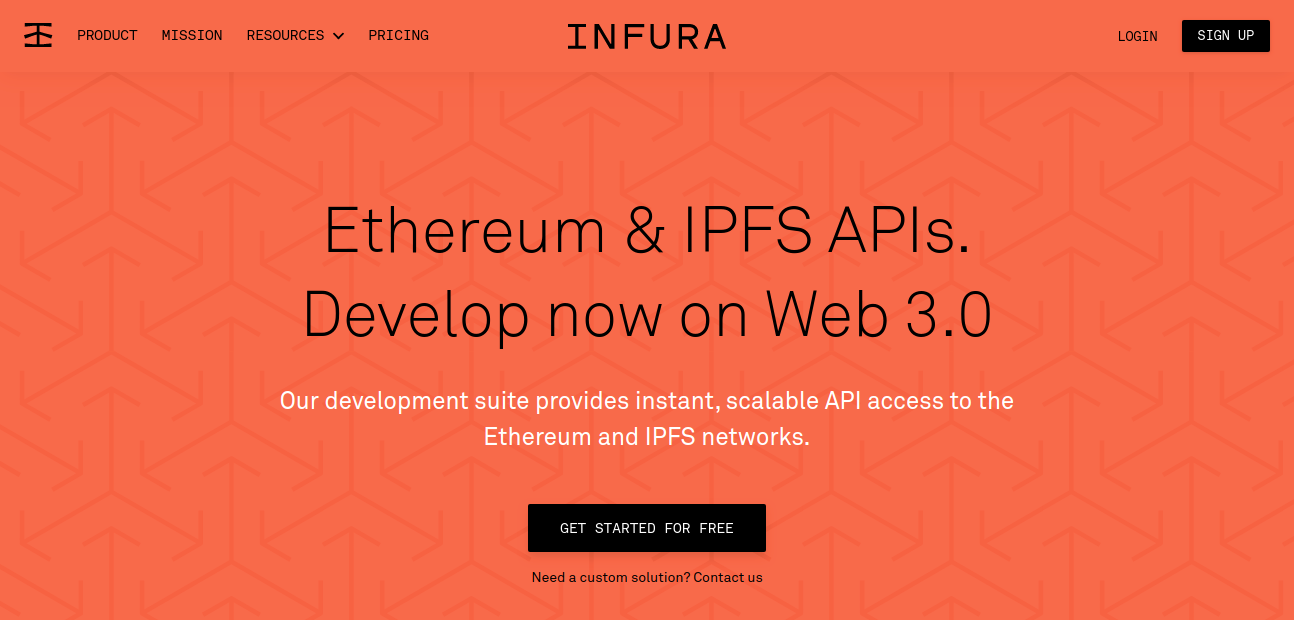
Create a new account on Infura (it’s free) and create a new Ethereum project. Once the project is created, go to the Settings tab and choose testnet endpoint. For our tutorial, we are going to use Ropsten testnet.

Let’s create a new Node project. Create a new folder and switch to it using the Terminal or command prompt. Create a new Node project using the following command.
npm init --y
Create a new file and paste the code shown below.
const Web3 = require("web3");

const ethNetwork = 'https://rinkeby.infura.io/v3/YOUR_PROJECT_ID';
try {
const web3 = new Web3(new Web3.providers.HttpProvider(ethNetwork));
console.log("Connection Successfull!");
console.log("Latest Block Number: ");
web3.eth.getBlockNumber().then(console.log);
}
catch(e) {
console.log("Connection Error!", e);
}
Replace the project ID with the Infura.io project ID.
Run the code to check the output.
node app.js
You should see output similar to this.
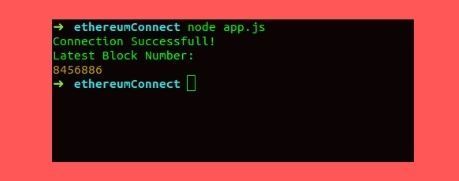
Awesome. You have just made a connection to the Ethereum blockchain using Node.


