New to Rust? Grab our free Rust for Beginners eBook Get it free →
How to Add Multiple Google reCAPTCHA in a Single Page

We shipped a new version of Codeforgeek and along with this we shipped a user login and registration system.
In our system, we came across a scenario where we need to include multiple google reCAPTCHA’s on a single page. Generally, we include one Google reCAPTCHA on one page and use the token of the Google reCAPTCHA to verify if it’s a bot or a real user.
However, there might be a scenario where you are developing a single page application and you have to include Google reCAPTCHA on multiple places on a single page. In this tutorial, we are going to learn exactly how to code it.
How to add Google reCAPTCHA in a webpage
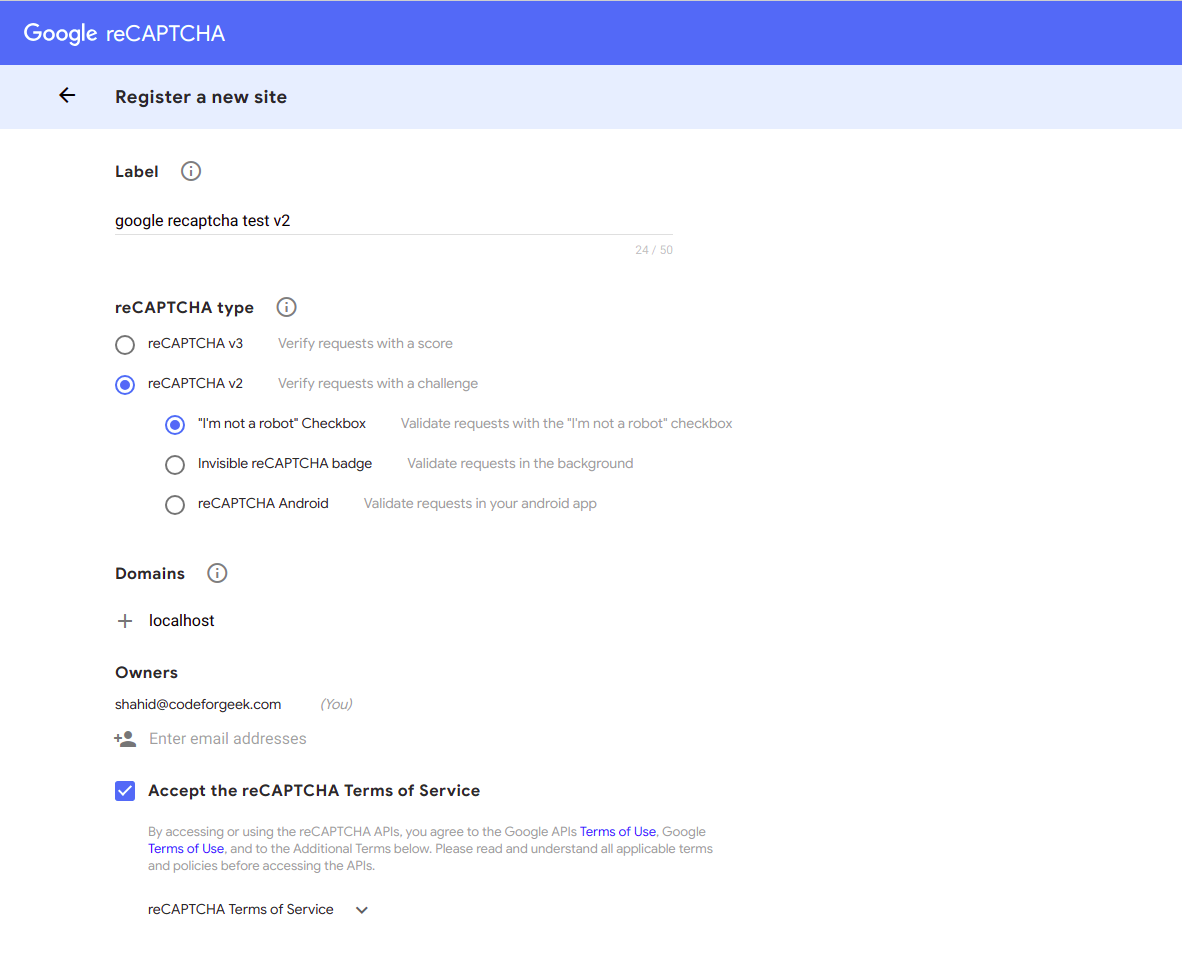
First, let me explain how to add a simple Google reCAPTCHA on a web page. First, you need to signup at Google reCAPTCHA website and add your website details to get a token.

Once you have received the credentials, you can include Google reCAPTCHA in an HTML web page using the following code.
Google reCAPTHA Demo
Now in the form submit, we have to look for g-recaptcha-response key and then call Google API with the token response to verify the user.
https://www.google.com/recaptcha/api/siteverify?secret=YOUR_SECRET_KEY&response=G_CAPTCHA_RESPONSE
You can refer to the following tutorials to view the live app built with a single HTML page.
Google reCAPTCHA V2 tutorial with Example Demo in PHP
Google reCAPTCHA V3 Tutorial with Example Demo in PHP
Let’s understand how to add multiple Google reCAPTCHA’s on a single page.
How to add Multiple Google reCAPTCHA’s
Here is how we can add multiple Google reCAPTCHA’s.
First, add HTML code.
Now, let’s add a simple javascript code to render Google reCAPTCHA.
        var CaptchaCallback = function() {

                grecaptcha.render('logincaptchadiv', {'sitekey' : 'ADD_YOUR_SITE_KEY'});

                grecaptcha.render('signupcaptchadiv', {'sitekey' : 'ADD_YOUR_SITE_KEY'});

        };
You can add multiple reCAPTCHA in a similar manner.
Next, we need to change the Google reCAPTCHA API javascript endpoint to this.
Now, on a form submit we need to select the Google reCAPTCHA response and send it over to the backend to verify the user.
If you are using an AJAX form which I believe you should for a better user experience. You can select the reCAPTCHA response using the following code.
var gCaptchaResponse = grecaptcha.getResponse(0); // to get the first reCAPTCHA token

var gCaptchaResponse2 = grecaptcha.getResponse(1); // to get the second reCAPTCHA token
Then, pass the token to the backend and perform the verification using the following code.
const axios = require('axios');
function verifyCaptcha(reCaptchaToken) {
let secret = 'YOUR_SITE_SECRET'
return new Promise((resolve, reject) => {
axios.post(`https://www.google.com/recaptcha/api/siteverify?secret=${secret}&response=${reCaptchaToken}`,
{},
{
headers: {
"Content-Type": "application/x-www-form-urlencoded; charset=utf-8"
}
})
.then((response) => {
resolve(response.data)
}, (error) => {
reject(error);
});
});
}
module.exports = {
verifyCaptcha: verifyCaptcha
}
This is how we can add multiple Google reCAPTCHA’s on a single web page. Let me know if you have any doubts.


