New to Rust? Grab our free Rust for Beginners eBook Get it free →
Building a GUI Email Slicer with Tkinter in Python
Ever wondered how to easily break down email addresses into parts? In this guide, we will use Tkinter to create a user interface in Python to slice email addresses. A straightforward approach with no frills. We will explore how to install Tkinter and create a simple application for slicing emails.
An Introduction to Tkinter
Tkinter is a Python library designed for creating graphical user interfaces (GUIs), allowing users to interact visually with programs through buttons, text boxes, and more. It provides pre-built “widgets” or building blocks to construct and arrange elements like buttons and text boxes. Tkinter also facilitates event handling, letting you define functions triggered by user actions, and adding control and responsiveness to your Python programs.
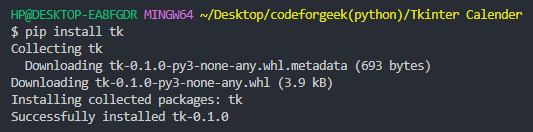
To install the Tkinter library into your system, run the given command:
pip install tk
Now that we have installed Tkinter, let’s explore what an email slicer is and how we can design a simple application for slicing emails.
Understanding Email Slicer
An email slicer is a program or function that separates an email address into its two main components: the username and the domain. You put in an email, and it gives back the username and the part after the ‘@’ symbol (which is called the domain). It works by using slicing tricks in Python. So, you give it an email, and it sorts out and tells you the name and the email company part.
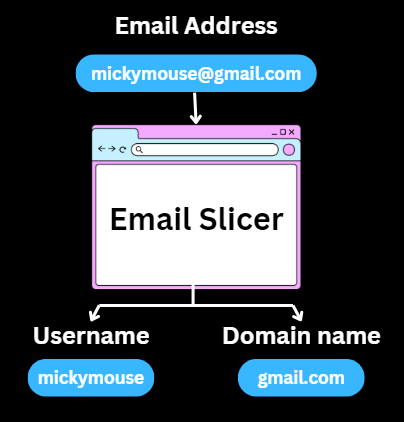
For example, if you have the email address “[email protected]” the email slicer would separate it into the username “mickymouse” and the domain “gmail.com” This proves helpful for things like checking who’s using an app, looking at data, or sorting and grouping emails.
Creating Email Slicer Application Using Tkinter
Since now you know what’s an email slicer, let’s design one. We can create such an application using Tkinter by following the given procedure stepwise:
Step 1: Importing Tkinter
After creating a Python file, we will import the Tkinter library into our project:
import tkinter as tk
This line imports the Tkinter library and gives it the alias ‘tk’ for easier use.
Step 2: Creating Main Window
We will create the main window of the Tkinter application and set its title to “Email Slicer”:
app = tk.Tk()
app.title("Email Slicer")
Step 3: Creating and Placing Widgets
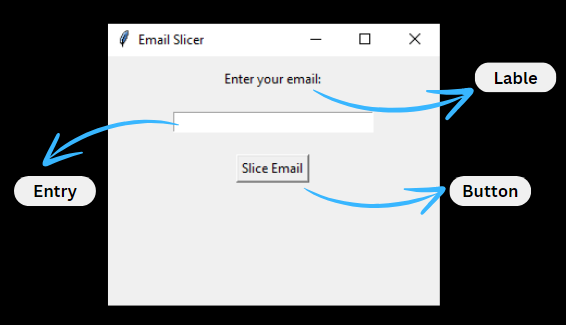
Now we will create and place widgets like labels, entry, button, result label, etc.
A label widget prompts the user to enter their email:
label = tk.Label(root, text="Enter your email:")
label.pack(pady=10)
An entry widget for the user to input their email:
entry = tk.Entry(root, width=30)
entry.pack(pady=10)
A button labelled “Slice Email” that when clicked triggers the emailSlice function:
sliceButton = tk.Button(root, text="Slice Email", command=emailSlice)
sliceButton.pack(pady=10)
An initially empty label that will display the results or error messages:
resultLabel = tk.Label(root, text="")
resultLabel.pack(pady=10)
Step 4: Starting Event Loop
root.mainloop()
This line kicks off the Tkinter event loop, making the app respond to what the user does. The program will keep running until the user closes the main window.
Step 5: Creating Slicing Function
Let’s create a function that gets called when the “Slice Email” button is clicked. It should grab the entered email from the widget (entry) using entry.get(). After checking for the “@” symbol, it utilizes split to separate the username and domain. The resultLabel then updates with these details, or if the email format isn’t right, an error message pops up.
def emailSlice():
email = entry.get()
if "@" in email:
username, domain = email.split("@")
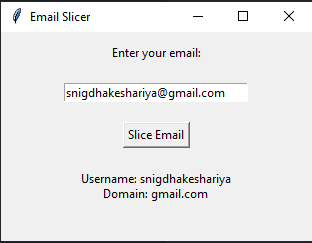
resultLabel.config(text=f"Username: {username}\nDomain: {domain}")
else:
resultLabel.config(text="Invalid email format")
Complete Code for Creating Email Slicer in Python
#Step1
import tkinter as tk

#Step5
def emailSlice():
    email = entry.get()

    if "@" in email:
        username, domain = email.split("@")
        resultLabel.config(text=f"Username: {username}\nDomain: {domain}")
    else:
        resultLabel.config(text="Invalid email format")

#Step2
app = tk.Tk()
app.title("Email Slicer")

#Step3
label = tk.Label(app, text="Enter your email:")
label.pack(pady=10)

entry = tk.Entry(app, width=30)
entry.pack(pady=10)

sliceButton = tk.Button(app, text="Slice Email", command=emailSlice)
sliceButton.pack(pady=10)

resultLabel = tk.Label(app, text="")
resultLabel.pack(pady=10)

#Step4
app.mainloop()
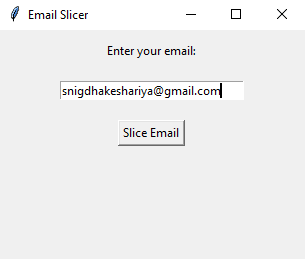
Output:
On running the above code, we will see an application window like this:
It will display the “Invalid email format” for the incorrect or irrelevant email address:

Conclusion
That’s all for this article. I hope you have understood the project explained above. If you follow the procedure step-by-step, you can create an email slicer without any difficulty. You can use Tkinter as an application facilitator in Python to customize the above application as per your preferences.
If you found this helpful, you can explore more Tkinter articles –
Reference