New to Rust? Grab our free Rust for Beginners eBook Get it free →
How to Fix NPM Throwing Error Without sudo: An Easy Guide
If you are encountering errors while using npm without sudo, it can be related to issues with permissions. This usually happens when npm tries to install packages or modify files in directories where the current user does not have sufficient permissions. Running npm commands with sudo increases privileges and enables npm to perform the desired operations but this can lead to security vulnerabilities and unexpected behaviour in your project. In this tutorial, we will explore various ways to fix npm permission errors without sudo.
Fixing NPM Throwing Error Without sudo
We can fix npm permission errors in many ways like installing Node.js with NVM, managing permissions for the directory, and reinstalling the NPM module globally with root privileges. Let us look at each of them in detail one by one.
1. Installing Node.js with NVM
The NVM (Node Version Manager) is a tool that enables developers to install as many versions of Node as they require without having root privileges. Before following the below steps, uninstall the current NPM installation.
1. To remove all the global Node modules, run the following command in your terminal:
npm uninstall -g $(npm ls -g --depth=0 | awk '/\/npm\// {print $1}')

It ensures that there are no conflicting packages before installing Node.js via NVM.
Next, follow these steps to install NVM on your system.
2. To install NVM, run the following command in your terminal:
curl -o- https://raw.githubusercontent.com/nvm-sh/nvm/v0.37.2/install.sh | bash
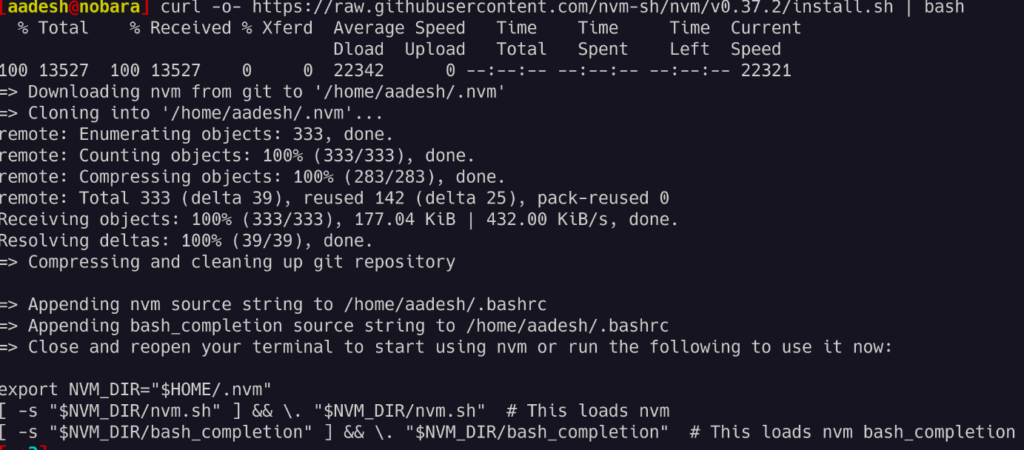
The above command will download and execute the NVM installation script and it will also set up NVM on your system.
After that, you have installed NVM, close and reopen your terminal to make sure that the changes take place. This step is important for the terminal to identify the NVM command.
3. Verify that NVM is installed correctly by running:
nvm --version
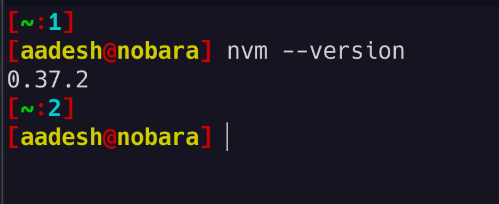
If it has been installed, you will see the nvm version as an output to the console
4. To install the node after ensuring that NVM has been installed, run the below command:
nvm install stable

When you are done with the above, try executing “npm link” or an NPM global install, and you’ll see that it no longer requires root privileges to function.
Also Read – How to Update Node to Any Version Using NPM
2. Managing Permissions
Changing ownership ensures that you have the necessary permissions to work with npm packages and directories. This can resolve permission-related errors when using npm.
To do that, follow the below steps:
- Open your terminal application.
- Execute the below command which will make you the owner of all folders in ~/.npm.
sudo chown -R $(whoami) ~/.npm-global

If prompted, enter your system password to authorize the ownership change. After that, try to install or search through NPM again and see if the issue persists. If the issue continues, consider exploring the below solution.
3. Reinstalling NPM Modules Globally with Root Privileges
By configuring npm to perform global installs for a particular user without sudo, you can avoid permission issues and ensure smooth installation of npm packages.
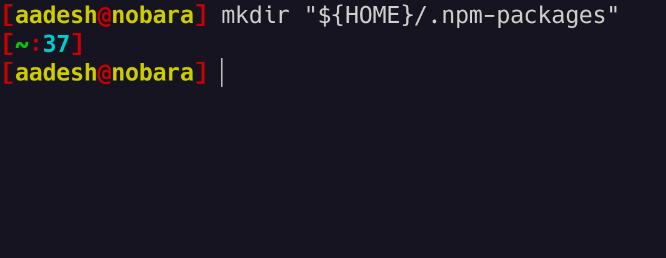
1. Make a directory for the global packages:
$ mkdir "${HOME}/.npm-packages"
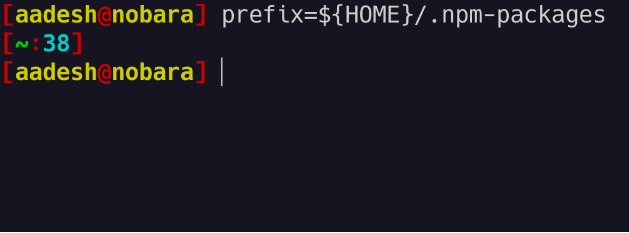
2. Add this at the end of the “~/.npmrc” file:
prefix=${HOME}/.npm-packages
3. Then go to the “.bashrc” or “.zshrc” files and add:
NPM_PACKAGES="${HOME}/.npm-packages"
PATH="$NPM_PACKAGES/bin:$PATH"
unset MANPATH
export MANPATH="$NPM_PACKAGES/share/man:$(manpath)"
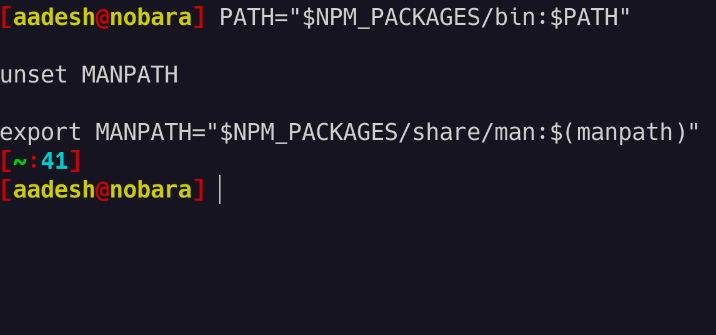
After this when you install npm packages globally with -g, they can be run from the command line without using sudo.
Conclusion
By following the steps outlined in this tutorial, you can successfully debug npm without relying on sudo, ensuring smooth and secure development operations. Whether you are installing Node.js using NVM, taking ownership of relevant directories, or managing global npm packages, these solutions prevent developers from overcoming permission-related issues and optimising their development environments. We hope you enjoyed it.
Reference
https://stackoverflow.com/questions/16151018/how-to-fix-npm-throwing-error-without-sudo

