
New to Rust? Grab our free Rust for Beginners eBook Get it free →
How to Downgrade Node Version: 3 Easy Ways
Let’s first understand the reason for downgrading the Node.js version before looking into how to do it.
Why Downgrade Your Node Version?
- Certain NPM packages or dependencies may not be compatible with the latest Node.js version. In such cases, downgrading to an earlier version could help maintain compatibility with your project’s specific packages.
- In certain cases, a more recent version of Node.js may introduce bugs or instability that can affect your project. Downgrading to a more stable release can be a temporary solution while waiting for bug fixes or updates.
- In larger development teams or organizations, it is common to standardize the Node.js version across projects. Sometimes, downgrading may be necessary to align all developers with a consistent environment.
Ways to Downgrade Node Version
Below, we will discuss different ways that can be used to downgrade the Node version.
1. Downgrade Node Using NPM
To downgrade the version of Node using NPM, you can follow the steps given below:
1. Install “n”:
Open your terminal or command prompt and execute the following command to install the “n” package globally:
npm install -g n
2. Downgrade Node.js:
After installing “n”, you can use it to switch to a specific Node.js version.
For example, if you want to downgrade to Node.js version 10, you can run the below command.
n 10
If the version you wish to downgrade to is not installed, “n” will automatically download and install it for you.
3. Check the Node.js Version:
After running the command below, you can verify if the downgrade was successful by checking the installed Node.js version.
node -v
The output of this command will display the current version.
Output:

4. Additional Troubleshooting Step: Install Specific NPM Version
Sometimes, certain versions of Node.js are paired with specific versions of NPM, so it’s important to ensure you have the correct version of NPM to avoid errors while installing modules or packages.
To install a particular version of NPM, you can use the following command.
npm install -g npm@<version>
Replace the <version> with the specific npm version that you desire.
2. Downgrade Node Using NVM
To downgrade the version of Node using NVM, you can follow the steps given below:
1. Install NVM:
To install the latest version of NVM use this install script.
2. List Available Node Versions:
Once you have installed NVM, you can view a list of all available Node.js versions by running the command:
nvm list installed
This command will help you check the available node versions installed on your PC. You can then work by choosing the desired version.
Output:

3. Install the Node Version:
In case the desired version is not in the list, you can install it using the following command, for example, if you require version 12, you can simply type this command in the prompt.
nvm install 12
Output:
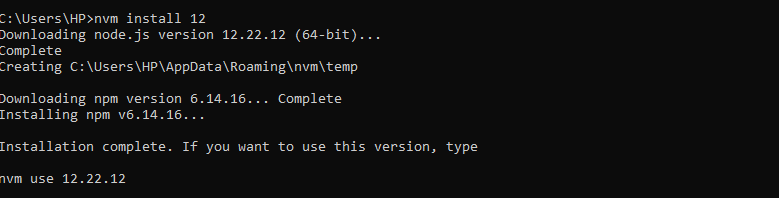
When you download a Node version, the compatible npm version is downloaded automatically. For example, here, when you install version 12, npm version 6 gets installed.
4. Downgrade Node Version:
After the installation process has finished, you will be able to switch to the installed version of Node.js by using this command.
nvm use 12
5. Verification:
Use the below command to verify the desired version.
node -v
Output:

3. Downgrade Node Using Manual Installation
You can also downgrade your Node version by installing it manually. Let’s see how:
1. Uninstall Existing Version:
If you’re planning to install a different version of Node.js, it’s a good idea to uninstall the existing version first. This will ensure a clean installation and prevent any conflicts that may arise.
Here’s how to uninstall Node.js on different operating systems:
- For Windows, use “Add or remove programs” to uninstall Node.js.
- On macOS, you can use a package manager like Homebrew: brew uninstall node.
- On Linux, use the package manager that was used for installation. For example: sudo apt-get remove node.
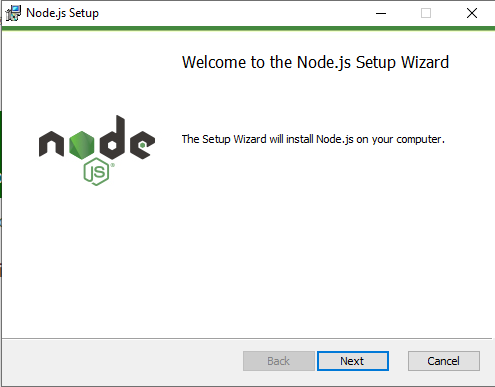
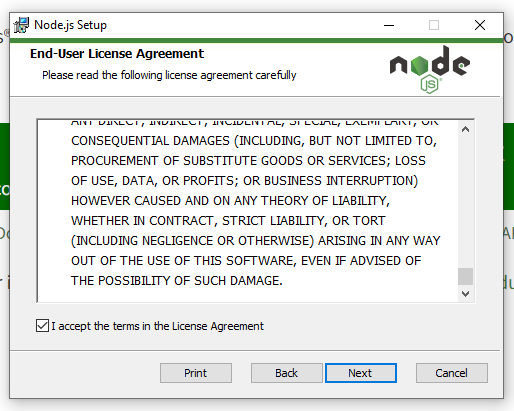
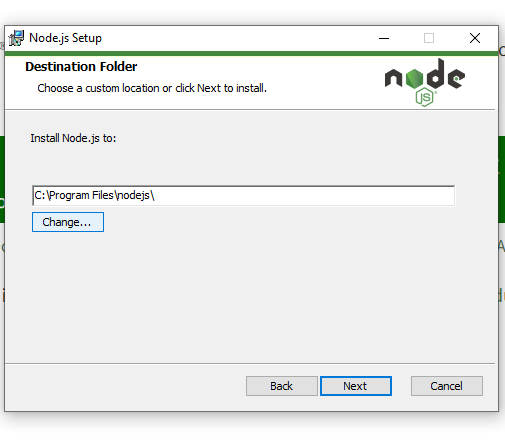
2. Download & Install the Specific Version:
Visit the official Node.js website (https://nodejs.org/). Suppose we plan to install version 10 so we can search the setup file for this specific version on the official site.
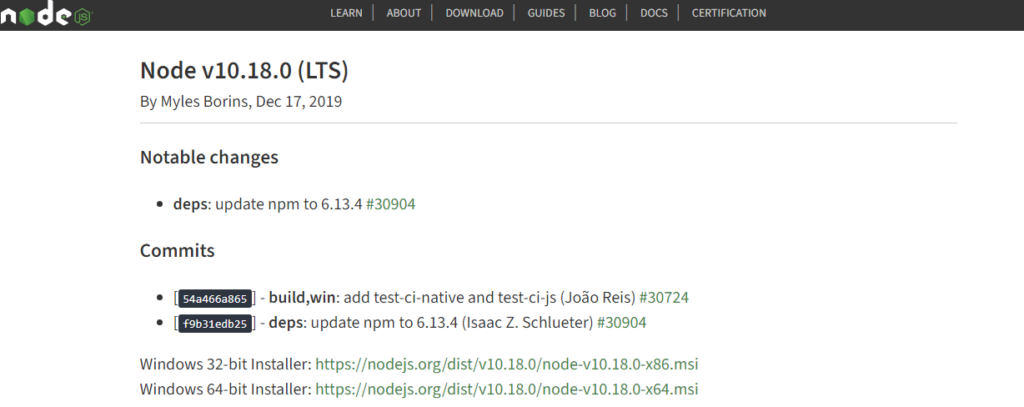
Download and extract the downloaded archive to a location of your choice.
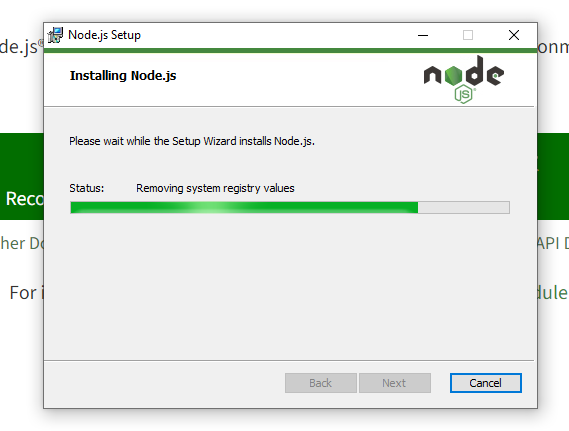
3. Version Check:

Once the installation is done, verify the Node version in the command prompt. If it meets your needs, you’re good to go!
NVM over NPM
Developers may choose to use NVM instead of NPM for managing different versions of Node.js. The reason behind this is that NVM is exclusively designed for version management and offers a convenient way to switch between different Node.js versions at both system and project levels. On the other hand, NPM is mainly focused on package management within a specific Node.js environment. It is important to note that it’s not a matter of choosing one tool over the other, but rather using both tools for their respective purposes in a Node.js development workflow.
Conclusion
By following these three methods, you’ll be able to easily downgrade the version of Node. This will help ensure that your code is compatible with the specific version of the Node you need. So, don’t hesitate to try these methods and enjoy a seamless development experience. Choose the method that best fits your workflow and the tools you have installed on your system.
Also Read:
Reference
https://stackoverflow.com/questions/47008159/how-to-downgrade-to-a-previous-node-version


