New to Rust? Grab our free Rust for Beginners eBook Get it free →
Three-Dimensional Plotting in Python Using Matplotlib: A Detailed Guide

One such area where several libraries have been created in Python is data visualization in which Matplotlib is the most often used option. Although Matplotlib was first designed to plot 2D charts like histograms, bar charts, scatter plots, line plots, etc., it has now expanded its functionality to include 3D charting modules.
When displaying data with three dimensions, such as those with two dependent and one independent variable, 3D plots are a crucial tool. We can better understand data with three variables by visualizing the data in three dimensions. To create 3D graphs, we can use a variety of Matplotlib library functions.
In this tutorial, we will see a step-by-step guide to creating 3-dimensional plots in Python using Matplotlib.
Also Read: Plotting Smooth Curves in Matplotlib – 3 Effective Methods
Three-Dimensional Plotting Using Matplotlib
For Creating 3D Plots using Matplotlib we will first start by importing the necessary libraries such as Matplotlib and NumPy then we will try to create 3D axes and will also set the size of the figures then we will plot two different 3D graphs: 3D scatter plot and 3D line plot. Let’s get started.
Step 1: Importing the Libraries
Let’s first start by creating 3D plot axes with the use of Matplotlib library. For that first, we need to import the required libraries.
from matplotlib import pyplot as plt
import numpy as np
Step 2: Creating Figures and Axes
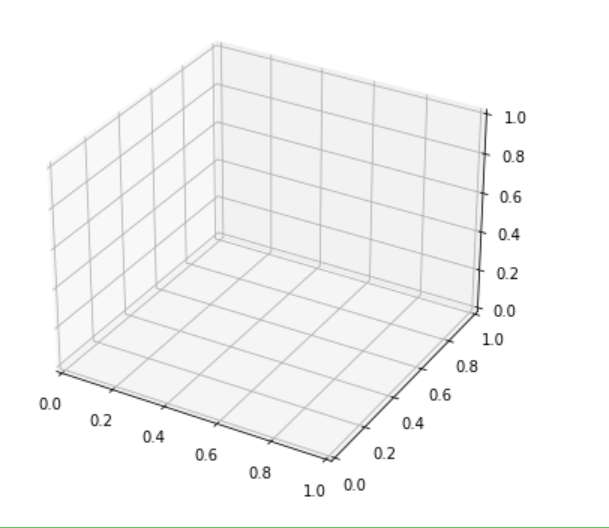
We will plot the 3D axes by passing the parameter projection as 3D in the plt.axes() method.
from matplotlib import pyplot as plt
import numpy as np
plt.rcParams['figure.figsize']= (8,6)
ax = plt.axes(projection='3d');
In the above code, we first set the figure size using rcParams and then plotted the 3D axes using the plt.axes() method and then we saved the result into the variable ax.
Output:
Step 3: Plotting Graphs
Now after creating a 3D axes plot using Matplotlib. Now with the help of it, we will move further to see different 3D plot graphs. The 3D graph which contains the lines and points is the simplest one among all the graphs. We will first create a 3D scatter graph using ax.scatter() function and then after that we will use ax.plot3d() to create a 3D line graph.
3D Scatter Plot
There are several 3D Plots we can make with Matplotlib but let’s go ahead and start by creating a 3D scatter plot. As we have seen in the above steps how to plot 3D axes and by using it we have to start our code for 3D scatter plotting.
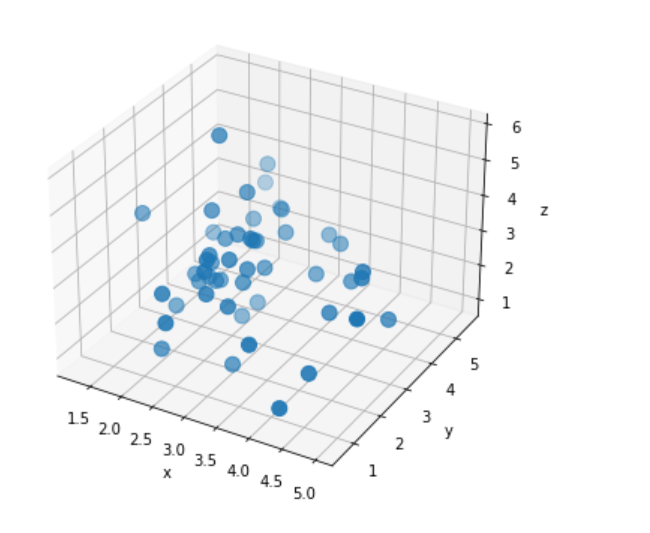
In this step, the first thing we will do is create some x,y, and z data using NumPy’s random module and we will create 50 points in total. As we have got our axes set up its time to go ahead and add some data, we are going to do this by referencing axes that we saved in the variable called ax and then we will use the method called scatter3D() which will give us 3D scattered plot where we need to pass our x,y, and z data and we will also increase the size of the dots from default size to 100 by passing s=100 in the scatter3D() method.
Below is the complete code for the 3D Scatter Plot:
from matplotlib import pyplot as plt
import numpy as np
plt.rcParams['figure.figsize']= (8,6)
ax = plt.axes(projection='3d')
np.random.seed(31)
mu=3
n=50
x=np.random.normal(mu, 1, size=n)
y=np.random.normal(mu, 1, size=n)
z=np.random.normal(mu, 1, size=n)
ax.scatter3D(x,y,z,s=100)
ax.set_xlabel('x')
ax.set_ylabel('y')
ax.set_zlabel('z');
It is difficult to tell which is the x-axis and which one is the y-axis and z-axis that’s the reason we have also labelled the x-axis by passing string ‘x’, the y-axis by passing string ‘y’, and the z-axis by passing string ‘z’ in set_xlabel(), set_ylabel(), and set_zlabel respectively.
Output:
3D Line Plot
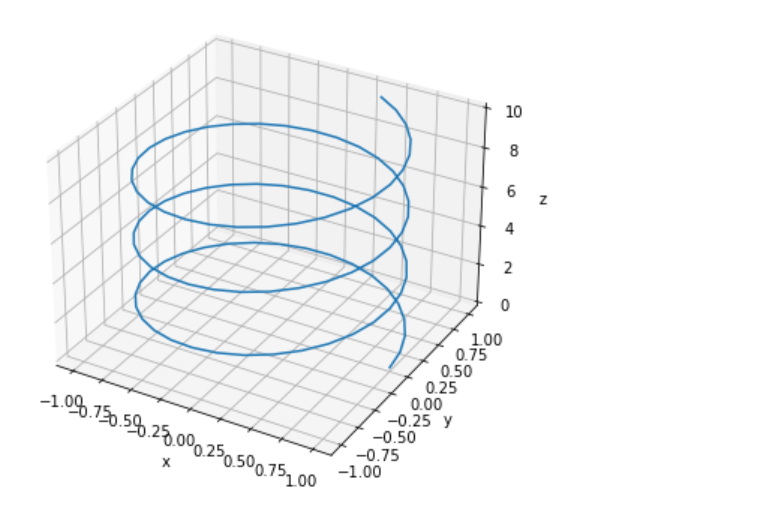
Besides scatter plots, we have also a 3D Line plot. Now we will first create some new data to show off the line plot. We will create omega and declare it as 2 which will be responsible for the number of spirals then we will be going to create a z which is just a linear space from 0 to 100 and then we will create x and y based on the cosine and sine of the z line respectively.
omega =2
z_line = np.linspace(0,10,100)
x_line = np.cos(omega*z_line)
y_line = np.sin(omega*z_line)
Now by using a reference to the axes stored in the ax variable, we will write the 3Dplot() method, and inside it, we will pass the x_line,y_line, and z_line which will give us the 3D Line plot.
Below is the complete code for the 3D Line Plot:
from matplotlib import pyplot as plt
import numpy as np
plt.rcParams['figure.figsize']= (8,6)
ax = plt.axes(projection='3d')
omega =2
z_line = np.linspace(0,10,100)
x_line = np.cos(omega*z_line)
y_line = np.sin(omega*z_line)
ax.plot3D(x_line, y_line, z_line)
ax.set_xlabel('x')
ax.set_ylabel('y')
ax.set_zlabel('z');
Output:
Summary
In this tutorial, we have discussed how to create 3D plots such as 3D scatter plots and 3D line plots using Matplotlb step-by-step. After reading this tutorial, we hope you can easily create 3-dimensional Plots in Python.
Reference
https://stackoverflow.com/questions/19280818/3d-plots-in-python