New to Rust? Grab our free Rust for Beginners eBook Get it free →
Connecting Next.js with Node.js: Simplest Way

This is a special Next.js guide in which we will introduce you to Node.js and learn how to connect a Next.js app to a Node.js server running on a different port.
We will initialize a Next.js app and create a Node.js server that returns random quotes, then connect them and try to access quotes from Node.js into our Next.js app. Let’s learn how.
Click here to follow our exclusive Next.js series!
Why Connect Next.js with Node.js?
Next.js is a powerful framework on its own and we can create both the frontend and backend just by using it but to build a highly scalable application it is always recommended to separate the backend to and frontend.
For this type of setup, Node.js will work as a backend server doing all the operations and providing relevant data and Next.js uses that data to create frontend functionality. This allows us to scale both parts independently and provide clean architecture.
It is also better for creating cross-platform applications so that we can design separate UI for different platforms and connect it to the same Node.js server for the same logic.
Creating a Node.js Server
Let’s create a simple random quote generator using Node.js.
Step 1: Create a new project directory and initialise NPM:
npm init -y
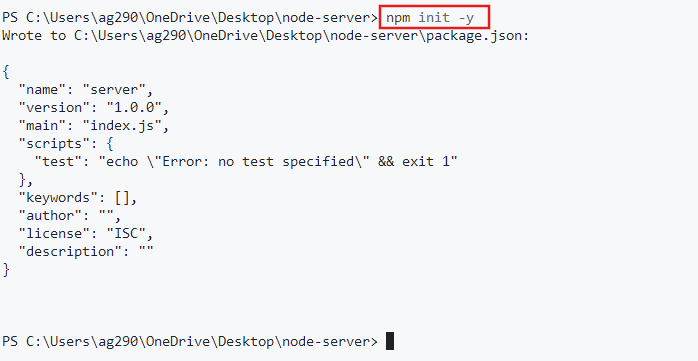
The -y flag skips the prompts for project information and creates a package.json file with default values for managing project dependencies and scripts.
Step 2: Execute the below command to install Express:
npm install express
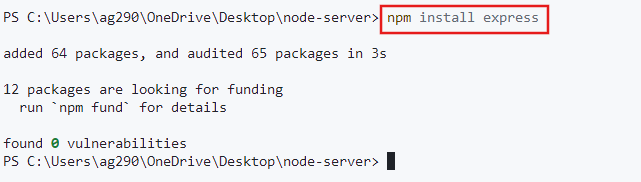
Express makes creating servers in Node.js super easy.
Step 3: Create an app.js file inside the project folder having the following code:
const express = require('express');

const app = express();

const quotes = [
    "Talk to yourself once in a day, otherwise you may miss meeting an intelligent person in this world.",
    "You cannot believe in God until you believe in yourself.",
    "You have to grow from the inside out. None can teach you, none can make you spiritual. There is no other teacher but your own soul.",
    "We are what our thoughts have made us; so take care about what you think. Words are secondary. Thoughts live; they travel far.",
    "Truth can be stated in a thousand different ways, yet each one can be true.",
    "Arise! Awake! And stop not until the goal is reached."
];

app.get('/random-quote', (req, res) => {
    const randomQuote = quotes[Math.floor(Math.random() * quotes.length)];
    res.json({ quote: randomQuote });
});

app.listen(5000, () => {
    console.log("Server is running on port 5000");
});
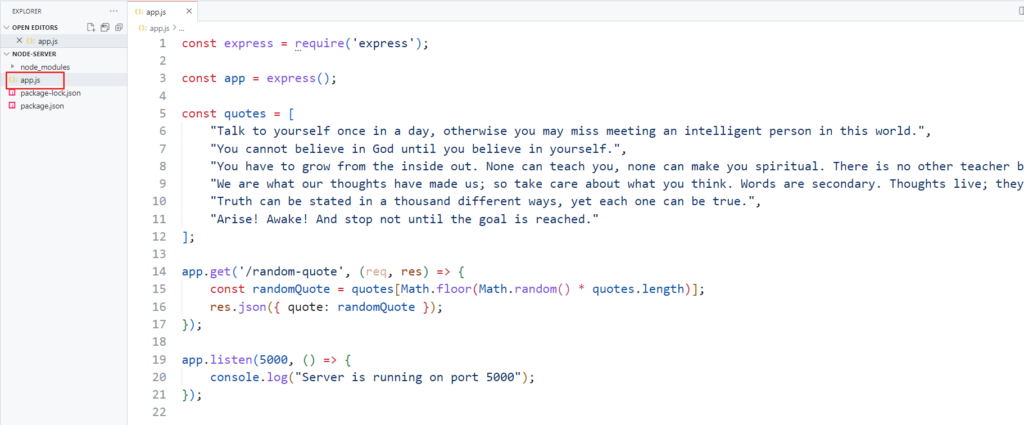
The code is very simple, it just imports the ‘express’ module, creates an instance of it to get its methods, and then uses its get() method to send a random quote as a response if the client requests the ‘/random-quote’ route.
Output:
To run the application, execute the below command:
node app.js

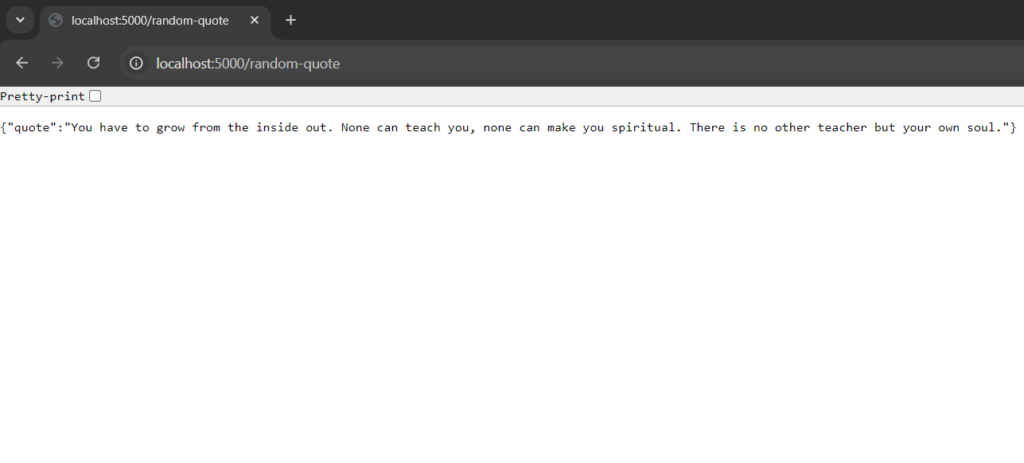
As specified in the code above, the server can be accessed at “localhost:5000/random-quote”:
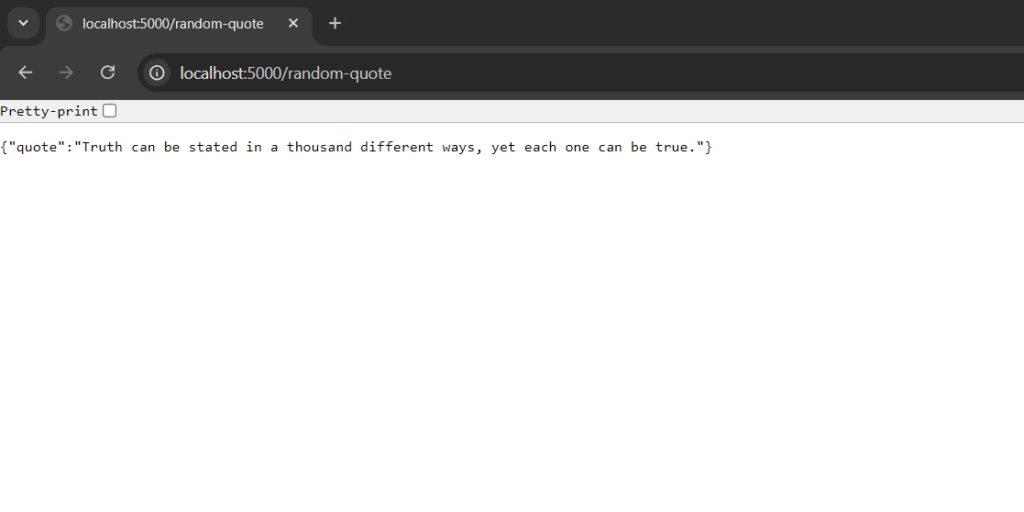
On every refresh, we will get a new quote:
Creating a Next.js Application
Let’s now create a simple Hello World Next.js app.
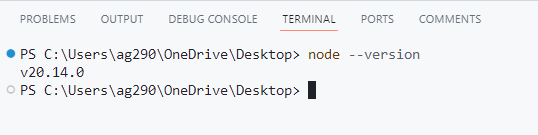
Step 1: Make sure that Node.js version 18.17 or higher is installed on your system
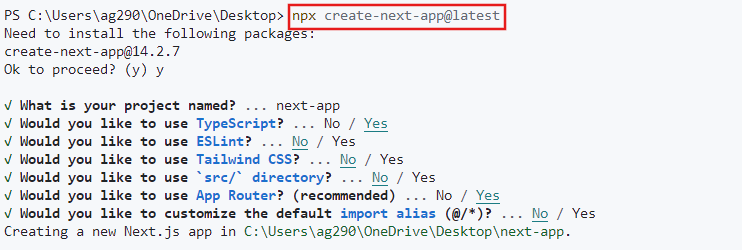
Step 2: Open the terminal and run the below command to initialize a new Next.js app:
npx create-next-app@latest
Choose any project name you want – all in lowercase, use hyphens (–) for space, and no whitespace.
For the other parameters let’s go with the default option for now. Just check “Yes” for both TypeScript and App Router to follow along with us.
Once the project is set up, you will get the project path:
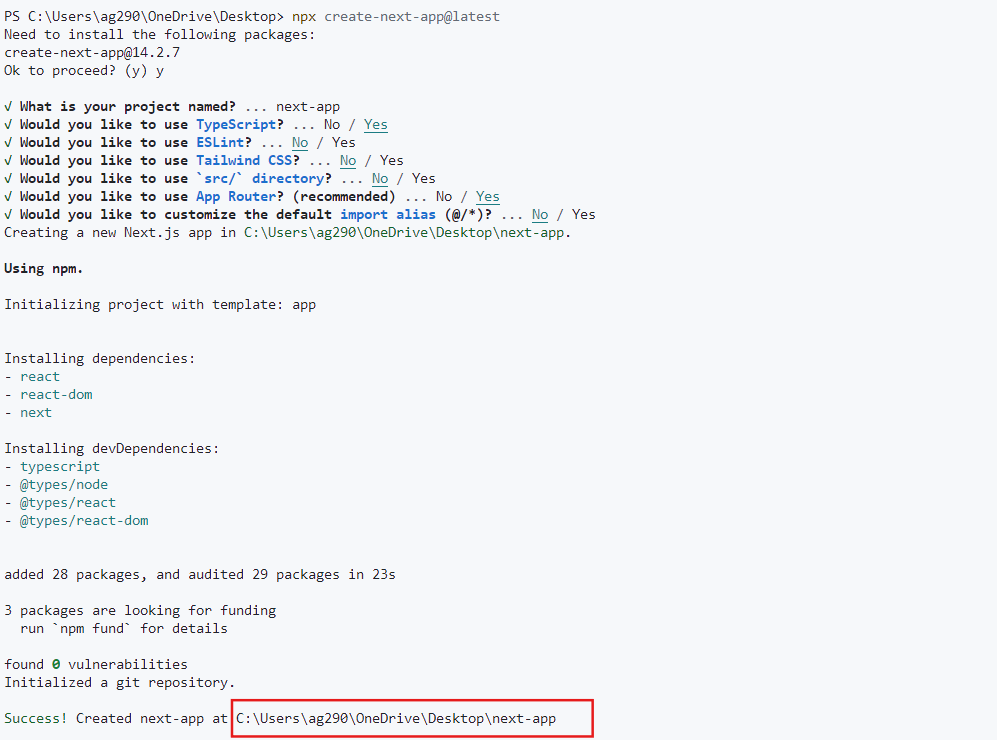
Step 3: Copy the project path and navigate to it:

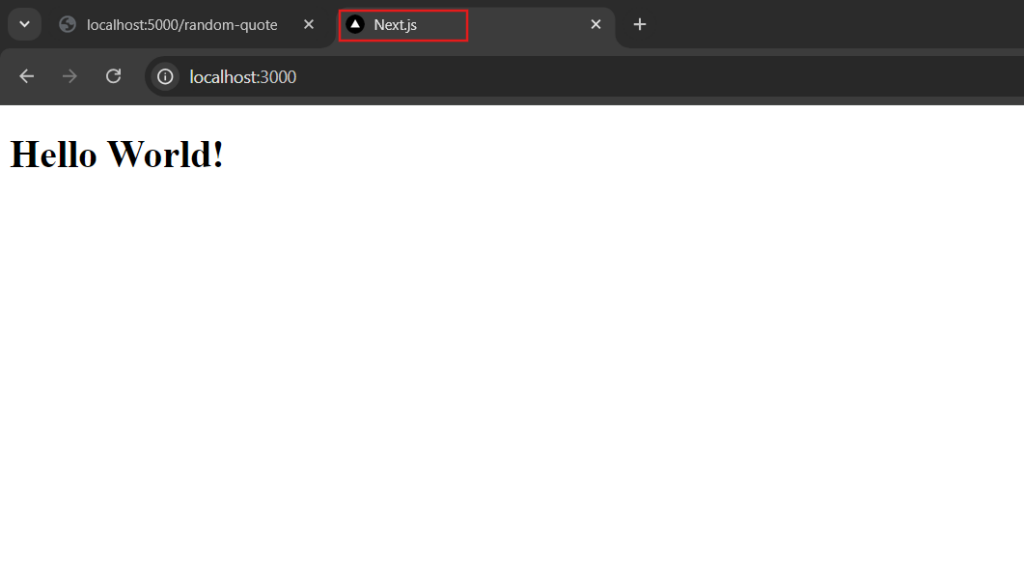
Step 4: Once the project is set up, open it inside a code editor and remove all the files inside the app directory and create a page.tsx file with the following code:
const Main = () => {
    return <h1>Hello World!</h1>;
};

export default Main;
Output:
Now execute the below command to test the application:
npm run dev
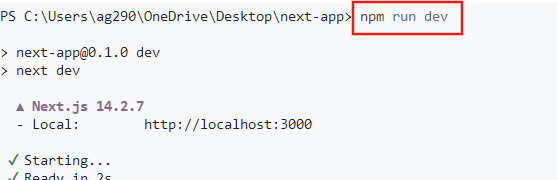
Here we are running the development server which listens on “http://localhost:3000”:
Connecting Next.js with Node.js
Now let’s see what changes we have to make to our Next.js app and Node.js server to connect them for sharing data.
Step 1: Configure CORS in Node.js
Now our Next.js frontend is on http://localhost:3000 and we want it to request http://localhost:5000, which is on a different port, this is considered a cross-origin request.
To handle this, we can use CORS middleware to allow requests from the “http://localhost:3000” and only for GET methods.
app.use(cors({
  origin: 'http://localhost:3000',
  methods: ['GET']
}));
CORS helps us prevent cross-site request forgery (CSRF) and cross-site scripting (XSS) attacks by letting us configure which origins, methods, and headers are allowed to access resources.
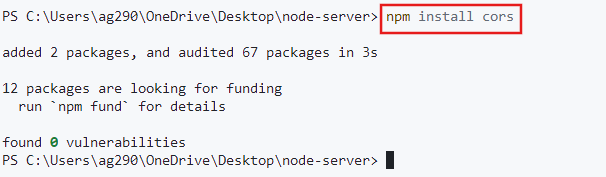
Install CORS:
npm install cors
Update the app.js to use CORS:
const express = require('express');
const cors = require('cors');

const app = express();

app.use(cors({
  origin: 'http://localhost:3000',
  methods: ['GET']
}));

const quotes = [
    "Talk to yourself once in a day, otherwise you may miss meeting an intelligent person in this world.",
    "You cannot believe in God until you believe in yourself.",
    "You have to grow from the inside out. None can teach you, none can make you spiritual. There is no other teacher but your own soul.",
    "We are what our thoughts have made us; so take care about what you think. Words are secondary. Thoughts live; they travel far.",
    "Truth can be stated in a thousand different ways, yet each one can be true.",
    "Arise! Awake! And stop not until the goal is reached."
];

app.get('/random-quote', (req, res) => {
    const randomQuote = quotes[Math.floor(Math.random() * quotes.length)];
    res.json({ quote: randomQuote });
});

app.listen(5000, () => {
    console.log("Server is running on port 5000");
});
Step 2: Fetch Data from Node.js Server in Next.js
We can fetch data from our Node.js server by using the fetch API, which is extended in Next.js to support both server-side and client-side data fetching.
This allows us to fetch data from our Node.js server within our Next.js components directly.
Update the app/page.tsx to use fetch API:
const fromNode = async () => {
    const res = await fetch("http://localhost:5000/random-quote");
    return res.json();
};

export default async function Main() {
    const nodeMsg = await fromNode();

    return <div>
        {nodeMsg.quote}
    </div>;
}
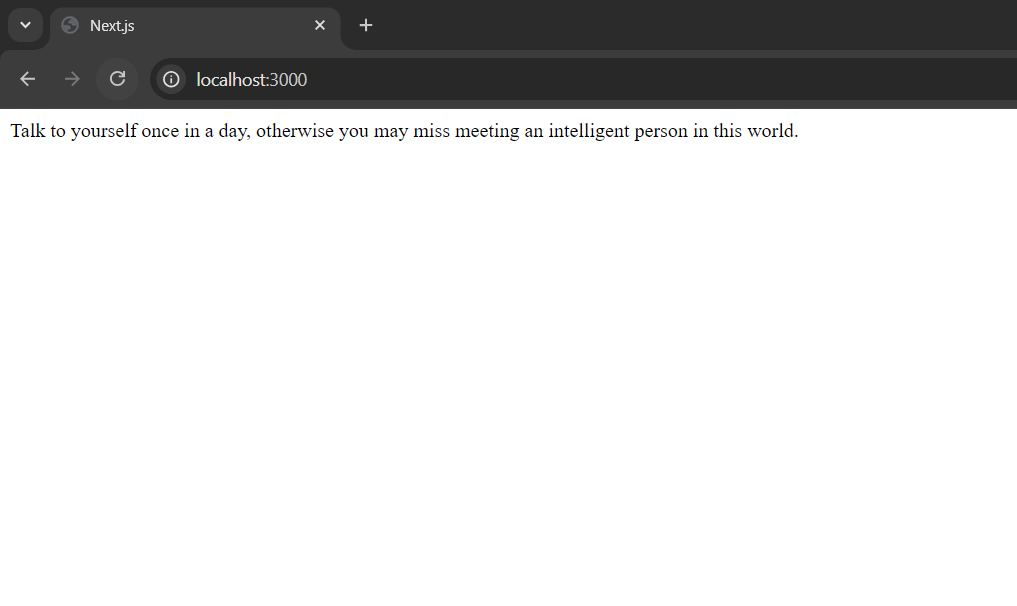
Step 3: Test the Functionality
Now let’s restart the Node.js server using the same “node app.js” command and open the Next.js app to see whether our app can fetch data from the server or not:
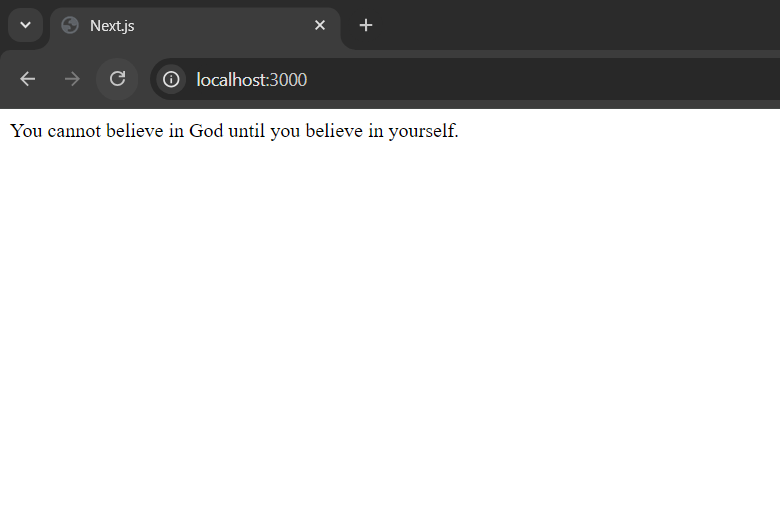
Yes, we successfully got a random quote.
Step 4: Disable Caching to Fetch New Data
On every refresh, we will get the same quote as by default the “cache” parameter in the fetch() method is “default” means it instructs fetch() to use the same cached content, not fetch a new one. To fetch new data on every request we have to set “cache” to “no-cache”.
const fromNode = async () => {
    const res = await fetch("http://localhost:5000/random-quote", { cache: "no-cache"});
    return res.json();
};

export default async function Main() {
    const nodeMsg = await fromNode();

    return <div>
        {nodeMsg.quote}
    </div>;
}
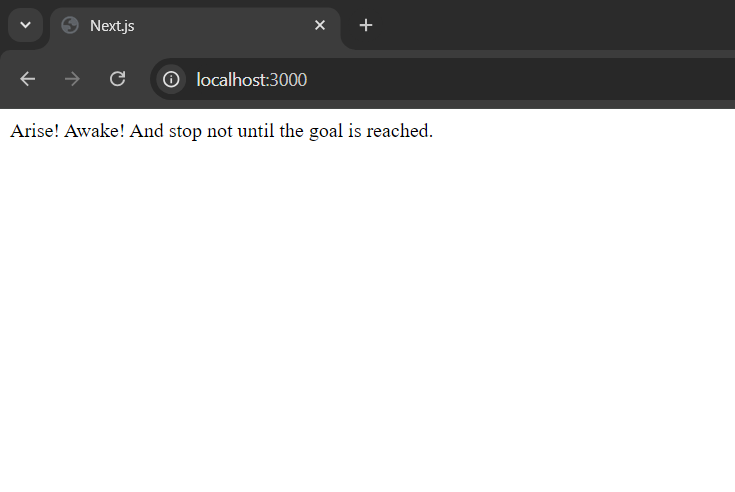
Output:
Refresh to get a new quote:
If you are confused about what we did in step 4, check out: Pre-rendering and Data Fetching in Next.js
Summary
In short, it’s easy to connect a Next.js app to a Node.js server running on some different port in the same machine using fetch API, just make sure to configure CORS properly to give required permission for the cross-origin request and restrict other external sources otherwise everyone will use your server and access your personal resources and even can crash your server.
Want to get your local Next.js app live? Click here to learn how!
References