New to Rust? Grab our free Rust for Beginners eBook Get it free →
Configuring Environment Variables in Next.js
The variables present outside of the context of a program are called environment variables. Environment variables are mainly used for storing sensitive information like API keys, database credentials, configuration settings, or other information that can’t be shown to the public.
Besides these, they also help us to configure applications based on the environment (development, production, test), manage deployment settings, provide OS-level details, enable dynamic configuration, etc.
This article will show how to set up and access environment variables in Next.js. We will also learn how to configure different environments in Next.js like .env.development for development and .env.production for production-specific settings. Let’s get started.
Previously: Configuring Markdown and MDX in Next.js
Accessing Default Environment Variables in Next.js
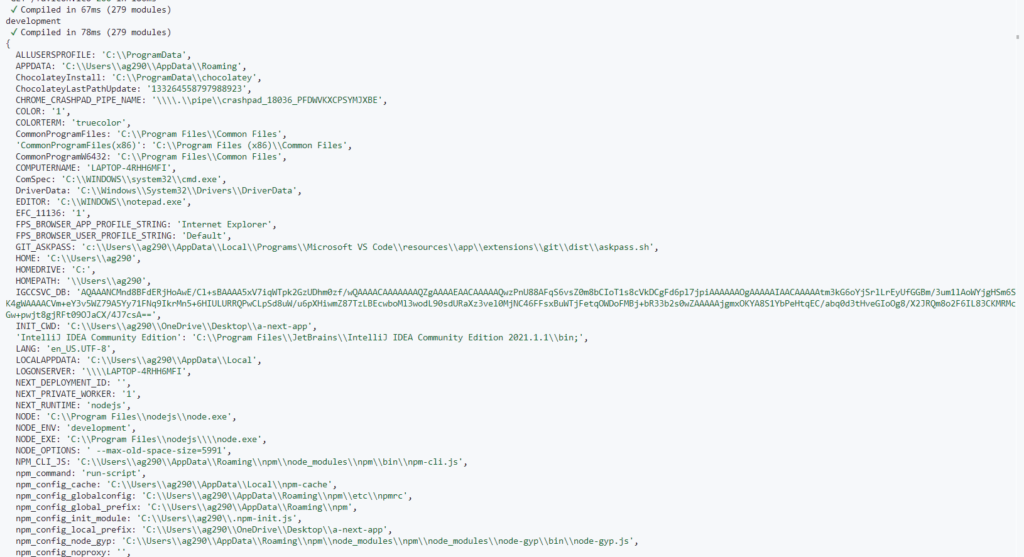
To view all the available environment variables, we can simply log ‘process.env’:
console.log(process.env);
This will give a huge list of default environment variables provided by Node.js:
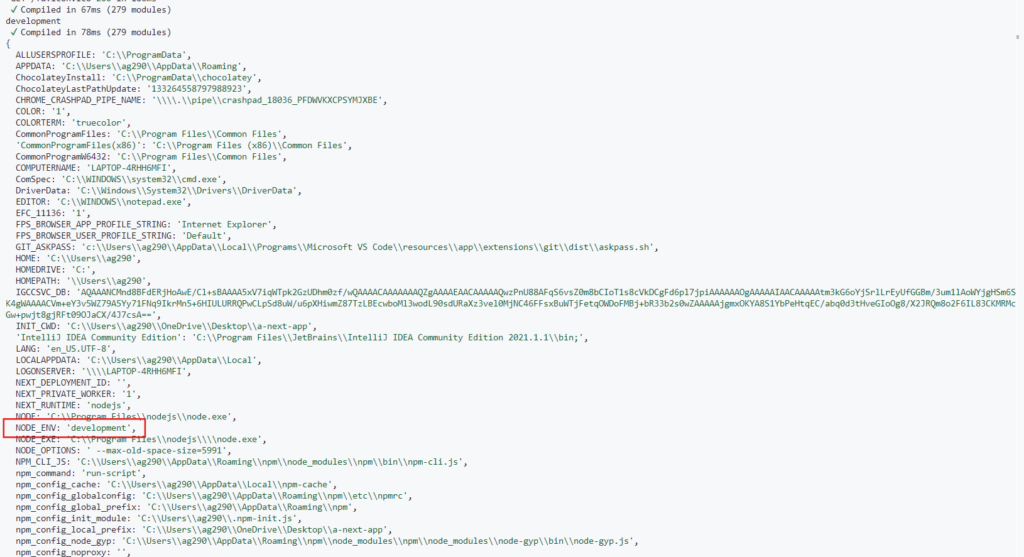
One of them is the NODE_ENV variable which is really useful. It indicates the environment in which the application is running, such as development, production, or test:
So if we render the process.env.NODE_ENV, like this:
const home = () => {
  return <h1>{process.env.NODE_ENV}</h1>;
};

export default home;
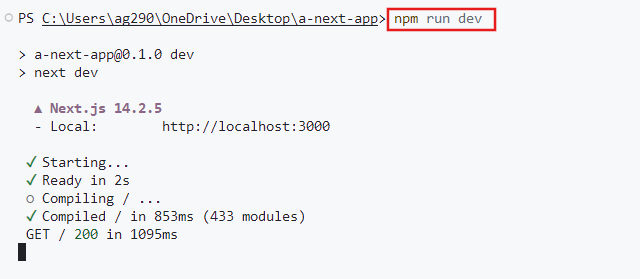
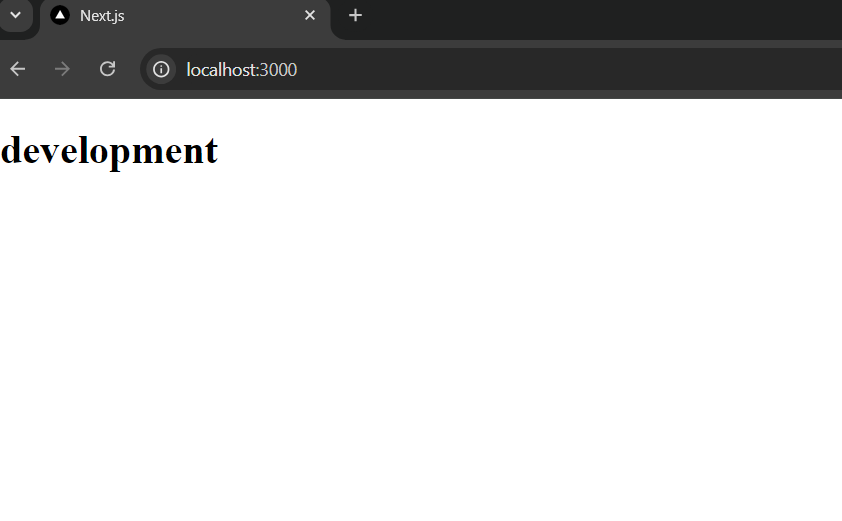
We got the development environment as we run our Next.js app using the “npm run dev” which runs the application on the development environment:
Conditional Rendering Based on Different Environments
Now we can also use this to conditional render content or execute specific code depending on the environment, like this:
const home = () => {
  if (process.env.NODE_ENV === 'development') {
    return <h1>Running in development mode</h1>;
  } else {
    return <h1>Running in production mode</h1>;
  }
};

export default home;
This is typically used to code things that should behave differently in production and development, such as bypassing authentication in production, configuring a test database in production, etc.
Note that this is not the only important environment variable, there are many that you can explore, but for now, let’s see how we can initialise our own environment variable in Next.js.
Setting Up Environment Variables in Next.js
Next.js has built-in support for loading environment variables from .env files into process.env so we can directly create a file “.env” and store whatever environment variable we want to access using process.env.
Step 1: Creating a .env File
Create a file “.env” at the same level as the app directory:
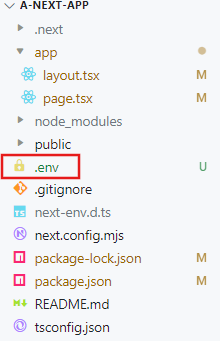
Make sure that this is in the root of the project folder. If you accidentally put it in another folder, even “/src”, things will not work.
Step 2: Defining Environment Variables
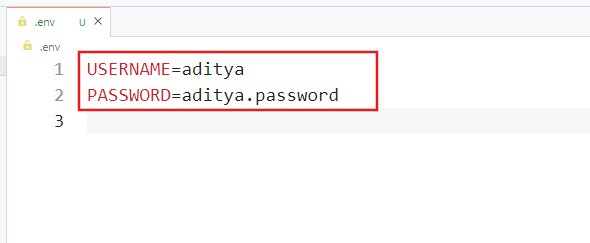
Now let’s store some variables in it:
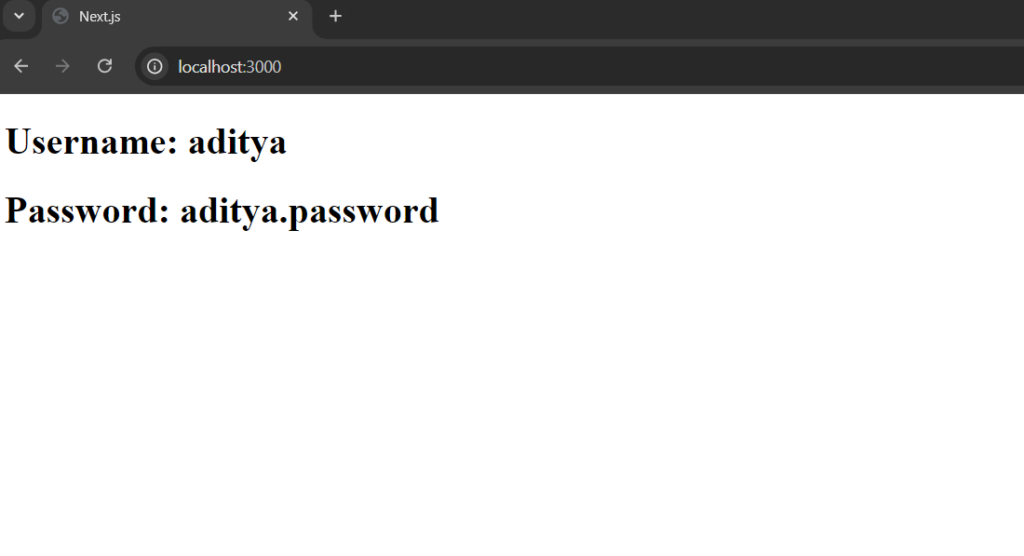
Step 3: Accessing Environment Variables
Now let’s access them in the root route using process.env:
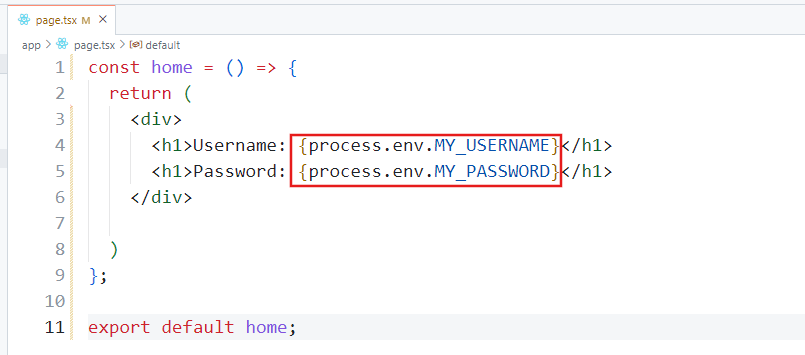
Output:
Controlling Environment Variable Accessibility in Next.js
Now while defining the environment variable we can also use different prefixes to restrict access, like:
- NEXT_PUBLIC_API_: To make a variable accessible on both the server and client side.
- DATABASE_: For server-side only, hidden from the client.
- SECRET_KEY: Also for server-side only, to store sensitive information.
# Accessible on both the server and client side
NEXT_PUBLIC_API_URL=https://api.anydomain.com

# Accessible on the server side only
DATABASE_URL=mongodb+srv://user:[email protected]/mydb?retryWrites=true&w=majority
SECRET_KEY=ThisIsSecretKey
Environment Specific .env Files in Next.js
Next.js lets us organize environment variables into different files based on their purpose and the environment they are used in.
1. Development Variables (.env.development)
The variables for this env file are used during the development phase. This helps us to configure the app for the local environment like changing the database URL from the server to a locally installed database or skipping the authentication code so that during development we don’t have to again and again login to test the application.
2. Production Variables (.env.production)
Production variables are used when running the application in a production environment. The variables and URL you passed in .env.production should be configured correctly for the live environment like using the production databases and appropriate API URLs.
3. Test Variables (.env.test)
Test variables are used during the testing phase. These variables help ensure that our test cases run in isolation with settings that do not disturb development or production.
4. Local Overrides (.env.local)
The variables inside this env file override the variables for the local environment, whether the current environment can be anything like development, production, or testing.
Summary
In short, environment variables store sensitive information related to development that cannot be shown publicly. To get all environment variables, we can call “process.env” and to get any specific variable value we can use dot notation after “process.env” with that variable name. These variables are very useful and we can also create them for different working environments like .env.development for development, .env.production for production, .env.test for testing and .env.local for local overrides. Just make sure these files are in the root of the project folder.
Reference
https://nextjs.org/docs/app/building-your-application/configuring/environment-variables