New to Rust? Grab our free Rust for Beginners eBook Get it free →
How To Deploy a Static Website to the Cloud with DigitalOcean App Platform
DigitalOcean apps platform now supports a static website hosting with inbuilt auto-deployment using Github. You can host for free up to 3 projects on the DigitalOcean apps platform. You can deploy your website directly from the Github repository. In this tutorial, we will cover all the steps required to deploy static websites directly from a Github repository.
Before we begin, you need to have the following things prepared:
- Static website – You can use ours too
- A Github account
- A DigitalOcean account
Step 1 – Create a Github account
If you don’t have a Github account, you can visit the Github website and create a new account.
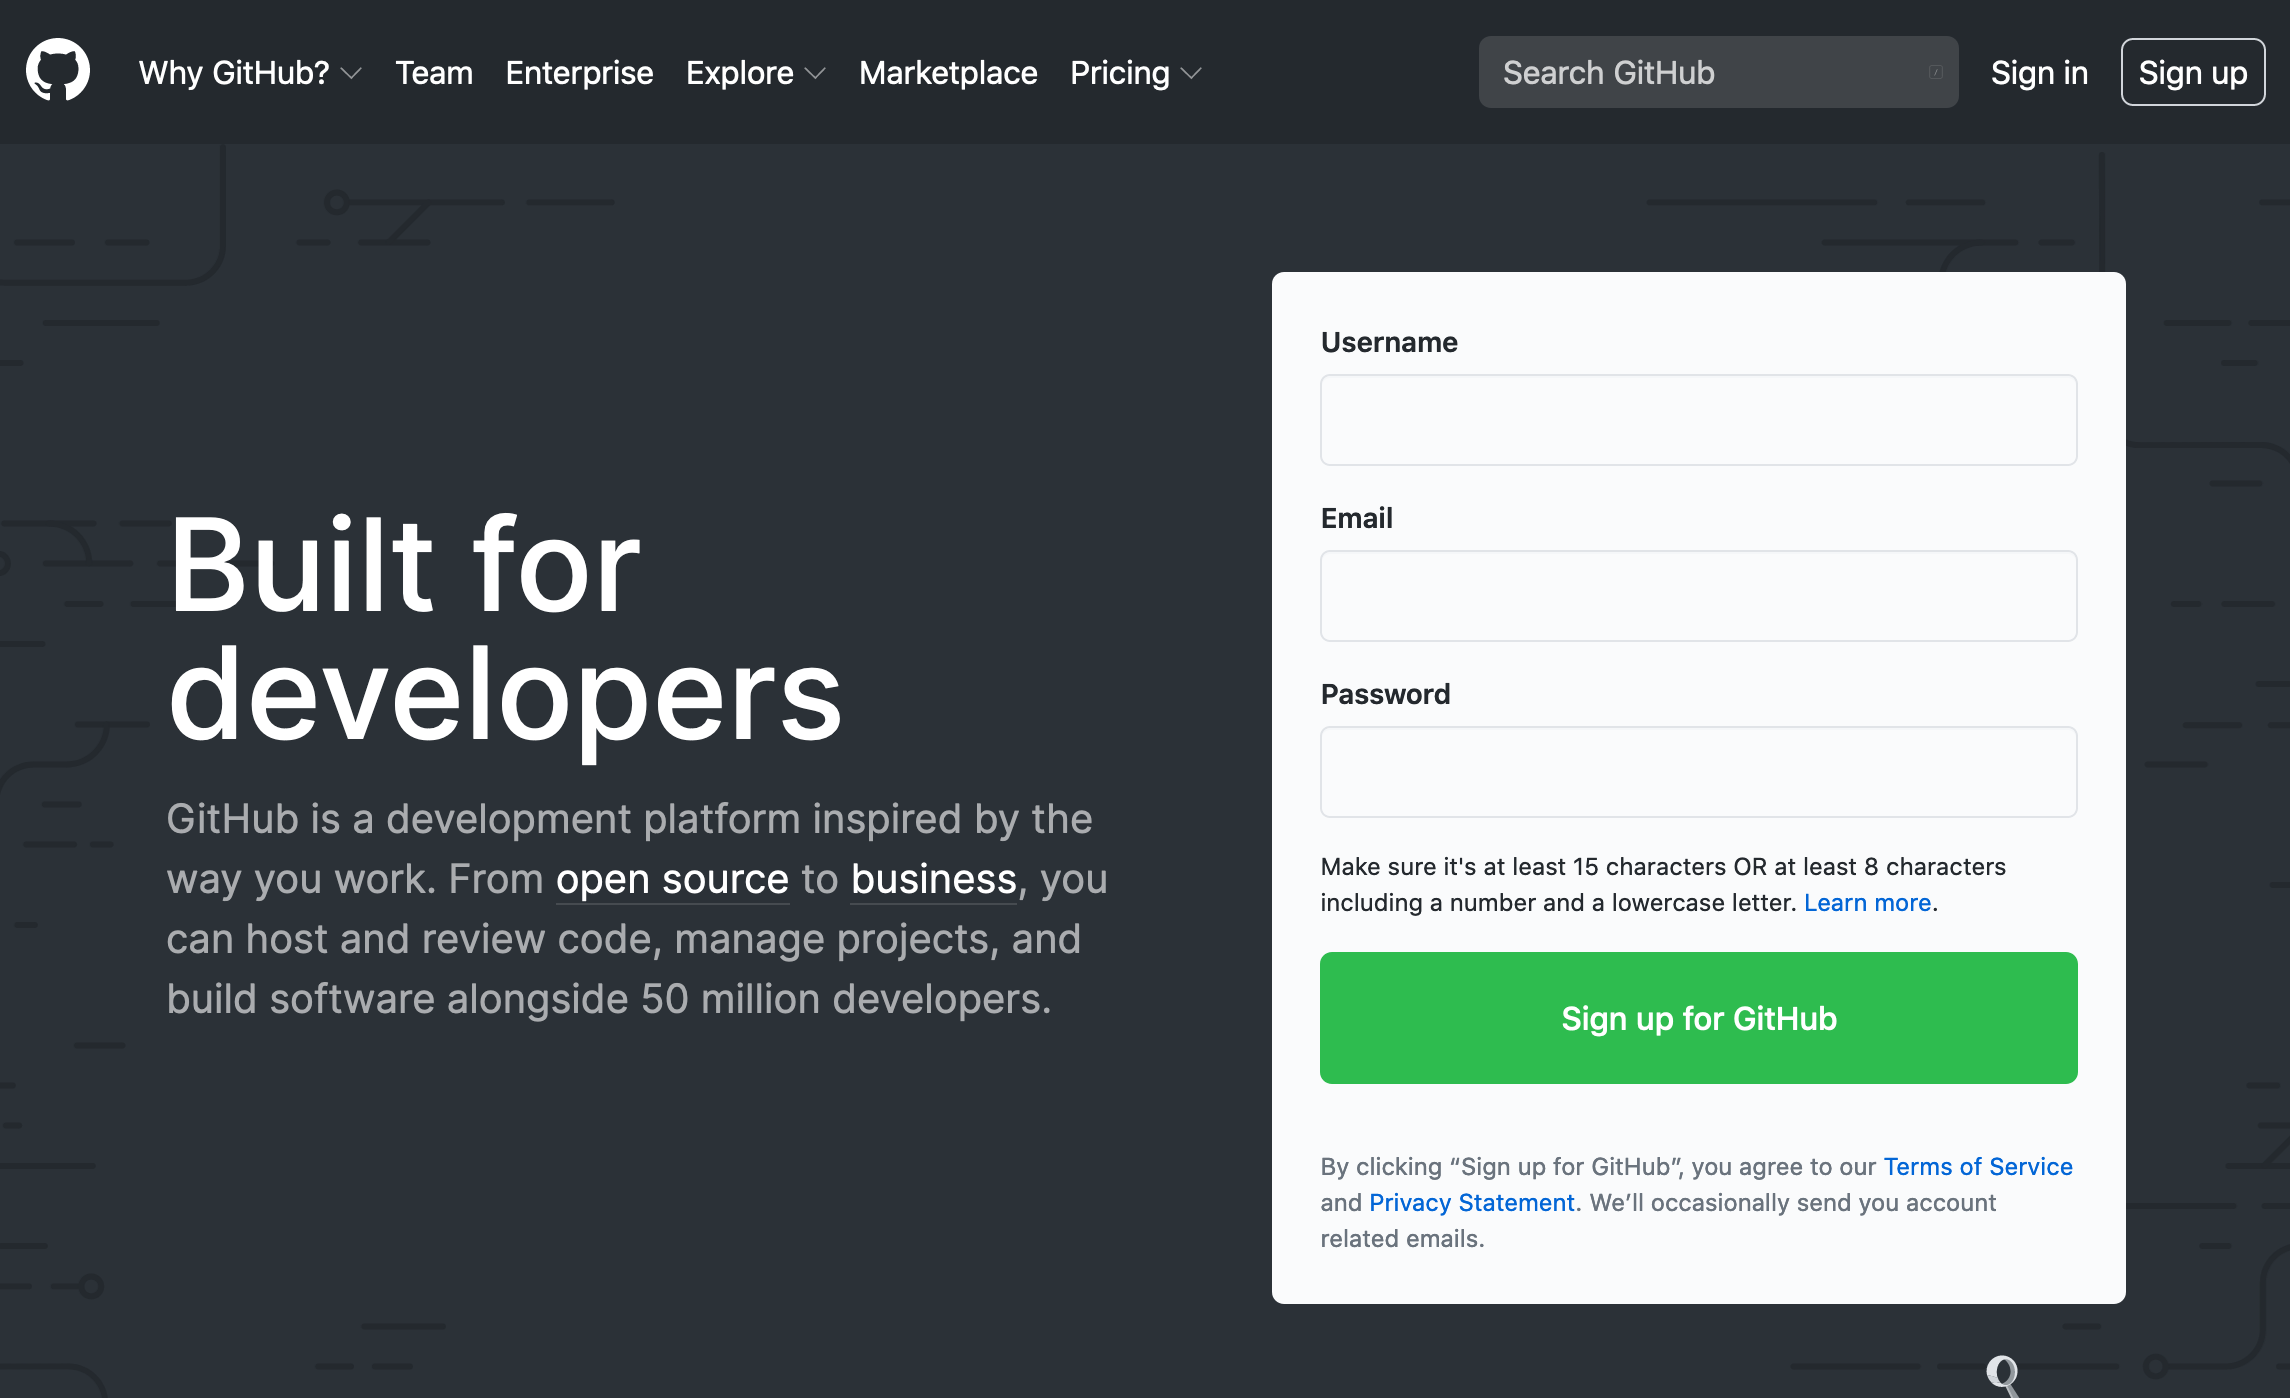
You need to verify your e-mail account to begin using your Github account.
Step 2 – Create a new repository
Next, we need to create a new repository and host our static website on Github. If you don’t have a static website ready with you, you can download our sample code from here and push it into your repository.
Click on this link to create a new repository.
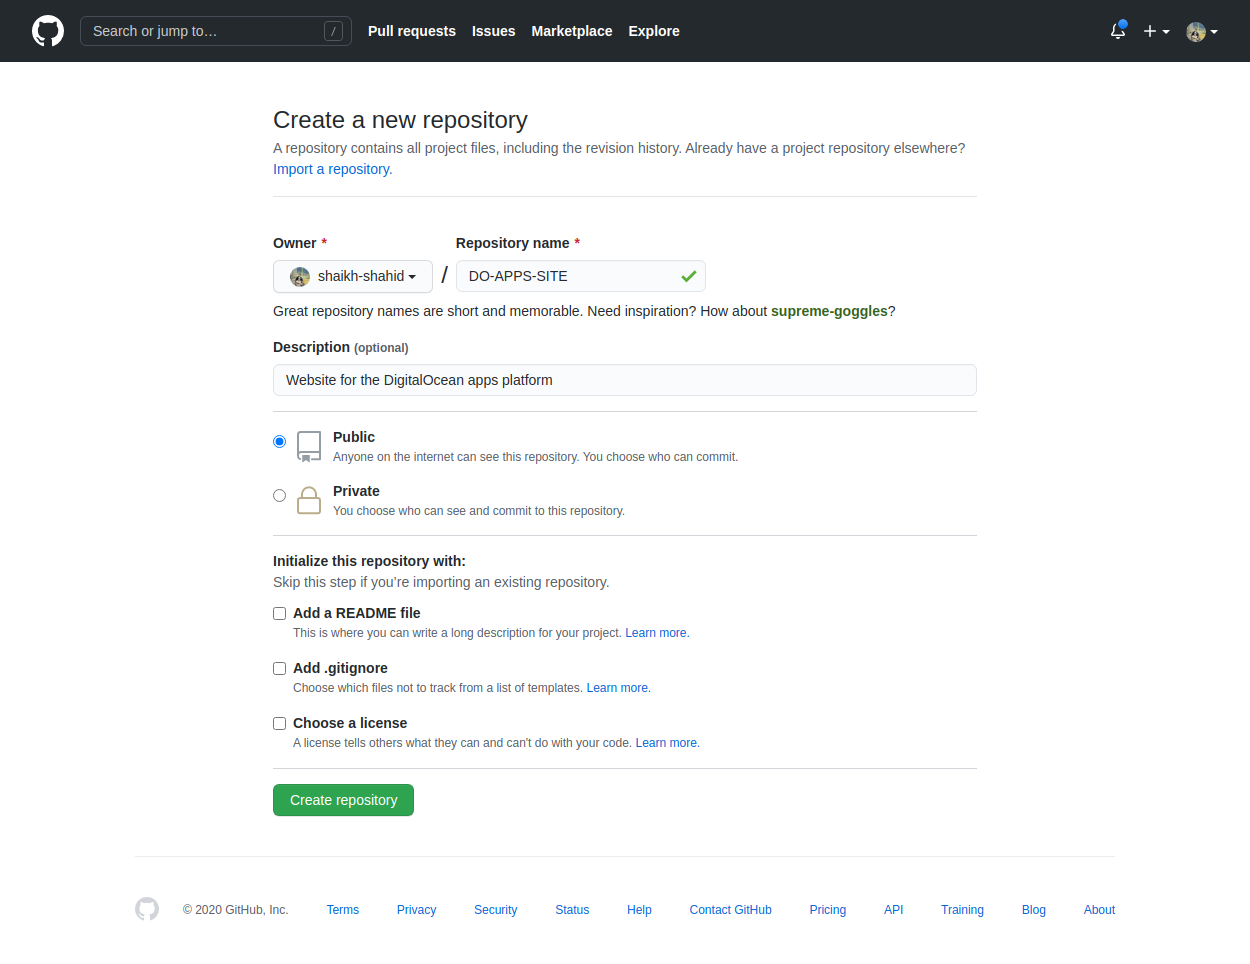
Click on a create repository button to finish creating your repository.
Step 3 – Push the Code in the Github repository
It’s time to push the code into the repository.
You can use your own source code or download a sample copy from our Github repository.
Next, you need to push the code into your own repository. Follow these commands one by one to do the same.
cd

git init

git add .

git commit -m "pushing it to Github"

git remote add origin "https://github.com/your_github_account_name/your_repository_name"

git push origin master
If you follow these steps, your code will be pushed to your repository.
Step 4 – Create Your DigitalOcean Account
Visit the signup page to create a new DigitalOcean account.
If you choose the email/password option then you need to verify the email before proceeding ahead. You need to enter the payment details to verify your identity. You will not be charged a penny for 3 static websites so no need to worry.
Step 5 – Deploy your website on DigitalOcean apps platform
Now click on Apps option from the left menu bar and you will land on the Digitalocean apps platform page.
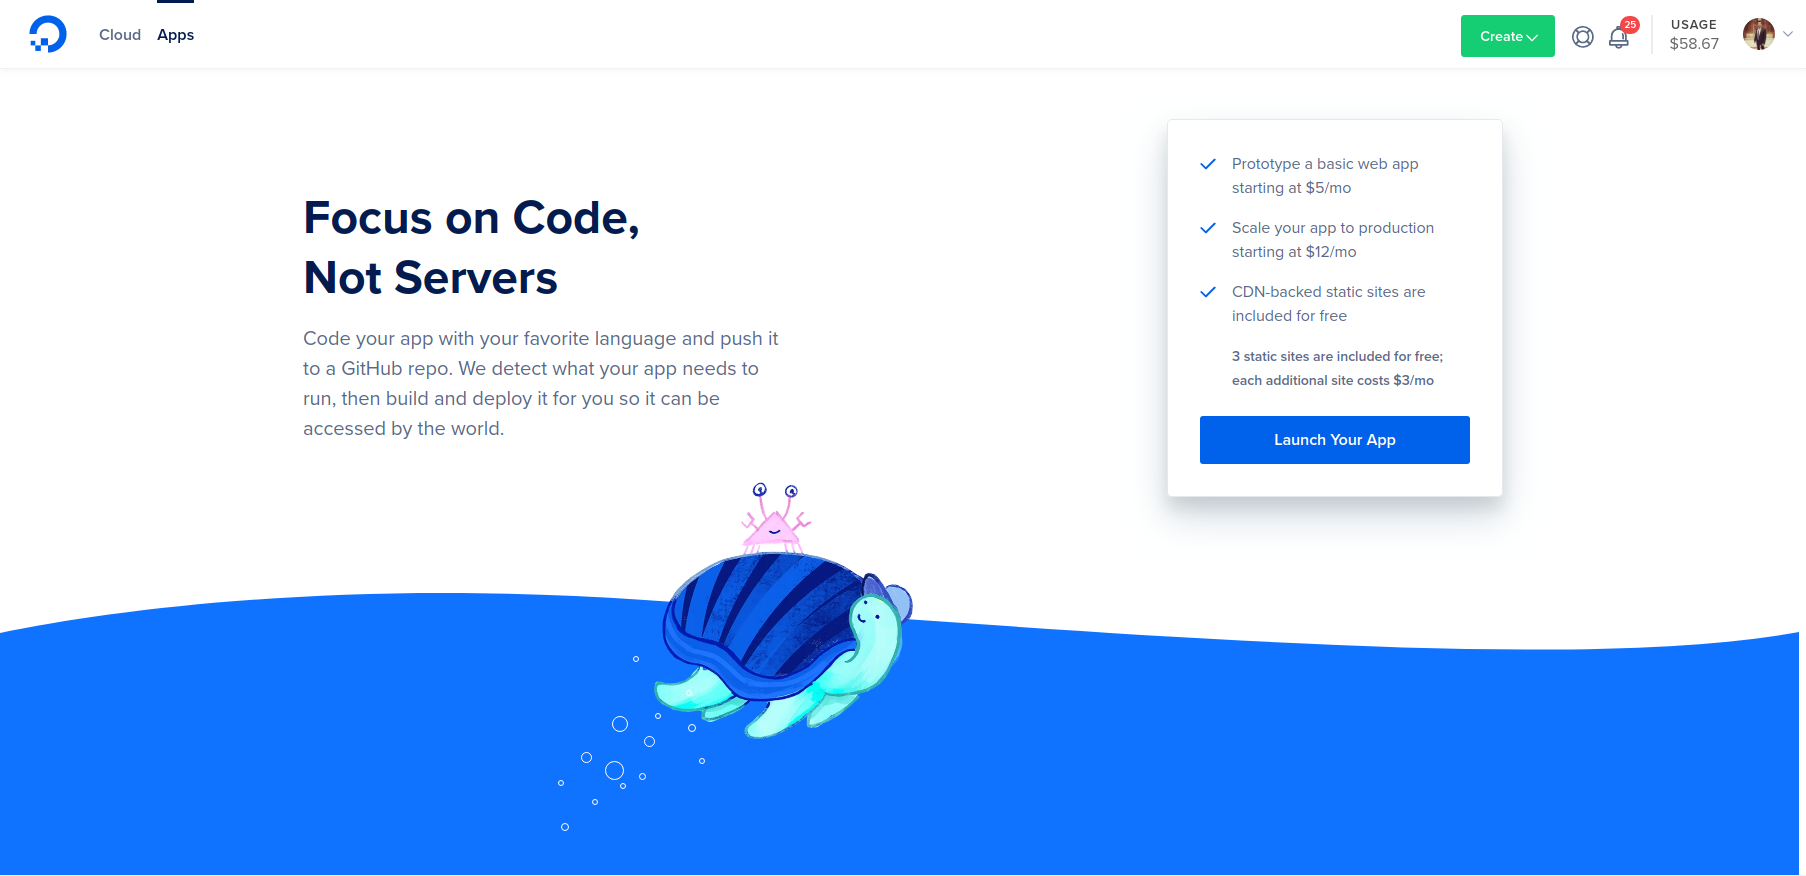
Click on the Launch your app button and follow the steps.
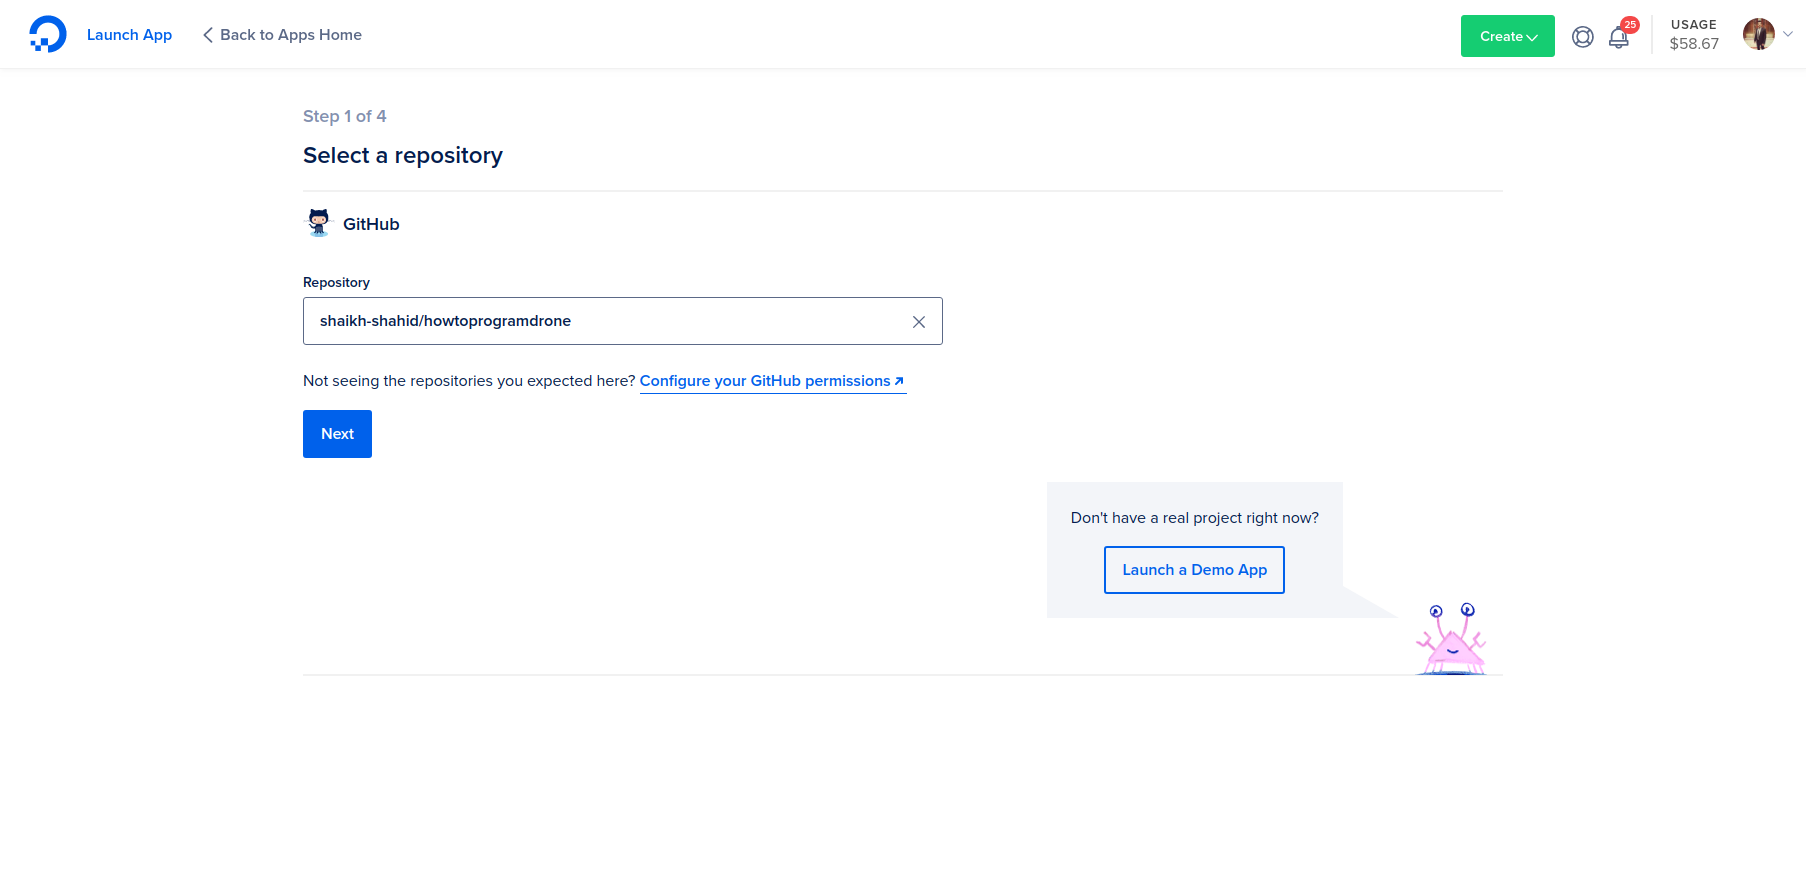
Click on Configure your Github permissions link and allow DigitalOcean to access your repository. Once you have provided the permission, you should be able to see the repository in the dropdown.
Click on Next and you will be navigated to the next step.

You can update the name of the website and change the Github branch as well. Click on next to go to the next step.
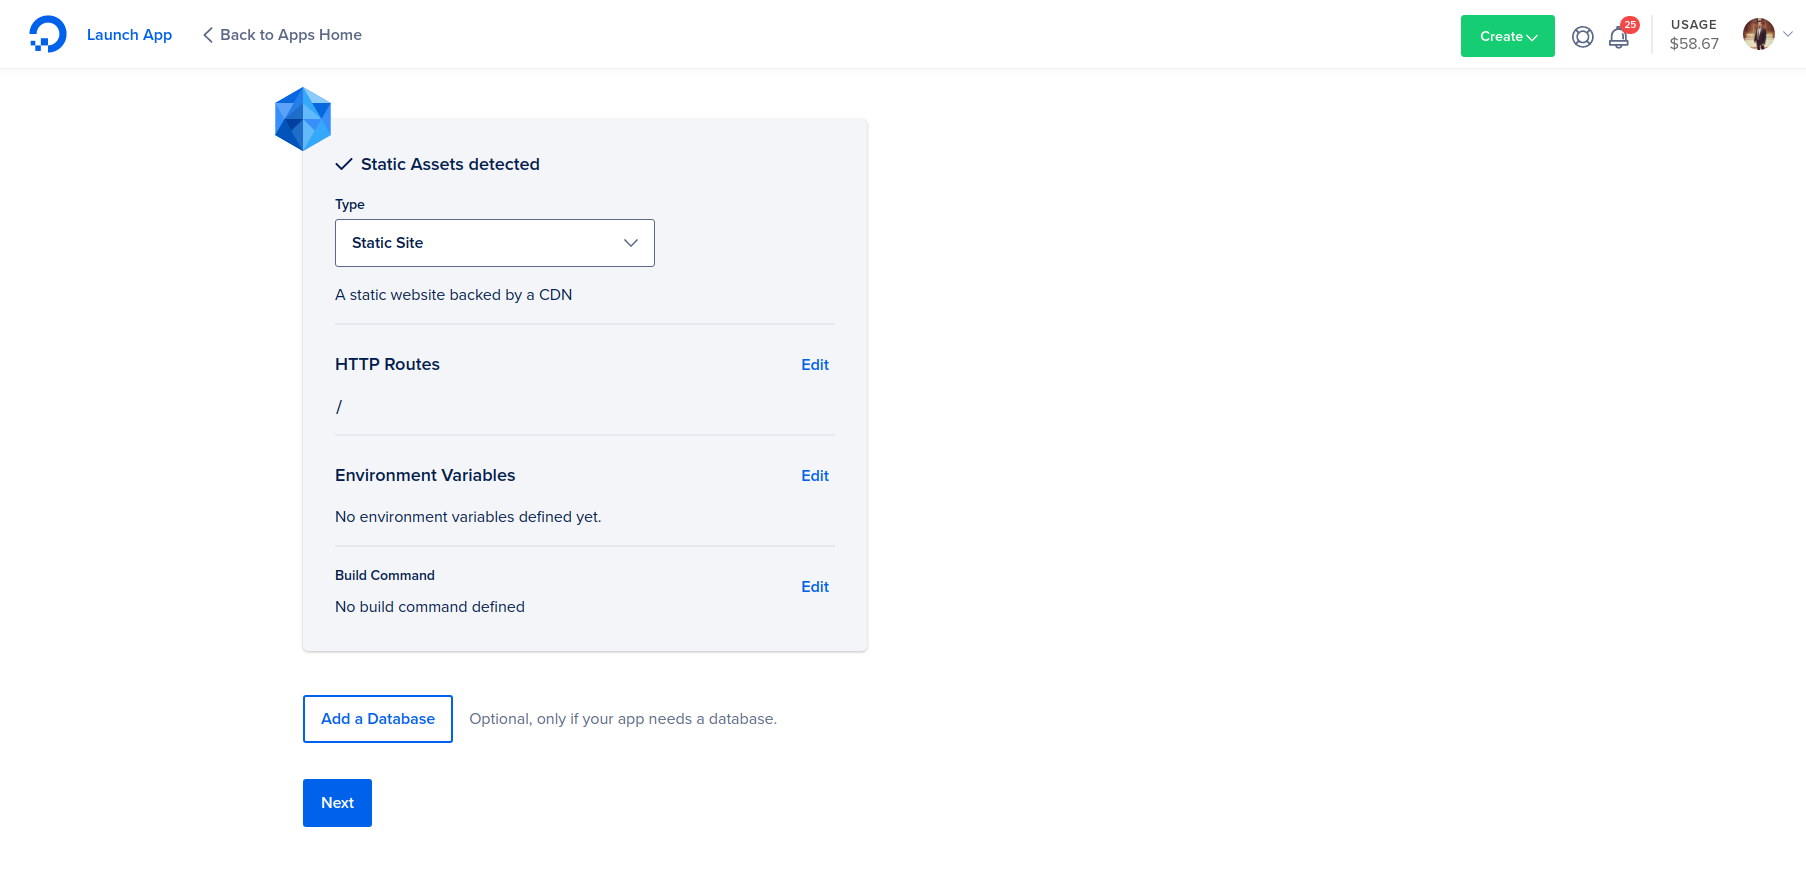
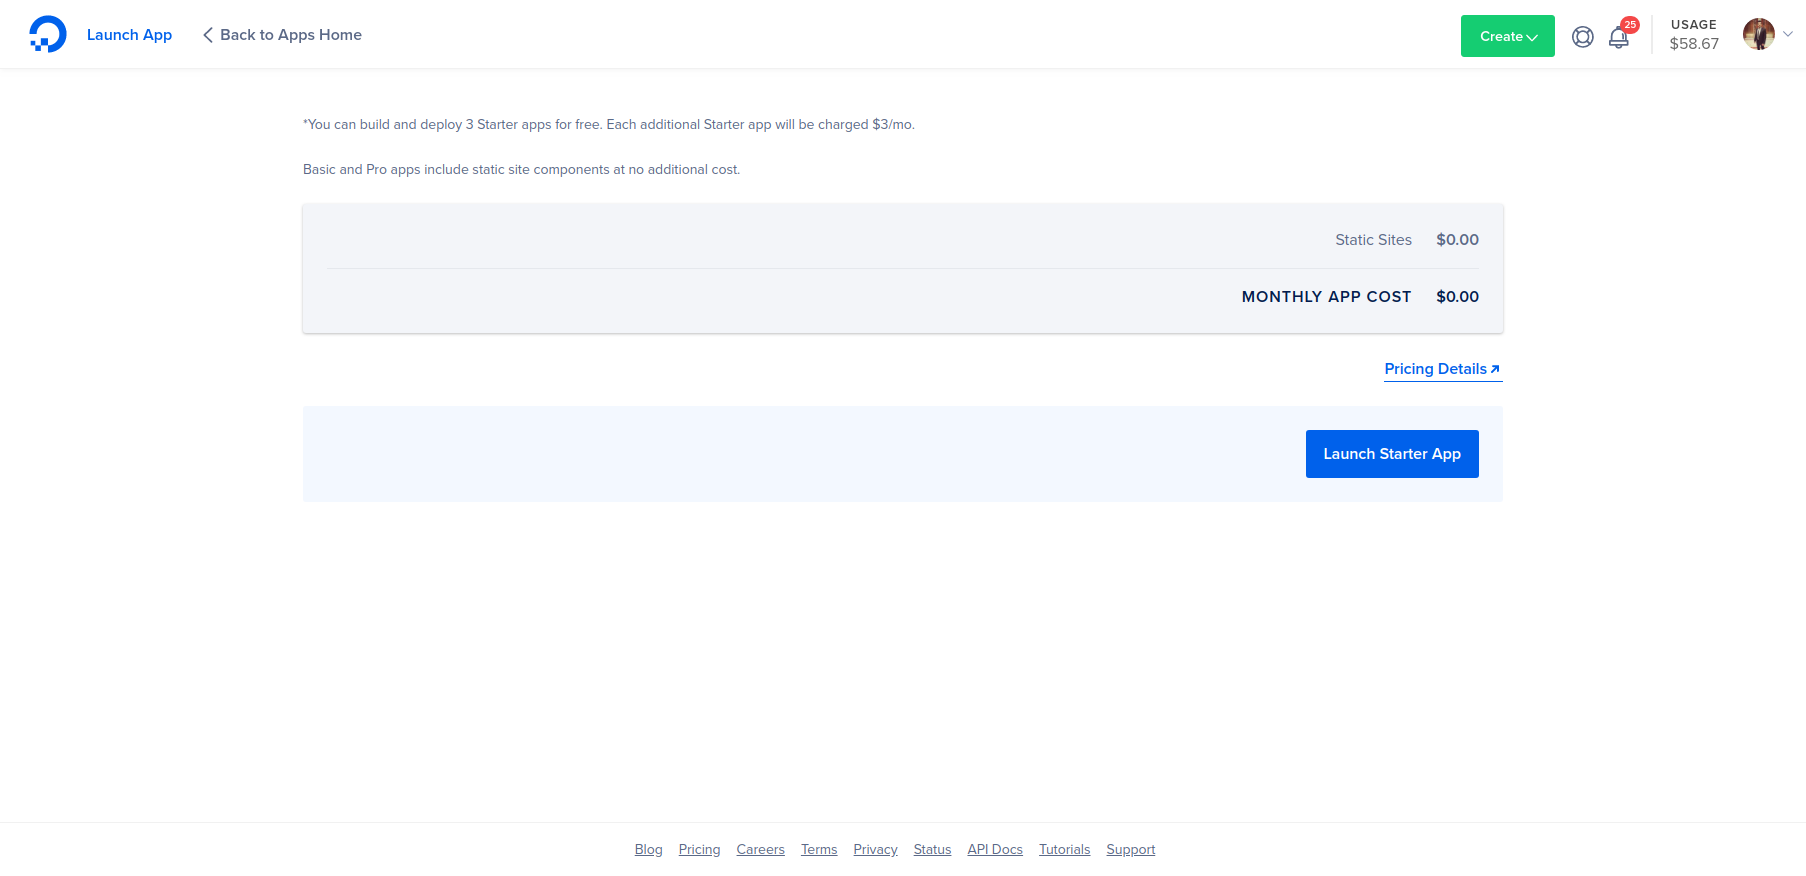
As you can see in the image above, DigitalOcean now detects the static website. Click on Next and choose the package. Go with the Starter for free hosting. Scroll down and click on the Launch Starter App button.
Sit back and relax and let DigitalOcean deploy your website on the Cloud. Once deployed you can visit the website by clicking on the DigitalOcean link.
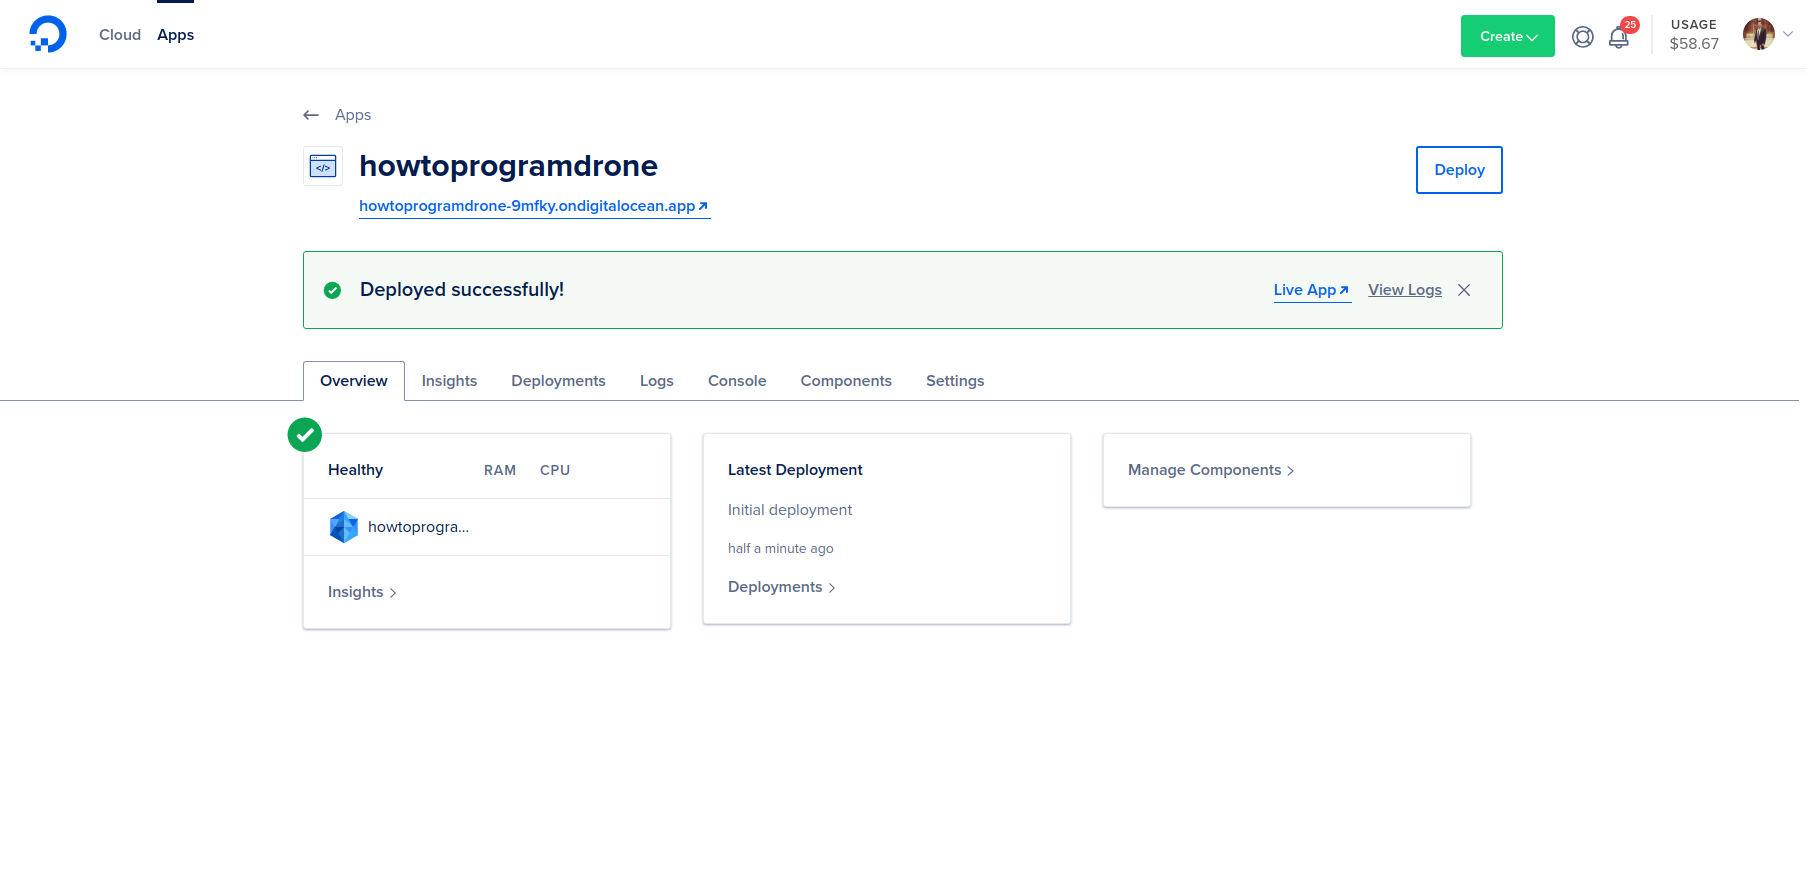
Click here to check out our static website deployed on the DigitalOcean Apps platform.
By default, DigitalOcean apps provide SSL support. You can configure your own domain as well, it’s in the Settings section.
Conclusion
In this quick tutorial, you have learned how to host a static website in the DigitalOcean apps platform by following easy 5 steps. You have learned how to create a Github account and how to push your code in the Github repository. In the end, you have learned how to deploy the static website in the DigitalOcean apps platform.