New to Rust? Grab our free Rust for Beginners eBook Get it free →
Caching a MongoDB Database with Redis

MongoDB is one of the most popular NoSQL databases in the world. The simplicity of the system makes it easy to adapt and maintain. When we use databases such as MongoDB in our web services we tend to ignore the performance part of it.
When database scales up to a good volume, it may slow down. The reason could be infrastructure setup or badly configured system (like No indexing etc). If your web server and the database server is running on a different system then latency becomes an issue as well. These things affect the response time of service hence the performance of your overall application.
To address these problems, we should introduce database caching in our system.
What is Caching
Caching is a technique in computer science to store frequently accessed data in temporary storage (known as cache) to reduce the read/writes of hard drives. Our computer has a cache, the browser has a cache, the webserver has a cache and this article is also retrieved from a cache.
Caching is everywhere and this technique can skyrocket the performance of your web applications.
How it works
When a user makes a request to your service. The web server first reads or writes in the database and return back the response. In the case of a caching, the server first checks whether the cache copy exists, if it does it returns the data from the cache instead of asking the database. It saves time and the computational effort of the database.

We use the same technique in the redesign of Codeforgeek. We use MongoDB as our primary database and Redis as a database cache. In this article, I will explain how you can achieve the same.
Sample application
Let’s build a simple web service application that exposes an API to read data from the MongoDB database.
Let’s start a fresh project.
mkdir mongoCacheDemo && cd mongoCacheDemo
Then run this command to create a Node project.
npm init --y
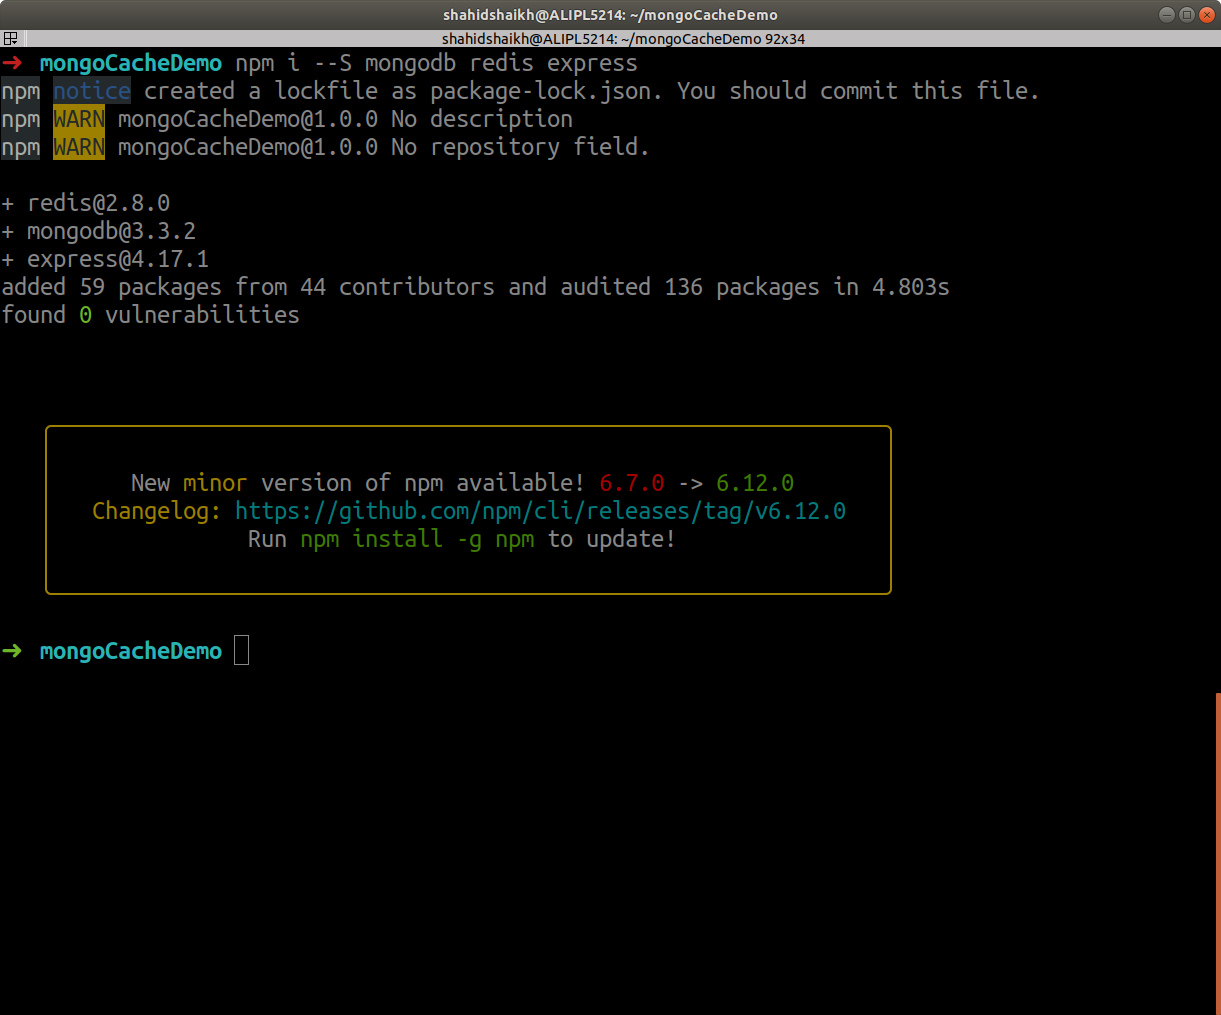
Let’s download the dependencies.
npm i --S mongodb redis express
Let’s start coding.
Here is our simple app.js code.
const express = require('express');

const router = express.Router();

const app = express();

const models = require('./models');
router.get('/', (req,res) => {
res.send('Hello');
});
router.get('/articles/:id',async (req,res) => {
// return article from database
try {
const articleData = await models.getArticle(parseInt(req.params.id));
res.json({error: false, message: 'success', data: articleData});
}
catch(e) {
res.json({error: true, message: 'Error occurred during processing'});
}
});
app.use('/', router);
app.listen(process.env.PORT || 3000, () => {
console.log(`App is listening at ${process.env.PORT || 3000}`);
});
Here is our models.js code.
const mongo = require('mongodb');
// connect to MongoDB
var dbo = null;
mongo.connect('mongodb://localhost:27017/codeforgeek', {
useNewUrlParser: true
}, (err, db) => {
if (err) {
process.exit(0);
}
dbo = db.db('codeforgeek');
console.log('connected to the database');
});
function getArticle(id) {
return new Promise((resolve, reject) => {
dbo.collection('posts').find({
id: id
}).toArray((err, articleData) => {
if(err) {
return reject(err);
}
resolve(articleData);
});
});
}
module.exports = {
getArticle: getArticle
};
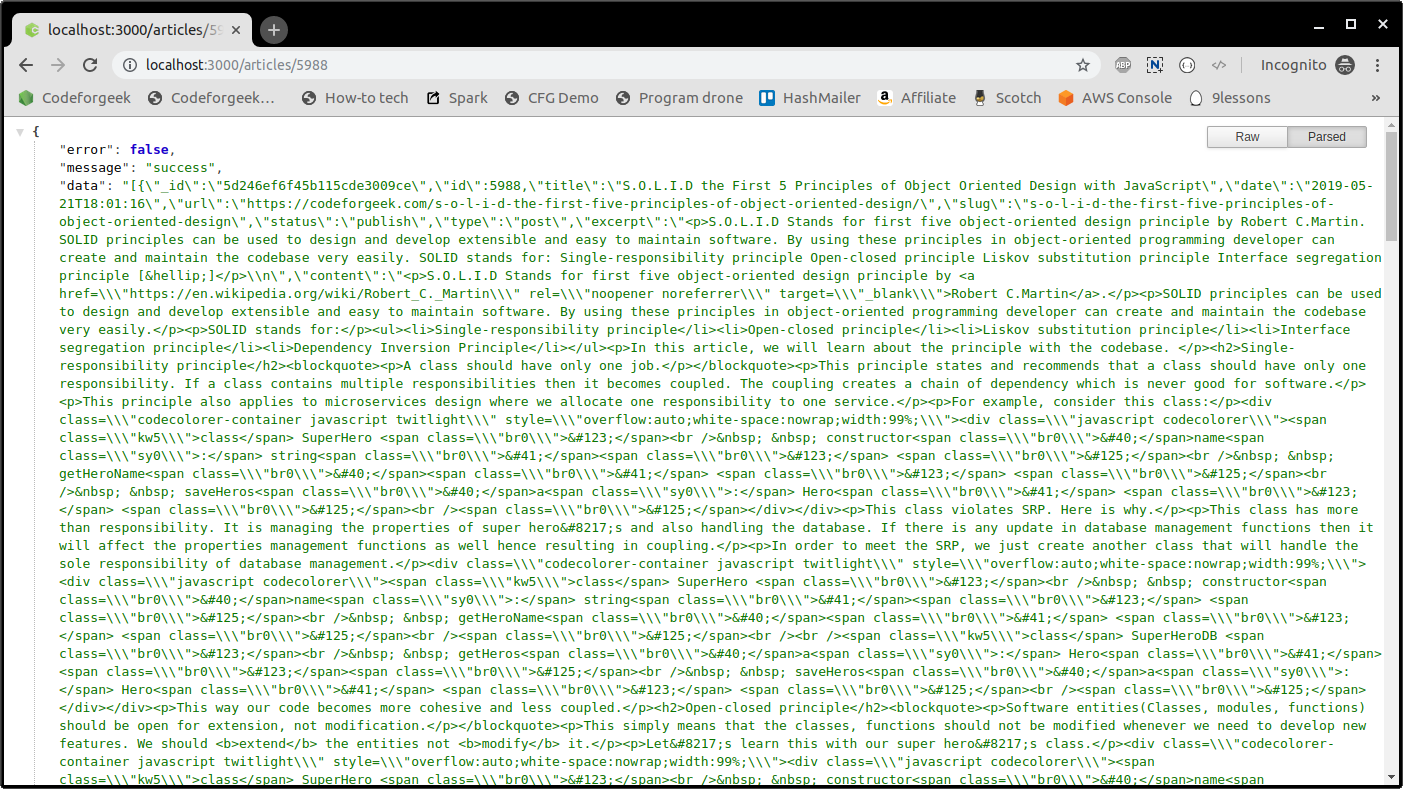
Let’s run the code and check its working.
node app.js
Awesome. Let’s our Redis Cache.
Adding Redis Cache
Let’s add a Redis Cache in our code.
Here is the updated models.js.
const mongo = require('mongodb');

const redisClient = require('redis').createClient;

const redis = redisClient(6379, 'localhost');
// connect to MongoDB
var dbo = null;
mongo.connect('mongodb://localhost:27017/codeforgeek', {
useNewUrlParser: true
}, (err, db) => {
if (err) {
console.log(chalk.red(err));
process.exit(0);
}
dbo = db.db('codeforgeek');
console.log('connected to the database');
});
redis.on("connect", () => {
console.log('connected to Redis');
});
function getArticle(id) {
return new Promise((resolve, reject) => {
redis.get(id,(err, reply) => {
if(err) {
console.log(err);
} else if(reply) {
resolve(reply);
} else {
dbo.collection('posts').find({
id: id
}).toArray((err, articleData) => {
if(err) {
return reject(err);
}
if(articleData.length > 0) {
// set in redis
redis.set(id, JSON.stringify(articleData));
}
resolve(articleData);
});
}
});
});
}
module.exports = {
getArticle: getArticle
};
In the code shown above, as you can see in the getArticle function, we are checking if the cache exists using the ID parameter. If it does exist, we return the data without going further. If the cache does not exist, we look for that data in MongoDB and add it to our cache if found.
Logic is simple and it works.
Run the application again and check the working.
Keeping the cache updated
How long do you want the cache to exists? What happens when there is new or updated data? We need to address issues like this when we introduce caching.
The time to retain the cache depends upon the system. For a site like Codeforgeek, I keep the cache for 24 hours and rebuild it again. You may need to have it for 1 hour or 100 hours depending on how often data gets updated.
When data gets updated, we can just update the Redis cache or delete the entry from Redis to let the system rebuild the cache. This decision is solely yours.
Caching policy
The codebase shown above is the basic caching system. It’s not recommended to put everything in a cache, this will slow down the system as well. We should only put those data in a cache which is highly requested for eg “Most popular articles”.
Redis has various caching policy built-in and I recommend the LRU (Least recently used) caching policy. This policy deletes the cache items that were least recently used.
You can pass the algorithm as a parameter when you start Redis.
redis-server -maxmemory-policy allkeys-lru
Conclusion
In this article, we studied about caching and how it can be useful in building high performing systems. Database caching is an amazing concept and I don’t see lots of developers using it in their project.


