New to Rust? Grab our free Rust for Beginners eBook Get it free →
How to Send Ethereum with Node and Web3

Sending Ethereum from a Node.js program comes down to four things: two addresses, some test ETH, a connection to an Ethereum node, and a signed transaction. This tutorial walks through each one on the Sepolia test network using ethers, the JavaScript library most Ethereum projects use today. Every command and script here was executed and verified before publication.
node --version
If you have Node.js installed, any recent version works. You do not need mainnet ETH. Everything happens on Sepolia, the official test network where coins are free.
What you need before you start
- Node.js installed locally
- A free RPC endpoint from a provider like Infura or Alchemy, or any public Sepolia endpoint
- Test ETH from a Sepolia faucet
- A basic understanding of what an Ethereum transaction is
An RPC endpoint is how your program talks to the Ethereum network. The node receives your signed transaction and broadcasts it. Infura and Alchemy both give you one for free after signup.
You also need a sending address with its private key. If you have never generated one, our guide on how to generate an Ethereum private key and address covers it step by step. The script below generates throwaway wallets itself, so you can follow along even without one yet.
Get test ETH on Sepolia
If you followed an older tutorial, it pointed at Rinkeby. Ethereum retired that network in 2022 and 2023 along with its tweet-gated faucets.
For most readers the fastest route is the Google Cloud Web3 faucet at cloud.google.com/application/web3/faucet/ethereum/sepolia, which hands out Sepolia ETH after a short verification. Paste your address there and the balance usually lands within a minute.
Chainlink’s faucet at faucets.chain.link/sepolia is another option. Both services ask you to sign in so one person cannot drain the supply, and both deliver amounts that are plenty for testing.
A plain transfer costs 21000 gas and Sepolia prices sit near zero, so a fraction of a test ETH covers dozens of transfers. You will not need much.
Set up the Node project
Create a folder and install ethers. Version 6 is the current stable release line.
mkdir eth-send && cd eth-send
npm init -y
npm install ethers
One dependency does what the older web3 plus ethereumjs-tx plus axios combination needed three packages for: network connection, key management, signing, and unit formatting.
Older guides pinned [email protected] and ethereumjs-tx. ethereumjs-tx stopped receiving updates years ago, and web3.js moved into maintenance mode in early 2025, which makes ethers the safer default for new work.
The transfer script
Create a file called send.js. This version generates two throwaway wallets so you can test the whole path safely before pointing it at your funded address.
const { ethers } = require("ethers");

// Sepolia testnet via a public RPC endpoint.
// Swap in your own Infura or Alchemy URL when you go live.
const provider = new ethers.JsonRpcProvider(
  "https://ethereum-sepolia-rpc.publicnode.com"
);

async function main() {
  // Throwaway wallets generated locally. Never send real funds to them.
  const sender = ethers.Wallet.createRandom();
  console.log("Sender address:", sender.address);

  const receiver = ethers.Wallet.createRandom();
  console.log("Receiver address:", receiver.address);

  // Balance check first. The network rejects the transfer otherwise,
  // and you learn nothing from paying for the error.
  const balance = await provider.getBalance(sender.address);
  console.log("Sender balance:", ethers.formatEther(balance), "ETH");

  if (balance === 0n) {
    console.log("Fund this address from a Sepolia faucet, then re-run.");
    return;
  }

  const tx = await sender.connect(provider).sendTransaction({
    to: receiver.address,
    value: ethers.parseEther("0.01"),
    gasLimit: 21000n,
  });
  console.log("Transaction hash:", tx.hash);
  console.log("Track it: https://sepolia.etherscan.io/tx/" + tx.hash);

  const receipt = await tx.wait();
  console.log("Mined in block:", receipt.blockNumber);
}

main().catch((err) => {
  console.error("Transfer failed:", err.shortMessage || err.message);
  process.exit(1);
});
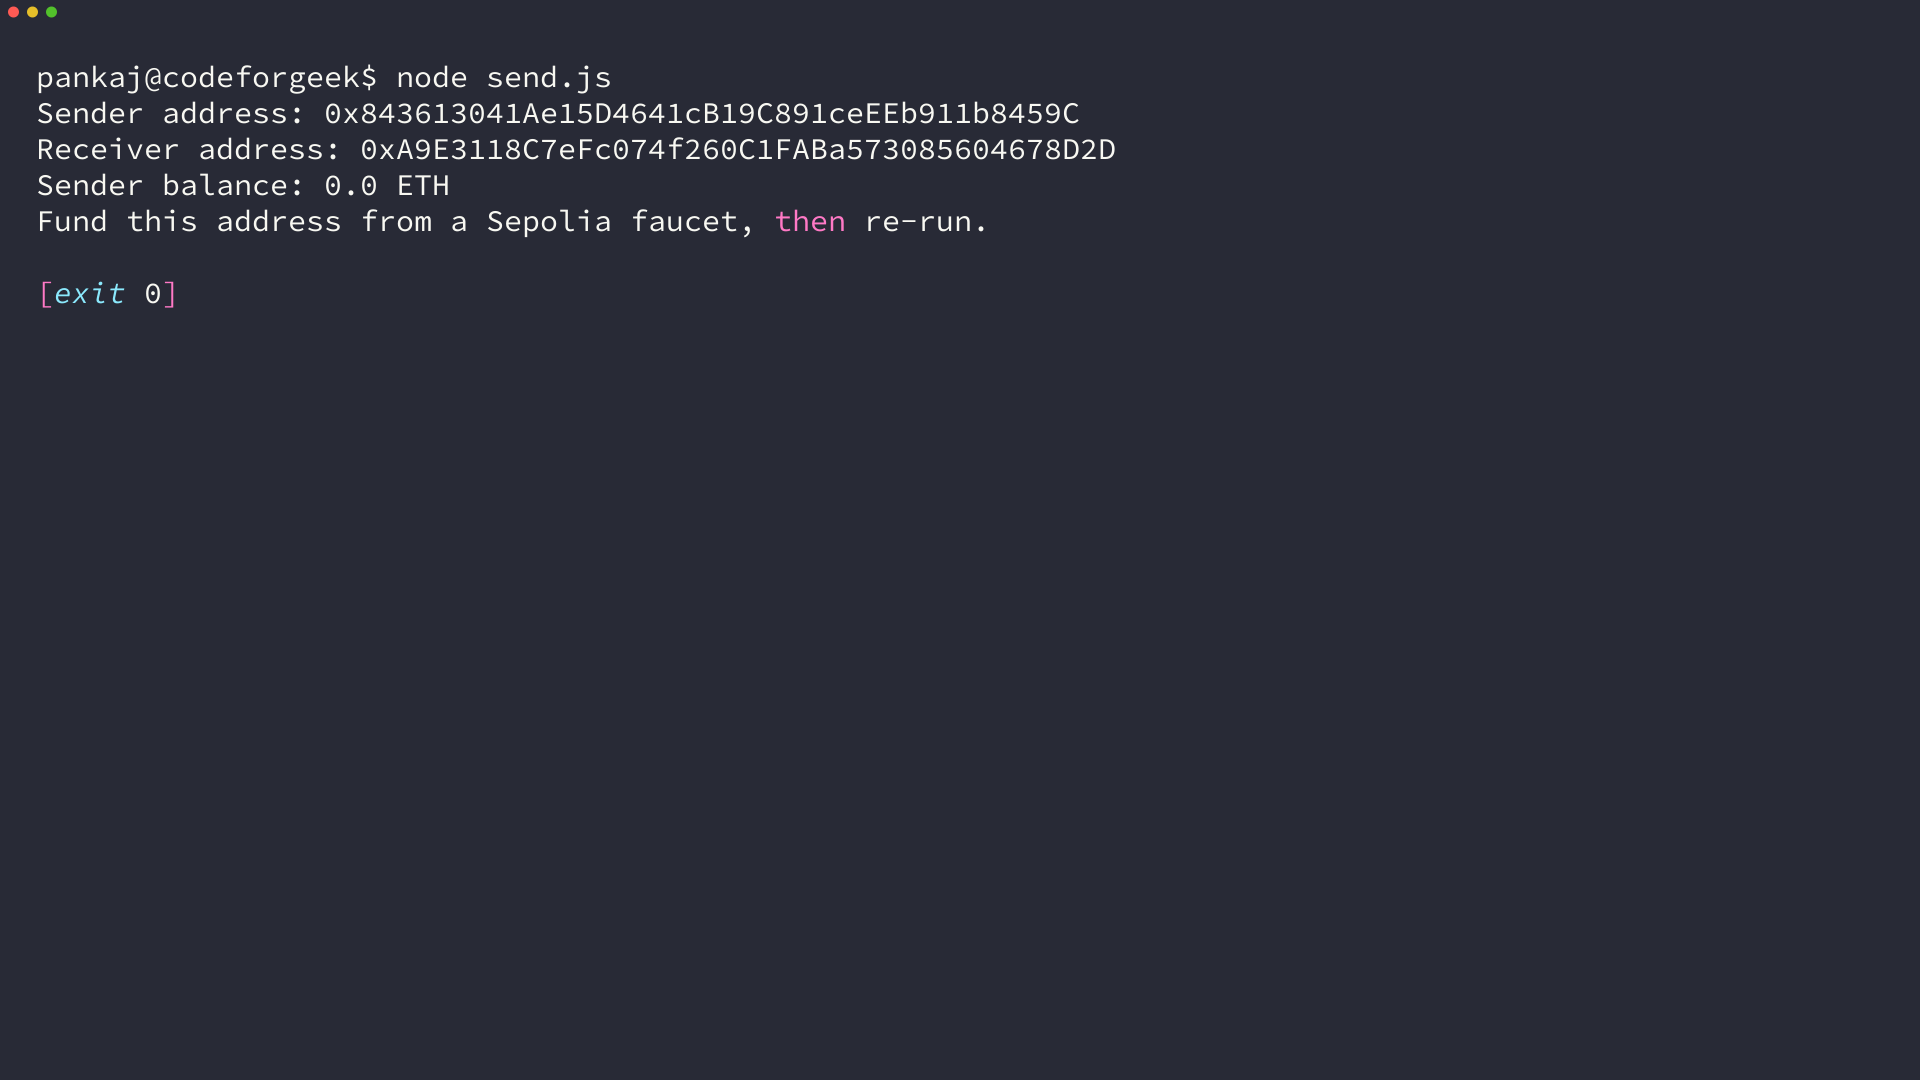
Run it once before funding anything.
node send.js
The script prints both addresses and a zero balance, then stops with a readable message instead of throwing. That is the correct first-run behavior, because an unfunded account cannot pay for a transfer.
To move past it, load your funded wallet by private key and re-run.
Replace the createRandom call with this when you are ready to use a funded account. Reading the key from an environment variable keeps it out of your source code.
const sender = new ethers.Wallet(process.env.PRIVATE_KEY);
How the script works
Two objects carry the whole operation. The provider is your read-write connection to the network through the RPC endpoint.
The wallet holds the private key and can produce signatures. It cannot talk to the network on its own, which is why the script calls connect(provider) before sending.
The balance check exists because Ethereum will not reject an unfunded transfer politely. The node accepts the transaction only if the sender can cover value plus gas, so checking getBalance first turns a confusing on-chain failure into a readable message. The 0n comparison works because getBalance returns a BigInt, not a regular number.
The value field uses parseEther(“0.01”), which converts decimal ETH into wei, the smallest unit, as a BigInt. The gasLimit of 21000 is the fixed cost of transferring ETH between two ordinary addresses.
You never set a gas price here. ethers queries the network for the current base fee and adds a tip automatically.
Signing happens inside sendTransaction. The wallet signs locally, and only the signature travels to the node, so nothing sensitive leaves your machine.
Once the node accepts the transaction, tx.hash identifies it and sepolia.etherscan.io tracks confirmation. Calling wait() resolves when it lands in a block and returns the receipt.
One detail worth knowing: sendTransaction returns as soon as the node accepts the transaction, not when it is mined. The transaction sits in the mempool briefly, which is why wait() exists as a separate step.
Common failure modes
An insufficient funds error means the sender could not cover value plus gas. Test ETH looks free but the accounting is identical to mainnet, so keep a small buffer beyond the amount you send.
A nonce error usually means you fired two transactions in quick succession and the second used a stale count. Each account’s nonce increments once per mined transaction. Add a short delay between transfers or read getTransactionCount yourself before building each payload.
Rate limits on public endpoints look like random disconnects during heavy testing. Public RPC endpoints throttle aggressively. When you move past experiments, a free Infura or Alchemy key makes requests reliable.
Never commit a live private key to source control. Environment variables keep the key out of git history, and a hardware or burned test wallet keeps mistakes cheap.
Wrapping up
You now have the full path: generate wallets, fund a test account, connect through an RPC provider, sign locally, broadcast, and confirm on Etherscan. The same script sends on mainnet unchanged once you swap the endpoint and use a funded mainnet account, though we recommend staying on Sepolia until the whole flow feels routine. From here, contract interactions use the same provider and signing model, so everything you learned transfers directly.