I am a regular reader of Hacker News and I get lots of new and exciting news related to my interest in every day. One thing which Hacker News is not supporting is listing the links or stories based on the interest or categories ( like Node, Angular, cat videos etc ). To do that, you need to search for it and it returns you the result. Pretty easy, but I don’t like it.
So, let’s solve this problem.
In this article, we are going to build small News application which will extract top news from Hacker News of the current date based on our interest. My interest is extracting Node.js news, you can use yours.
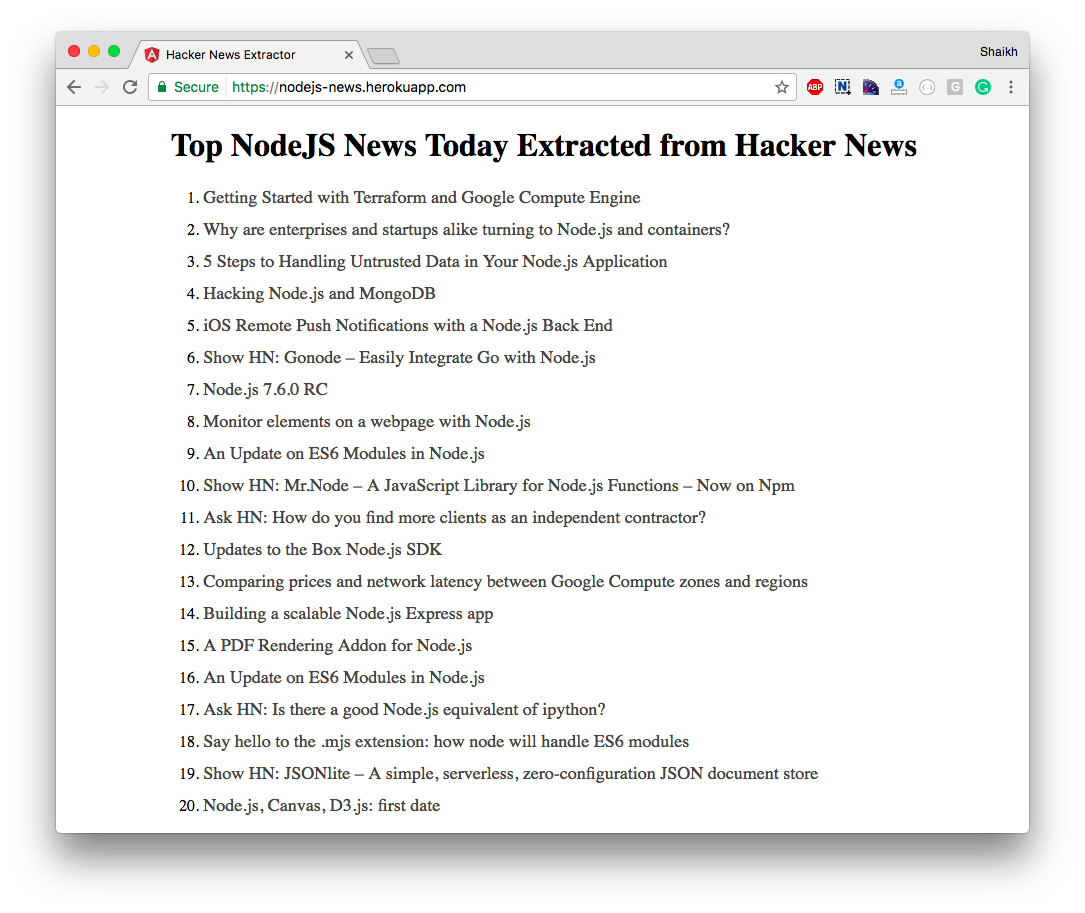
Final App
This is how it will look like at the end, actually, it’s live on the Heroku, so you can see that over there too.

Alright, let’s see how I made it.
Getting Started
We have already covered the Angular2 project setup in this tutorial. I highly recommend you to read that before moving ahead.
I am going to use Angular command line tool to create and manage new Angular 2 projects.
To create a new project, run this command.
ng new
This will create a new project and install all required node module dependencies. Once completed, switch to the project folder and run this command to check out the basic Angular2 app.
ng serve
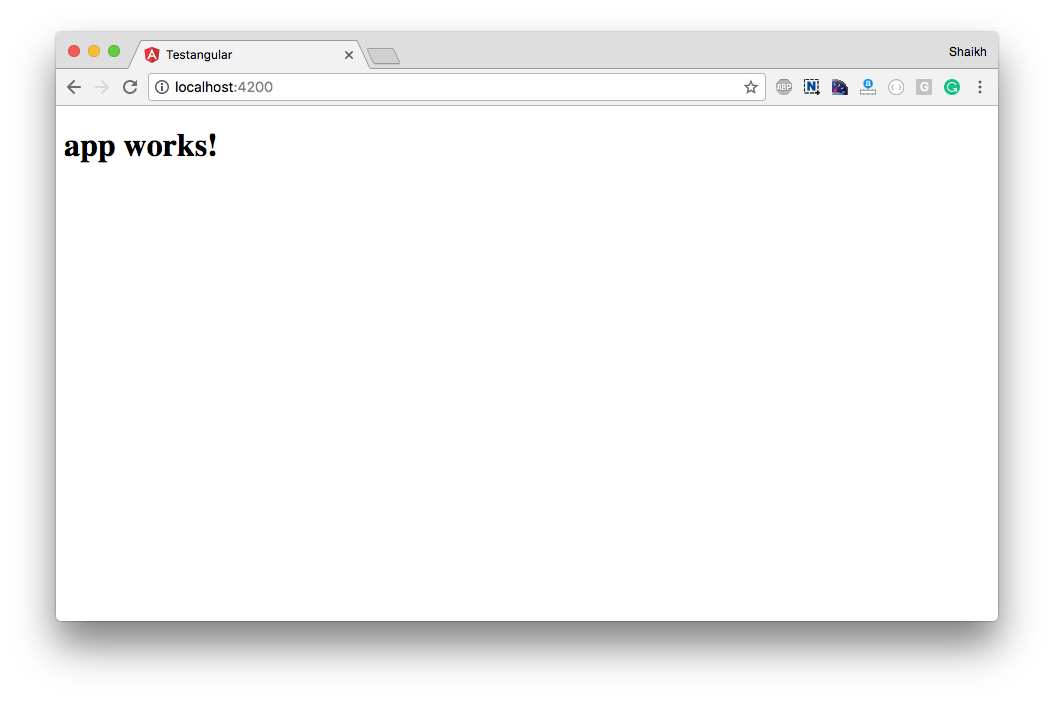
Visit localhost:4200 and you should be seeing the similar screen like this.

Awesome! Angular 2 project is running successfully. Moving right along.
Project Architecture
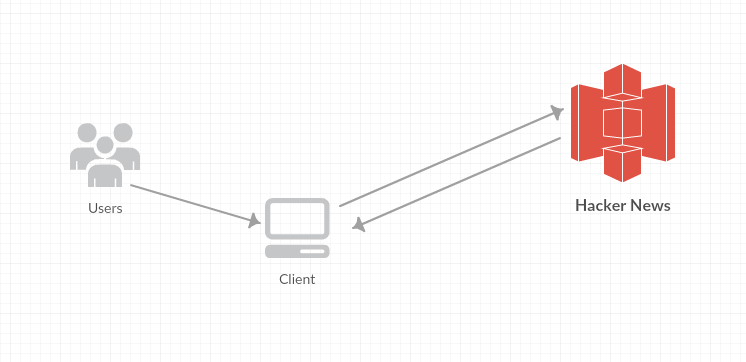
In a nutshell, this is how it works.

When a user opens up our app, we make an API call to Hacker News Server and it returns us the data. The API call looks like this.
https://hn.algolia.com/api/v1/search_by_date?query=nodejs&tags=story
Hacker News search is handled by Algolia.com and they have exposed the API which we can consume. You can find complete Hacker News API documentation here.
We need to perform following actions to consume and display the news.
- Call HTTP API to fetch news.
- Loop through the JSON document.
- Display links.
Let’s do it.
Building Angular 2 App
We have already created the Angular2 project using command line tool. To consume Hacker News API, we need to make an HTTP Call.
Here is a code for same. Create new file inside /src/app/ directory called app.service.ts and add the code shown below.
import { Injectable } from '@angular/core';

import { Http, Response } from '@angular/http';

import 'rxjs/add/operator/map';
@Injectable()
export class HackerNewsService {
constructor (
private http: Http
) {}
getNews() {
return this.http.get(`https://hn.algolia.com/api/v1/search_by_date?query=nodejs&tags=story`)
.map((res:Response) => res.json());
}
}
Next, we need to create a new component and consume our service. Edit the code of app.component.ts in the /src/app/ folder and add following code.
import { Component } from '@angular/core';
import { HackerNewsService } from './app.service';
@Component({
selector: 'hacker-component',
templateUrl: './app.component.html',
styleUrls: ['./app.component.css']
})
export class HackerNewsComponent {
news = {};
constructor(private HackerNewsService: HackerNewsService) {
this.HackerNewsService.getNews().subscribe(data => this.news = data);
}
}
We have created a new component and added the selector, let’s add our selector in the index.html.
Top NodeJS News Today Extracted from Hacker News
Now, to add the Service and component in Angular module, we need to edit the app.module.ts file.
Add this code in app.module.ts.
import { BrowserModule } from '@angular/platform-browser';

import { NgModule } from '@angular/core';

import { FormsModule } from '@angular/forms';

import { HttpModule } from '@angular/http';
import { HackerNewsComponent } from './app.component';
import { HackerNewsService } from './app.service';
@NgModule({
declarations: [
HackerNewsComponent
],
imports: [
BrowserModule,
FormsModule,
HttpModule
],
providers: [HackerNewsService],
bootstrap: [HackerNewsComponent]
})
export class AppModule { }
Now, we need to add code in our component file to display the news.
Edit app.component.html file and place the following code.
Notice that *ngFor. That’s new ng-repeat.
Anyway, you can add styling in the app.component.css file if required.
This completes the coding part. Let’s run the code.
Running the App
To see the app in the development mode, run this command.
ng serve
Visit localhost:4200 to view the app.

Deploying Angular 2 App
I have deployed the app at Heroku. I will cover that in upcoming articles.
To deploy the app, you can do the following.
- Generate the static code and deploy on web server
- Automate the process and deploy
To generate the static code, you need to run the following command.
ng build
This will generate the static code and place them in dist folder. You can then push that dist folder at any web server and it should work.
You can also automate the whole thing i.e building and deployment, I will cover that in the upcoming tutorial.
Conclusion
I hope this helps you in understanding the working of Angular 2 and how to make useful applications. I also recommend using this News app to get latest Node.js news every day.


