
New to Rust? Grab our free Rust for Beginners eBook Get it free →
Node.js and Redis tutorial – Installation and commands


Redis is the high-performance in-memory database used as data structure store. Redis supports hash, strings, lists and other complicated data structures by maintaining very high performance.
Redis along with Node.js can be used as to solve various problems such as cache server or message broker. In this tutorial, we will cover popular and useful Redis commands along with interfacing it with Node.js.
Before we begin, let’s look at the installation of Redis on the various platform.
Installing Redis
To install Redis in Mac and Linux you can either do the manual build which is mentioned here OR if you are lazy like me then use these commands to install it on go.
On ubuntu
sudo apt-get install redis-server
On Mac using brew
brew install redis
Windows has no official package from Redis team but there is some port available which you can use at your own risk.
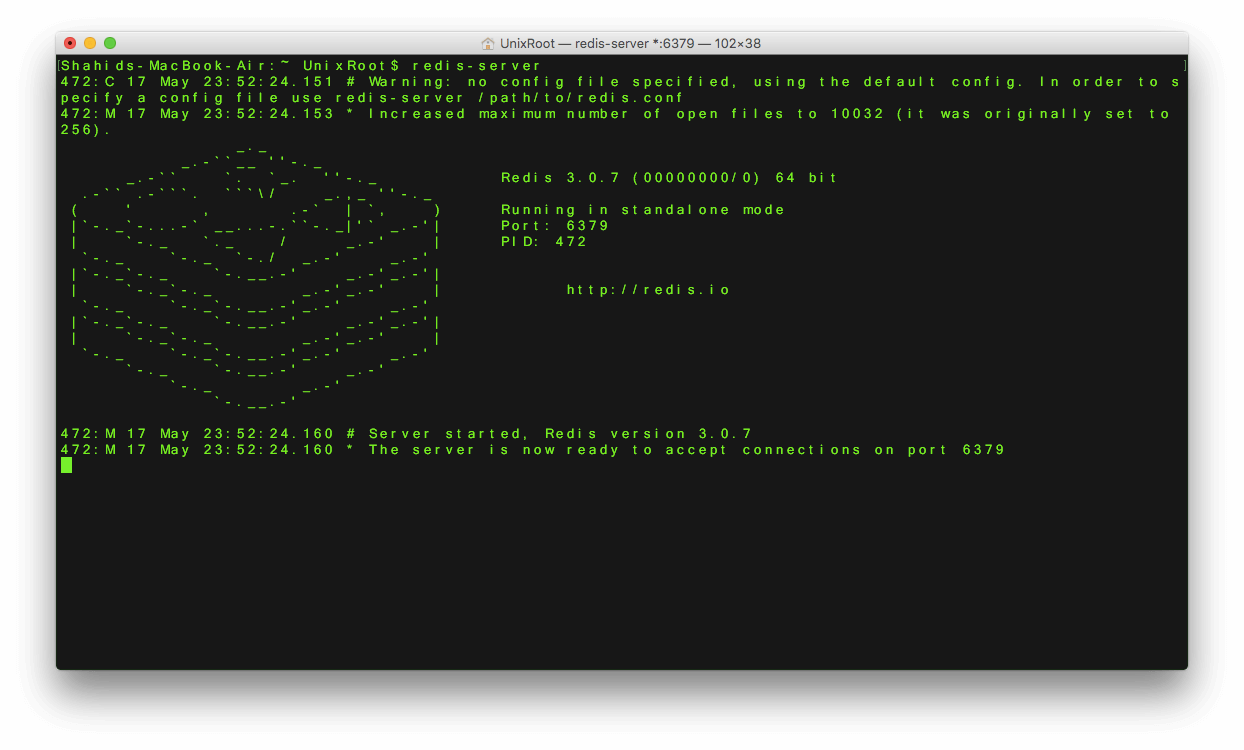
After installation, you can use the following command to start the Redis server.
redis-server
You should see the following screen.
To access the Redis command line interface, run the following command from a separate terminal.
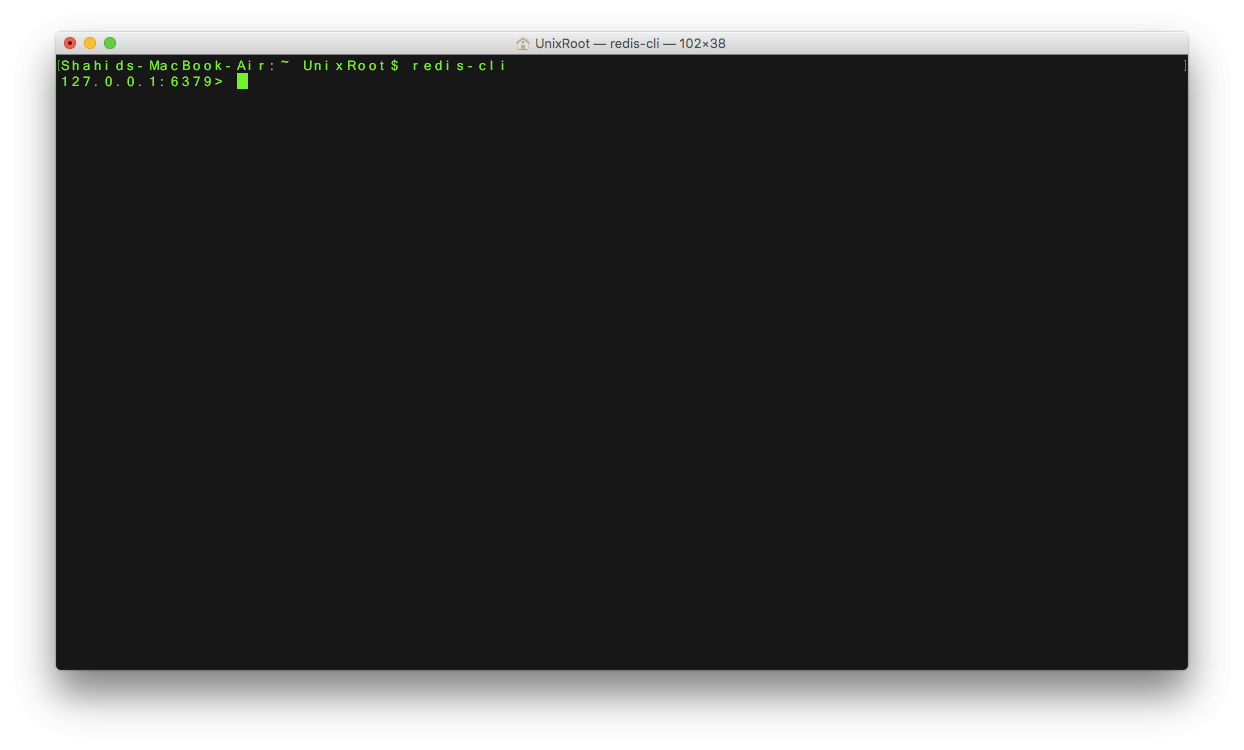
redis-cli
You should see the following screen.
Try running “PING” command and you should recieve “PONG”.

Configuring Node.js and Redis
NodeRedis is very popular and high-performance Redis client for Node.js. It supports almost every syntaxes of Redis with high performance.
To install NodeRedis in your project, run following.
npm i --S redis
To access it in Node.js, you need to create Redis Client. Here is code snippet to do same.
var redis = require('redis');

var redisClient = redis.createClient({host : 'localhost', port : 6379});
redisClient.on('ready',function() {
console.log("Redis is ready");
});
redisClient.on('error',function() {
console.log("Error in Redis");
});
Save above code in file named app.js and run the program using the given command.
node app.js
If Redis is up and running, you should be able to see following screen.

If you want to add more configuration parameters related to Redis connection, here is the supported list.
Performing authentication to Redis
This is optional and only required when your Redis Server is protected by credentials. You must perform the authentication right after connecting to Redis using the following syntax.
redisClient.auth('password',function(err,reply) {

 console.log(reply);

});
Storing key-value data in Redis
We have Node.js and Redis connected and talking to each other, let’s store some data into it. Like we have mentioned in the beginning of an article, Redis store and save data in key-value pair. Let’s look over some of them.
Storing strings
To store a simple string you can use following command.
redisClient.set("language","nodejs")
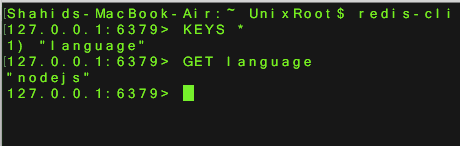
Here “language” will be the key with value as “nodejs”. After executing this command, you can check the values in Redis using the following command.
GET language
The callback is optional and if you want to receive the result of a command, you can provide the callback as follows.
redisClient.set("language","nodejs",function(err,reply) {

 console.log(err);

 console.log(reply);

});
To retrieve the value of keys you can run the Redis GET command with or without callback.
redisClient.get("language",function(err,reply) {

 console.log(err);

 console.log(reply);

});
Storing Object (Hash)
If you want to store something like this.
{

 "webserver" : "expressjs",

 "database" : "mongoDB",

 "devops" : "jenkins"

}
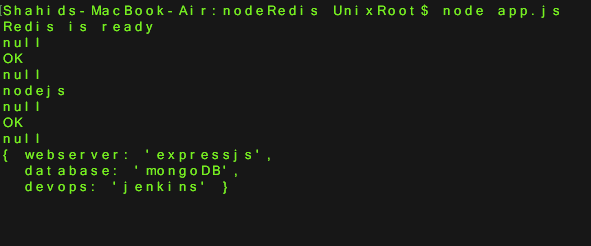
Redis provides support to store them in one shot rather than storing it as strings pair. To store such hash in Redis we use hmset() command.
redisClient.hmset("tools","webserver","expressjs","database","mongoDB","devops","jenkins",function(er$

 console.log(err);

 console.log(reply);

});
redisClient.hgetall("tools",function(err,reply) {
console.log(err);
console.log(reply);
});
Storing List and Set
You can also store complex data structure such as List and Set. The only difference between List and Set is, List stores duplicate items while Set doesn’t.
Here is the code. The first parameter is the name of Set and List.
redisClient.rpush(["languages","angularjs","nodejs","go"],function(err,reply) {

 console.log(err);

 console.log(reply);

});
redisClient.sadd(["devopstools","jenkins","codeship","jenkins"],function(err,reply) {
console.log(err);
console.log(reply);
});
Here is the output.
null

3 // Count of list values.

null

2 // count of set values.
Notice that in Set, the number of values printed on screen is two but we actually passed three, 2 duplicate value of Jenkins got filtered.
Performing operations on Keys
After storing keys, Redis allows you to perform operations on them such as deleting keys, finding their existence or setting the expiry time.
Checking Keys existance
You can use exists() function to check the existance of key.
redisClient.exists('language',function(err,reply) {

 if(!err) {

  if(reply === 1) {

   console.log("Key exists");

  } else {

   console.log("Does't exists");

  }

 }

});
Deleting Key
You can use del() function to delete the key from Redis.
redisClient.del('redisClient',function(err,reply) {

 if(!err) {

  if(reply === 1) {

   console.log("Key is deleted");

  } else {

   console.log("Does't exists");

  }

 }

});
Setting Expiry time to Key
You can also set expiry time to keys in a second. Once expiry time reaches, Redis will automatically delete that key. You can use this for Session store very efficiently.
You can use expire() function to do same.
redisClient.expire('redisClient', 30); // Expirty time for 30 seconds.
Monitoring Redis
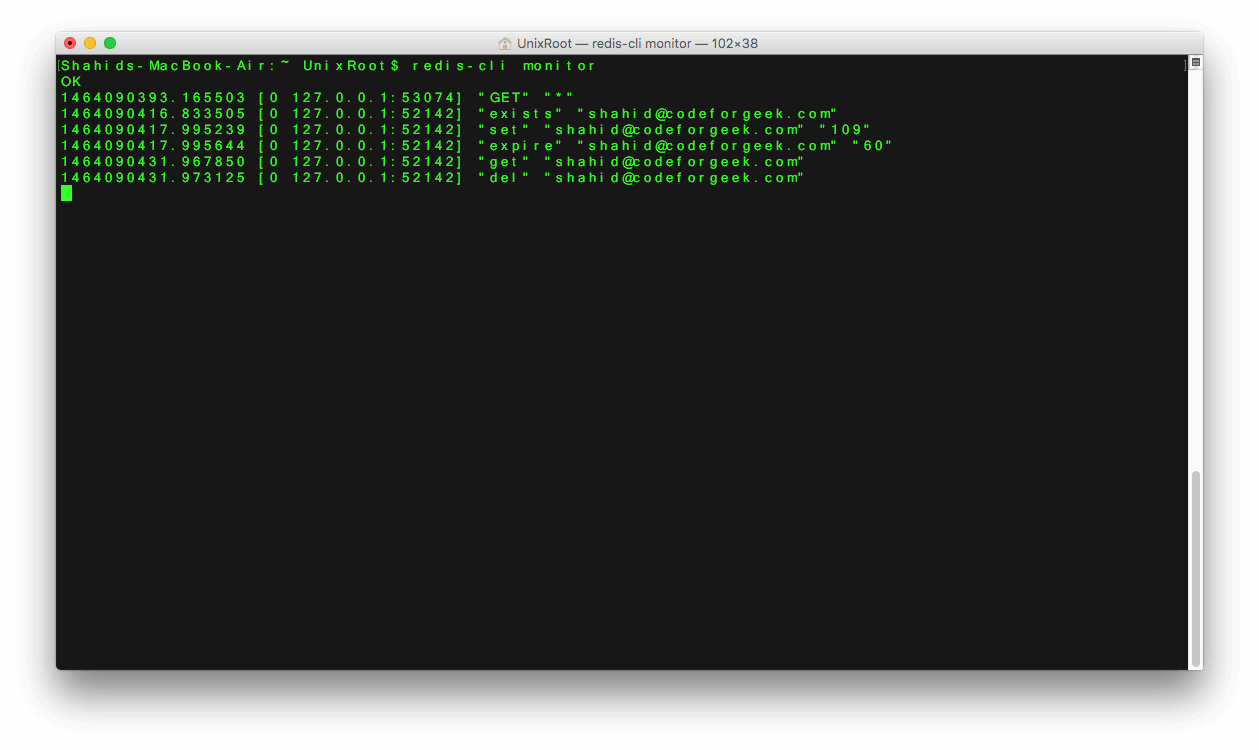
Redis provides the real-time feed of operations happening in it. To use and track it, run the following command from the separate terminal.
redis-cli monitor
Conclusion
We have covered Redis basics and installation along with most used commands. There are many more Redis features such as clustering etc and also some rich commands which you can learn here.
Next tutorial : Building Email verification system using Redis
A lot of you have referred this basic tutorial about building email verification system. The main issue with this code is using the same variable for holding email code which can be overridden by other process. Solution is storing that unique key for each user and there comes Redis.
In next tutorial we will be learning and developing email verification system using Redis and Node.js.