New to Rust? Grab our free Rust for Beginners eBook Get it free →
Vulnerability Scanning in DevSecOps

Before shipping a code change, a team may want to check whether its dependencies contain known security flaws. Vulnerability scanning in DevSecOps checks selected parts of software and its delivery environment for known weaknesses, then routes findings for review.
This article shows how to add a dependency audit and severity threshold to a CI/CD workflow, then how to assign and verify scan findings.
TL;DR
Vulnerability scanning in DevSecOps means checking the parts of an application and its delivery environment for known weaknesses, then routing each finding to someone who can verify and fix it. Run different checks where they fit, keep their scope clear, and use severity with exposure and reachability rather than as an automatic release decision.
- Scan source, dependencies, container images, infrastructure configuration, and running applications with checks suited to each layer.
- Run fast, relevant checks on proposed changes. Add broader scans on built artifacts and test environments.
- Give findings an owner, a due date based on risk, and a verification step. A scanner report by itself does not reduce risk.
- Start release gates narrowly, measure noise, and record justified exceptions instead of silently dismissing alerts.
What vulnerability scanning means in a DevSecOps pipeline
NIST’s glossary, citing SP 800-115, defines vulnerability scanning as identifying hosts, their attributes, and associated vulnerabilities.
OWASP’s DevSecOps vulnerability-management guidance shows how teams can build policy around pipeline findings.
A CVE identifier names a published vulnerability record.
Can vulnerability scanners catch a zero-day?
A newly discovered flaw may not match a current rule or advisory, so a clean report cannot guarantee there are no unknown weaknesses. A source-analysis rule can still find a weakness class before a CVE is published when it supports the language and coding construct, while component scans rely on package identifiers and advisory data.
CISA’s archived Log4Shell guidance shows how teams can search for a disclosed issue across assets. Its 2022 guidance called for inventorying internal and non-internet-facing systems, combining software records with host and network scans, and checking supplier data for SaaS or cloud products. That helps locate known flaws, but it does not predict the next unknown one.
When an update is unavailable, track the mitigation for each affected asset rather than treating the scan as closure. Keep scanner data current, follow maintainer notices, and combine scans with code review and testing.
A software bill of materials (SBOM) is a machine-readable list of components in a built artifact.
For a multi-stage container build, the published image is the relevant artifact, not every tool used in the build stage. Compare an advisory with the package version in that image and verify that the deployment uses the same digest before deciding whether the finding applies.
| Check | What it examines | Useful pipeline point | What it does not establish |
|---|---|---|---|
| Static application security testing (SAST) | Source or compiled code for code-level weaknesses | Pull request or build, with findings tied to a file and line | That a flagged path is reachable or exploitable in production |
| Software composition analysis (SCA) | Direct and transitive packages against known advisories | Dependency update review and lockfile build | That every vulnerable function is used, or that unknown flaws are absent |
| Container scanning | Packages and metadata inside a built image | After image build and before publishing or deployment | That the application configuration and runtime permissions are safe |
| Infrastructure-as-code scanning | Cloud and cluster settings declared in templates | Before infrastructure changes are applied | That deployed resources still match the reviewed template |
| Dynamic application security testing (DAST) | A running application through its exposed interfaces | Authorized test environment after deployment | Internal code paths that the test could not reach or exercise |
| Network scanning | Reachable hosts and services from an external or internal position | Against an approved target list, at an agreed rate | That an unapproved host or unrelated service is safe to probe |
An external scan sees internet-facing services, while an internal scan sees only hosts reachable from its approved network position, so neither view substitutes for the other.
Penetration testing is an authorized, human-directed effort to follow attack paths across a system and assess how controls respond, which can uncover logic flaws that routine scanners do not evaluate, while repeatable automated checks provide broader coverage as code and assets change.
Choose a scanner that supports the project’s languages and package managers, sends actionable evidence into the team’s workflow, updates rules and advisories predictably, and behaves clearly in CI. Before making it required, pilot it on a representative project and check what source or build metadata it stores or sends, whether reports identify affected locations, and how incomplete scans appear in CI. I start with the NIST definition because each scan type needs a clear scope.
How to add vulnerability scans to a CI/CD workflow
The walkthrough uses a workspace-local Node project to show a dependency inventory, an npm audit, and a severity-threshold script. It then connects the output to a response policy.
I kept this example to dependency metadata because it demonstrates a pipeline check without probing a live application.
Step 1: map the project and scan scope
A direct dependency is declared by the project, while a transitive package arrives through another dependency. This helper lists direct packages from npm’s JSON output, while the audit checks the resolved tree from the workspace root:
const { execFileSync } = require("node:child_process");

const tree = JSON.parse(
  execFileSync("npm", ["ls", "--depth=0", "--json"], { encoding: "utf8" }),
);

console.log(`Project: ${tree.name}`);
for (const [name, details] of Object.entries(tree.dependencies ?? {})) {
  console.log(`${name}@${details.version}`);
}
Saved as inventory_demo.js, the exact command is:
node inventory_demo.jsThe captured terminal output is:
pankaj@codeforgeek:~$ node inventory_demo.js
Project: vulnerability-scan-demo
[email protected]

[exit 0]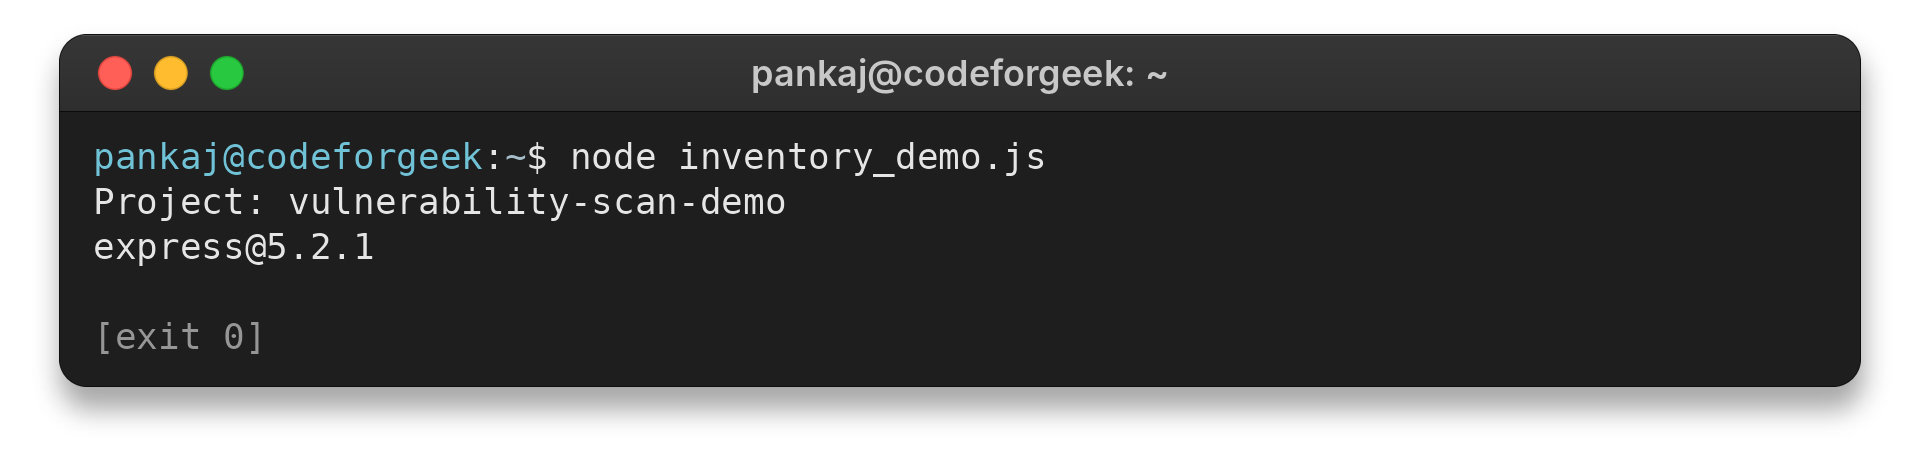
Record which assets the scan skipped.
Step 2: run a dependency audit on the lockfile
Define a named project script so local development and CI can invoke the same check:
"scripts": {
  "security:dependencies": "npm audit"
}
Install the project from its committed lockfile in CI, then run:
npm run security:dependenciesI ran the project script against this demo’s installed dependency tree, and npm queried it against known vulnerability records:
pankaj@codeforgeek:~$ npm run security:dependencies

> [email protected] security:dependencies
> npm audit

found 0 vulnerabilities

[exit 0]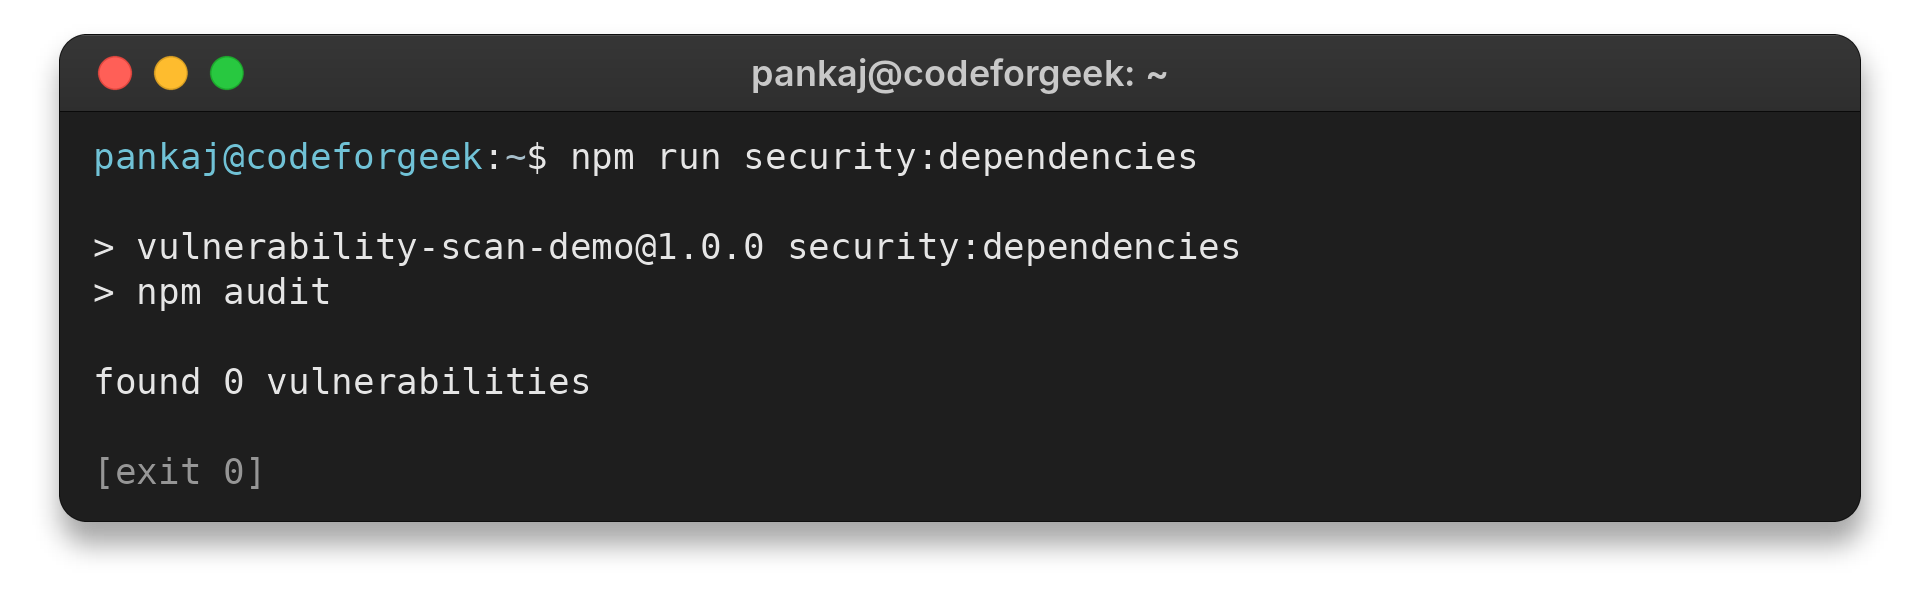
This result applies to the resolved package tree and vulnerability data available during the check, not to source-code or endpoint testing.
A monorepo can contain several versions of one package, so inspect the full dependency tree after updating a parent. If workspaces have separate lockfiles, run the audit for each lockfile used by a deployable unit instead of assuming a root check covers every build.
When a finding appears, compare its affected version range with the lockfile and review the suggested upgrade. npm’s audit documentation explains that npm audit fix applies package-tree remediations through an install operation. Review the resulting lockfile diff and run the project tests before merging that change.
GitHub documents CodeQL’s default and advanced workflows, plus external CI options, and dependency review for pull requests, with availability depending on repository configuration.
Step 3: define a severity threshold and an owner
Set the minimum severity for the merge gate, which npm supports through the audit command shown below. This project’s example script is:
"scripts": {
  "security:gate": "npm audit --audit-level=high"
}
The exact command is:
npm run security:gateThe flag sets the minimum severity that makes npm fail, while lower findings remain in the report, and this clean run does not show a failing threshold:
pankaj@codeforgeek:~$ npm run security:gate

> [email protected] security:gate
> npm audit --audit-level=high

found 0 vulnerabilities

[exit 0]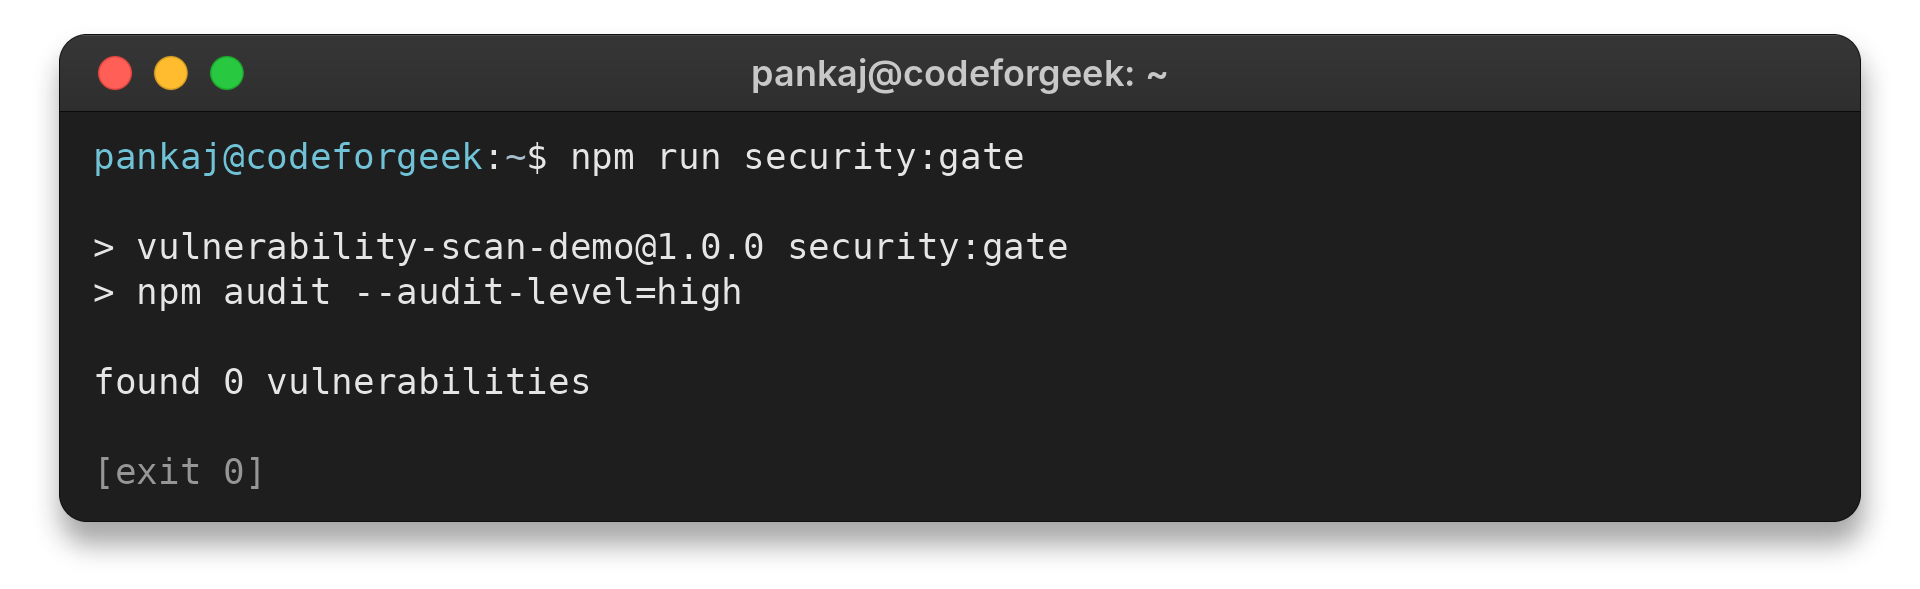
Document the exception approver, review or expiry date, finding, and temporary control in one time-bounded record.
For a mature codebase, separate newly introduced findings from a reviewable historical baseline so older issues do not mask new results.
Start in report-only mode to measure runtime and alert volume, and confirm that results reach the right team. Then set response windows in policy and block only categories the team can investigate within that time.
If a registry, scanner, or report path fails, capture the error and use an approved retry or release exception instead of presenting the run as complete.
OWASP’s DevSecOps Verification Standard SCA control describes build-stage analysis, reporting, and policy as parts of a maturing process, so record each check’s version and scope.
Step 4: rescan released artifacts as evidence changes
Run fast checks after source or lockfile changes, inspect built images before release, and review deployed systems on an interval that reflects exposure. When a new advisory appears, compare its affected range with maintained inventories and trigger a targeted review rather than waiting for the next broad scan.
After rollout, track scan duration, target count, and incomplete runs. Review a sudden change in those measures before comparing the result with earlier runs.
A frequently released internet-facing service might warrant scans after each release, while an isolated, rarely changed system can follow a periodic cycle. Treat both as starting points, not universal schedules, and adjust for criticality, update availability, and response capacity.
Vulnerability scan edge cases and misleading results
I grouped the examples by why a result can mislead a team, because the right response depends on the cause.
| Situation | Why it happens | Safe next action |
|---|---|---|
| Possible false positive | A rule matches a name or code shape without enough context, or an advisory match does not fit the deployed configuration | Check the affected version, code path, configuration, and vendor advisory. Document the reason if the finding is not applicable. |
| Duplicate alerts | Several scanners report the same weakness using different IDs or file locations | Normalize the component or weakness, retain each source reference, and give the combined issue one accountable owner while tracking each affected deployment |
| False negative | The tool lacks a rule, language support, reachability information, or visibility into the tested asset | Check unsupported folders, missing credentials, and target exclusions. Record coverage limits, then add a complementary check or focused review for risks outside the scanner’s reach. |
| Unsafe scan scope | An active test reaches a system the team does not own or has not been authorized to test | Use an approved, isolated target and written scope. Keep active tests off third-party services. |
False positives consume review time, and broad suppressions can hide valid issues elsewhere, so narrow any exception to the affected component or code path.
A distribution may backport a security fix without updating the upstream-looking version, so check its security notice or package changelog before labeling the package vulnerable or suppressing the alert.
Use severity as the initial sort, then set response priority from exposure, reachability, asset importance, data sensitivity, and fix availability, recording the rationale separately from the scanner score.
Keep the finding record useful
A useful triage record answers these questions:
- Which commit, image digest, host, or environment was checked, and which scanner, rule, advisory, or component produced the result?
- What evidence supports the priority and response, who owns the next action, and when will it be reviewed or closed?
Trivy’s CI documentation shows how filesystem and image scans can fit into automation. Its examples are useful when deciding where an image or workspace scan belongs in a pipeline.
For protected workflows, give an authorized DAST run a test account and verify the session, exclude state-changing or third-party endpoints, and use a test environment for actions that could alter data.
When a fix is available, rerun the relevant check after updating the affected dependency or code, while a missing patch calls for an exposure review and temporary feature disablement or service isolation.
If an upgrade risks a breaking change, review the maintainer’s release notes and test it against the application’s compatibility suite. A vendor-supported backport or temporary configuration may be safer than accepting the vulnerable version unchanged.
Common responses include upgrading or removing a dependency, changing affected code, applying a temporary mitigation, or recording risk acceptance when no fix is available.
Conclusion: make each finding actionable
Use the NIST definition and OWASP guidance linked above to frame scan coverage and follow-up, then consult each vendor’s documentation for the inputs its scanner actually supports.
For a narrow source-level review, see CodeForGeek’s browser-local code bug finder and its limits. For the next layer, see the guide to Node.js application security practices. For pipeline policy and finding handling, consult the OWASP vulnerability-management guidance and the official documentation for the scanners you run.
FAQ
What is vulnerability scanning in DevSecOps?
It automates checks of selected software and infrastructure inputs and connects findings to delivery workflows.
How does vulnerability scanning work?
A tool examines its configured input, such as a lockfile or running service, then matches observed data against rules or advisories. It reports evidence for review.
How often should teams run vulnerability scans?
Run fast checks on relevant changes, check artifacts before release, and rescan retained production assets when advisory data changes.
Does a vulnerability scan replace penetration testing?
No. A scan checks specified inputs. A penetration test uses human-directed scenarios to assess broader attack paths.
What should a team do with a vulnerability scan finding?
Confirm the affected asset, assign an owner, decide on a fix or documented exception, and rerun the check to verify.