
New to Rust? Grab our free Rust for Beginners eBook Get it free →
Ultimate Beginner’s Guide to Nodejs REPL in 2021
In this beginner Nodejs tutorial, I am going to walk you through the Nodejs REPL. The Nodejs REPL comes together when installing Nodejs.
I found many questions about the Nodejs REPL on Stack Overflow and elsewhere on the web, so I decided to write a nice introductory post for y’all beginners out there.
So, let’s get started.
What is the Nodejs REPL?
The REPL acronym stands for READ, EVALUATE, PRINT & LOOP. Just like the Unix, Linux Shell, Command Prompt & PowerShell, Nodejs REPL is also a computer environment. As I mentioned above, it is installed along with Node.
REPL is useful when you want to debug your code, run or test some code outside your project.
How does the Nodejs REPL Work?
To enter the Nodejs REPL from your terminal, all you need to do is type ‘node’ in your terminal to begin with. You should now see a welcome message and the installed version from Node.
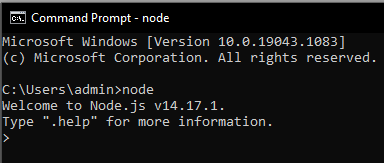
When you are inside the REPL environment, our normal environment terminal commands are not recognized by the terminal. Instead, it only wants to listen to commands valid in REPL. Once a user passes commands valid in the Nodejs REPL environment, the system begins to interact.
Now, the REPL prompts you to pass the .help command to find more information. Let’s do that to see what we get.
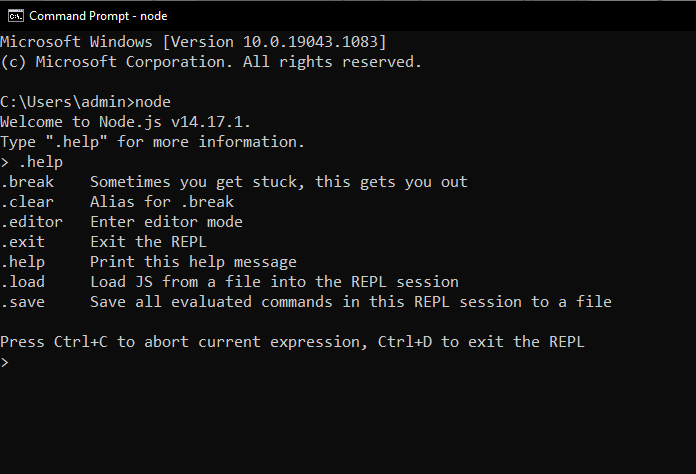
Node now shows us this nice little utility to help us get going.
The Nodejs REPL is just similar to the browser’s console where we test some code but do not actually use it anywhere in our project. However, unlike the browser’s console, the REPL continues to listen to commands and doesn’t stop until we ask it to.
> node
>
It just waits there for us to pass some JS code.
The variables, functions, or any data collections you create inside the REPL, live just there and until you exit that REPL session. You can’t access them from anywhere outside the REPL.
Using the Nodejs REPL
Let us now play with the REPL with some code. To begin with, let us create our first variable and print it.
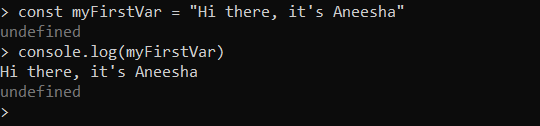
When we define the variable, it returns undefined since this is the output of the running console.log() function.
The TAB Key Functionalities
The coolest feature of the Nodejs REPL is autocompletion. As you write your code, the REPL shows you some autocomplete suggestions which you can make use of by simply hitting the tab key.
However, when you hit the Tab key on a blank line, it displays all the global and local scope variables.
Exploring JavaScript Objects
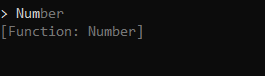
When you enter a JavaScript class and add a dot after and then hit the Tab key, the Nodejs REPL will print all the properties and methods.

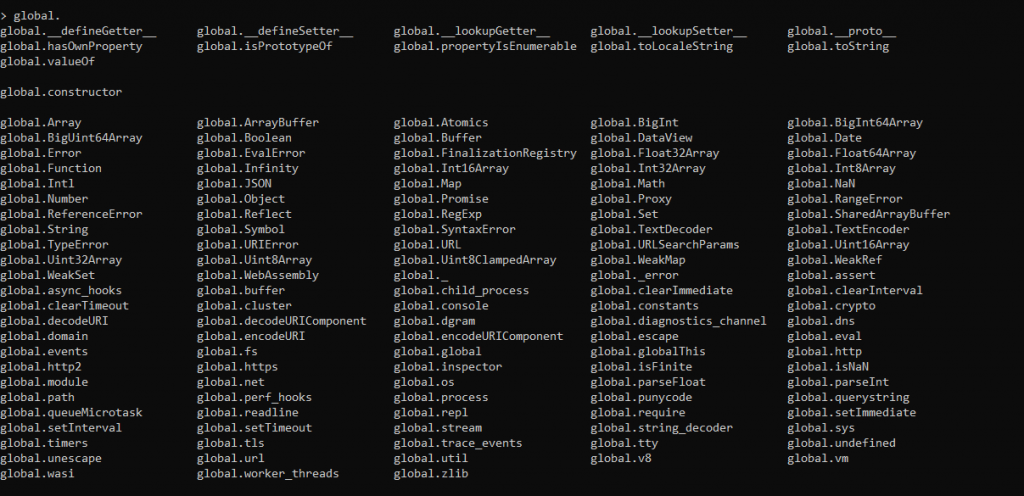
You can even explore the global objects you have access to by typing global, adding a dot afterward, and hitting the Tab key.
The _ Special Variable
When you insert an ‘_’ underscore right after some code, it will return the output of the last operation.
Explaining Dot Commands in Nodejs REPL
The Nodejs REPL has certain special commands to make life easy working with it. These are the dot ‘.’ commands that you saw when you passed the .help command.
- .help – Displays the dot commands help.
- .editor – Enables the editor mode in REPL. Helps you write multiline JavaScript code with convenience. Once you switch to this mode, hit ctrl-D to run the code you wrote.
- .break – When writing a multi-line expression, applying the .break command will abort any further inputs. It is the same as hitting ctrl-C.
- .clear – This command will reset the REPL context to an empty object. This will also clear any multi-line expression currently being written.
- .load – This will load a JavaScript file, that is relative to the current working directory.
- .save: saves all you entered in the REPL session to a file (specify the filename)
- .exit: exits the repl (same as pressing ctrl-C two times)
Nevertheless, the Nodejs REPL understands when you are writing a multiline expression without invoking the .editor command each time.
Let’s say you are writing an iteration like this:
[1000, 2000, 3000].forEach(num => {
and then you press enter, you will notice that the REPL goes to a new line that begins with 3 dots. This indicates that you may now continue to write your code on that block.
... console.log(num)
... })
However, if you pass the .break command at the end of the line, the multiline writing facility is shut and the expression is not executed.
Conclusion
The REPL acronym stands for READ, EVALUATE, PRINT & LOOP. Just like the Unix, Linux Shell, Command Prompt & PowerShell, Nodejs REPL is also a computer environment. This post is for beginners and explains what is the Nodejs REPL and what it does.
Noteworthy References
How to Use the Nodejs REPL – Official Nodejs.dev Docs
REPL – Official Nodejs.org Docs


