New to Rust? Grab our free Rust for Beginners eBook Get it free →
File-Based Routing in Next.js 13+: The App Router Update

Before Next.js 13, routing was based on the “pages” directory, where each file inside it was considered a route. For example, a file named “pages/about.js” will create a route “/about” containing the content returned by about.js.
This approach was created to remove the need to create routes manually, but as applications grow, the “pages” directory becomes cluttered and very difficult to manage with nested and dynamic routing.
As a solution, Next.js 13 introduced App Router. In this tutorial, we will understand it and learn how to create routes in a Next.js application.
Prerequisites
What is File-Based Routing?
If you worked with Node.js or React.js, you know how we manually create Route by defining it inside the “index.js” or “app.js” page. Well, file-based routing is something that eliminates the need to do this.
File-based routing means routes are automatically created when we create a new JS file inside the pages or app directories.
In Next.js 13+, if we create a folder with a “page.js” or “page.txs” file inside the app directory, Next.js automatically creates a route of that folder name. Yes, that’s it. This is called file-based routing.
Creating Routes in Next.js
Now we know the theory, let’s put it in the code. Let’s start with creating a new Next.js application.
Just make sure that Node.js version 18.17 or higher is installed on your system and run the below command in the terminal to create a Next.js application:
npx create-next-app@latest
Choose any project name you want – all in lowercase, use hyphens (–) for space, and no whitespace.
For the other parameters let’s go with the default.
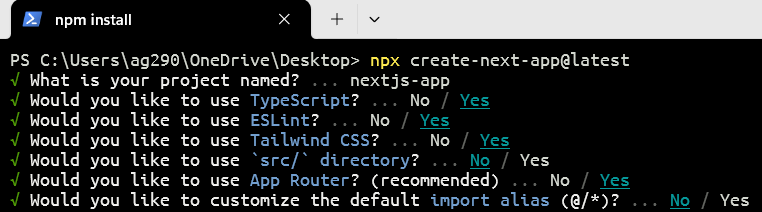
Check Yes for both TypeScript and App Router to follow along with us.
Once the project is set up, you will get the exact project path. Copy it and navigate to it:

1. Creating the Home Page
Firstly, to remove the default Next.js welcome page, let’s remove the whole app directory.
Now again, create an app directory inside the project root and inside it create a file named page.tsx or page.js depending on whether you want to use TypeScript or JavaScript. We are using TypeScript as Next.js 13 recommends using it.
Since “app/page.tsx” is present inside the main app directory, not inside any subfolder, it is considered as the home root, this means the content inside “app/page.tsx” is rendered when the client opens the “/” route.
app/page.tsx:
const HomePage = () => {
    return <h1>Home Page</h1>;
};

export default HomePage;
Here we are just creating an arrow function that returns a <h1> tag and exporting it as the default export.
Execute the below command to run the application:
npm run dev
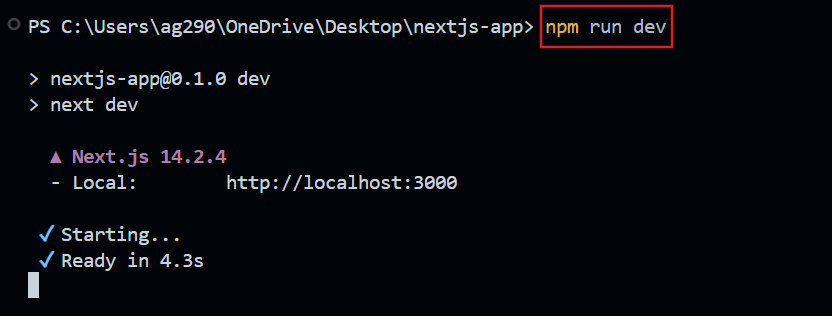
Now open the browser and paste http://localhost:3000/ and you will see our home page is created.

app/layout.tsx:
You may noticed that the page title comes automatically but we have not written it anywhere. This is because when we run the application a file named layout.tsx is automatically created inside the app which sets the title and description and also creates a wrapper for each of our pages present inside the app or its subfolder.

2. Creating the About Page
Now to create a new route like “/about”, we need to create a new folder named about inside the app directory with a page.tsx file:
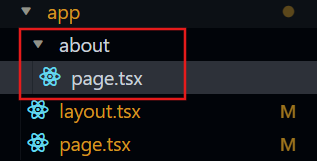
app/about/page.tsx:
const AboutPage = () => {
return <h1>About Us</h1>;
};
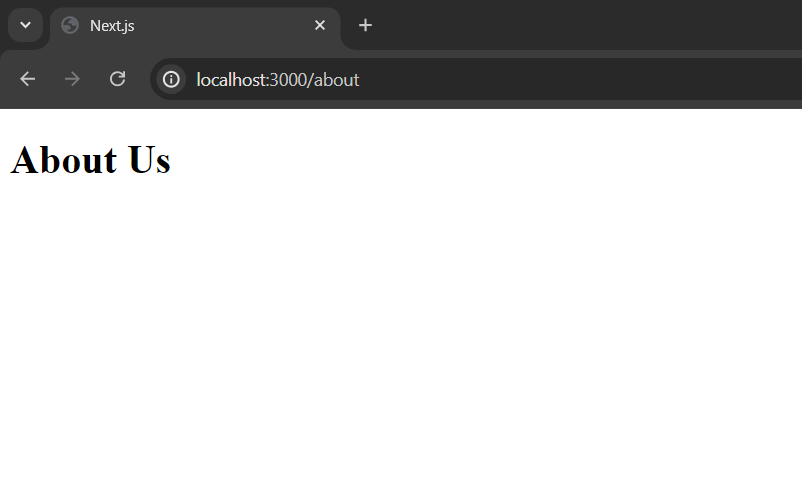
export default AboutPage;
Now open http://localhost:3000/about and the message About Us will be displayed as a <h1> tag.
3. Creating the Contact Page
The same applies to the contact page. Just create a folder named contact inside the app directory with a page.tsx and a new route will be created at “/contact”:
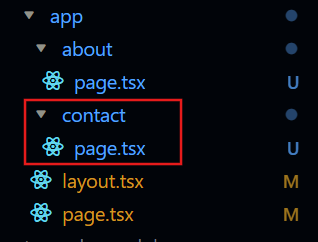
app/contact/page.tsx:
const ContactPage = () => {
    return <h1>Contact Us</h1>;
};

export default ContactPage;
This will create a contact page at http://localhost:3000/contact.
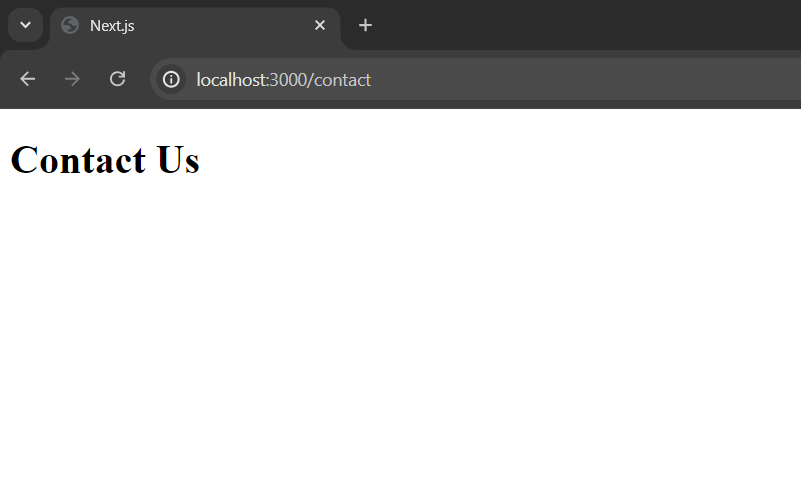
You may also notice that each route has the same page title, this is because of layout.tsx, which goes with each page either in the same folder or in a subfolder and if you try writing any HTML code inside it, it will appear on each page as well. This is useful when building the same header and footer for each page.
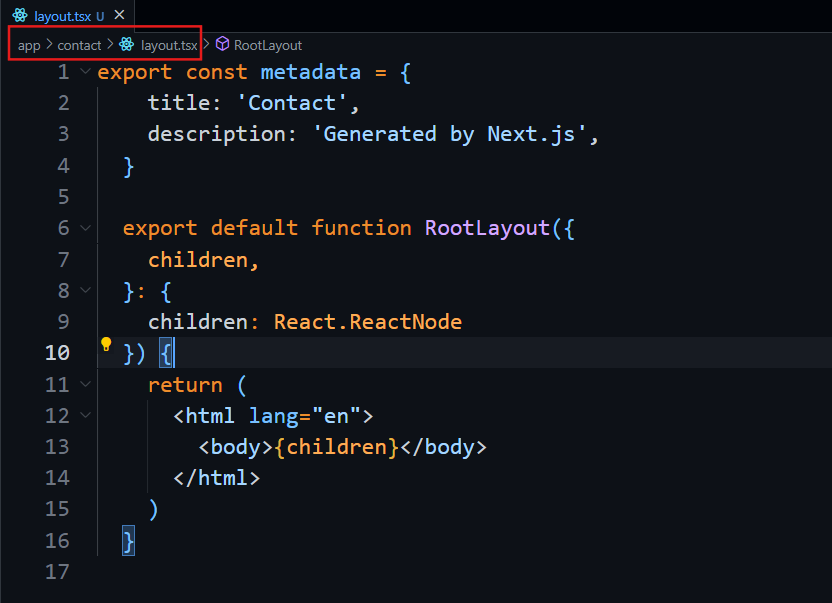
app/contact/layout.tsx:
We can set unique titles and descriptions for different pages by creating layout.tsx in each of them:
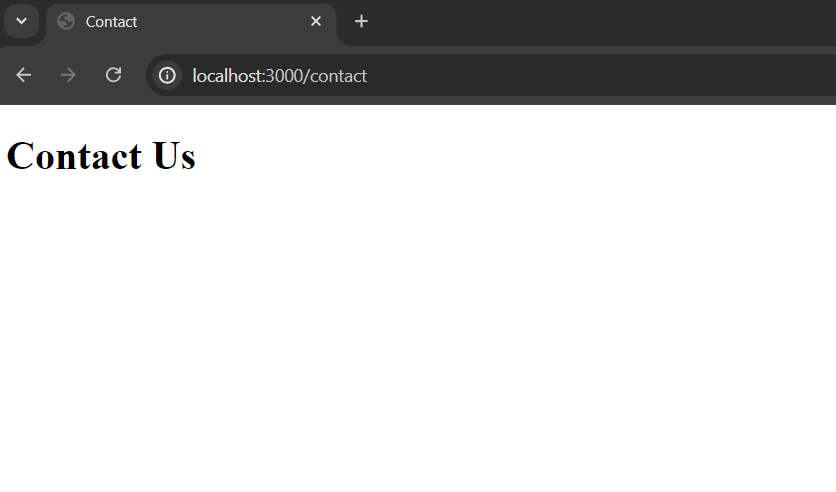
The title has been updated:
*What Next?
Summary
In short, to create a new route in Next.js, we just have to create a new folder inside the app directory with the name of the route you want to create and then create a page.tsx file containing the HTML to be rendered for that route and that’s it. That’s why file-based routing is becoming so popular.
Reference
https://nextjs.org/docs/app/building-your-application/routing/pages-and-layouts