New to Rust? Grab our free Rust for Beginners eBook Get it free →
Configuring Markdown and MDX in Next.js
Are you tired of writing HTML in JSX or TSX components while building a Next.js app? Well, we are too. So here is a solution: Markdown and MDX, which allows us to use some simple characters to generate valid HTML code. Let’s see what they are and how to use them in detail.
Understanding Markdown and MDX
Markdown is a markup language used to create HTML code from plain text using its predefined syntax. For instance, you can write #Hello and it is considered an HTML h1 tag <h1>Hello</h1>. Yup, it’s that easy, no more heavy syntax. Markdown is generally used for writing content on websites.
MDX stands for Markdown Extended. It is an extended version of Markdown that allows us to write JSX (JavaScript XML) within Markdown. This means we can directly embed React components in the Markdown file to generate dynamic content, making coding much easier and faster.
In Next.js, we can implement MDX using the @next/mdx and some other packages. We also have to do some minor configurations. Let’s see the entire process in easy steps.
Implementing MDX in Next.js
Let’s see the detailed steps to use Markdown and React components together in MXD in Next.js.
Step 1: Initialize Next.js Project
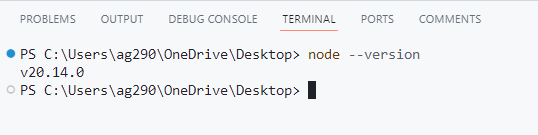
Make sure that the Node.js version 18.17 or higher is installed on your system:
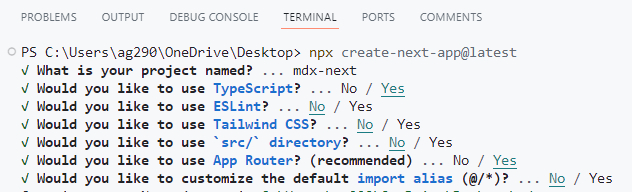
Open the terminal and run the below command to create a Next.js application:
npx create-next-app@latest
Choose any project name you want – all in lowercase, use hyphens (–) for space, and no whitespace.
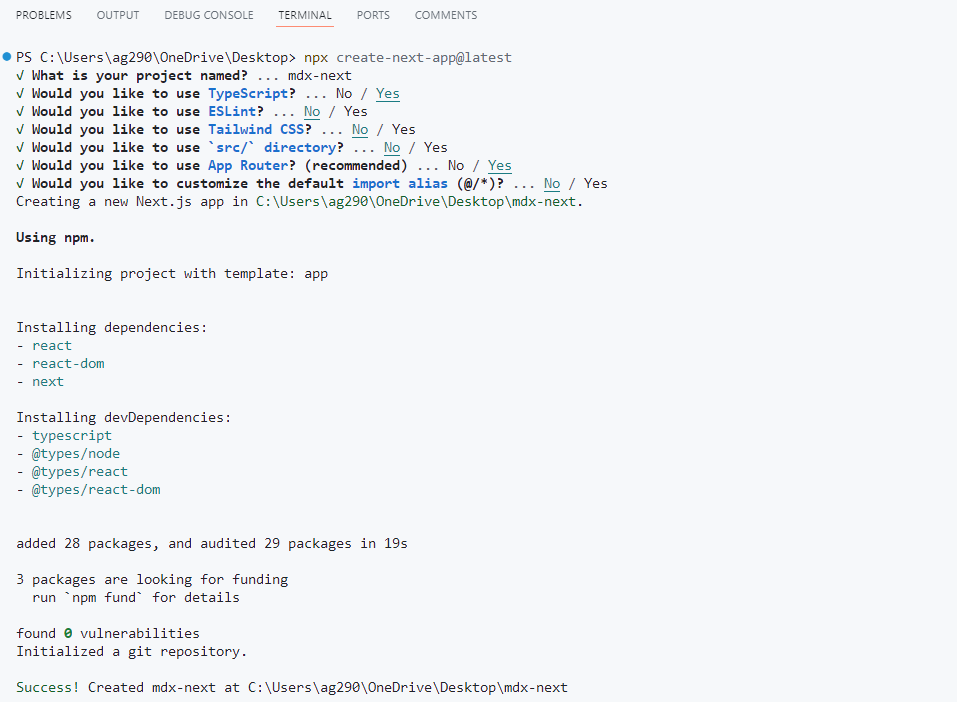
For the other parameters let’s go with the default option for now. Just check “Yes” for both TypeScript and App Router to follow along with us.
Once the project is set up, you will get the project path:
Copy the project path and navigate to it:

Step 2: Install MDX Dependencies
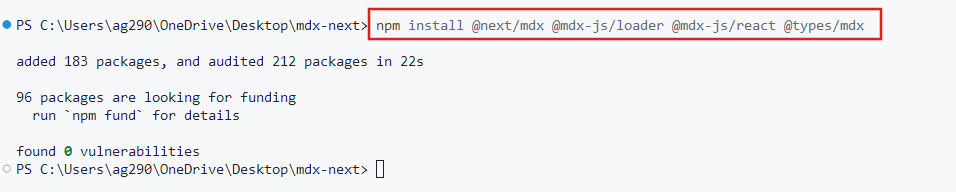
Now we have to install some MDX-related dependencies:
npm install @next/mdx @mdx-js/loader @mdx-js/react @types/mdx
Step 3: Configure next.config.mjs
Next, we have to configure the next.config.mjs to include markdown and MDX files.
We already have a next.config.mjs file in the project folder:
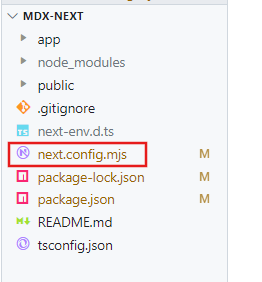
Just update it to:
import createMDX from '@next/mdx'

/** @type {import('next').NextConfig} */
const nextConfig = {
  // Configure `pageExtensions` to include markdown and MDX files
  pageExtensions: ['js', 'jsx', 'md', 'mdx', 'ts', 'tsx'],
}

const withMDX = createMDX({
  // Add markdown plugins here
})

// Merge MDX config with Next.js config
export default withMDX(nextConfig)
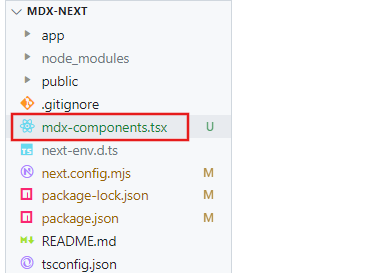
Step 4: Create mdx-components.tsx File
Now we have to create a file mdx-components.tsx to define global MDX Components.
Create mdx-components.tsx in the root of the project (not inside any folder):
Then paste the below code:
import type { MDXComponents } from 'mdx/types'

export function useMDXComponents(components: MDXComponents): MDXComponents {
  return {
    ...components,
  }
}
Here we can modify how certain Markdown elements or HTML elements are rendered in the MDX files.
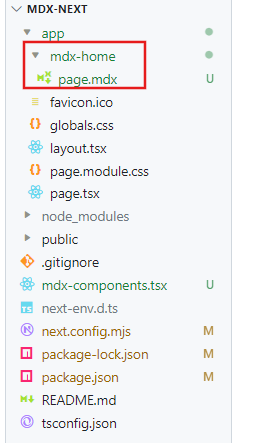
Step 5: Create a Folder with a page.mdx File
Now let’s finally create a page to show Markdown with the React component. Since we are using the App router system, just create a folder with the name of the route you want to create with a file page.mdx.
Step 6: Write Markdown in MDX
Now write the below Markdown code into that page.mdx file:
# MDX and Next.js Tutorial

## Next.js Series

### By CodeForGeek

<br/>

---

<br/>

#### Bringing Markdown and Next Together:

This is a paragraph with **bold** and _italics_ text

<br/>

#### Lists and Blockquotes:

- **One:** The first item in the list
- **Two:** The second item in the list
- **Three:** The third item in the list

> “This is a Blockquote” — To highlight quotes

<br/>

#### Code Block:

```javascript
// Example of a JavaScript function
function greet(name) {
    return `Hello, ${name}!`;
}

console.log(greet('World'));
This is just a sample you can read about different Markdown syntax here.
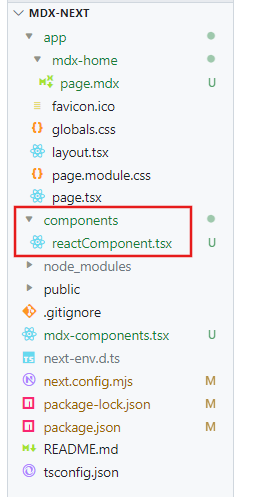
Step 7: Create React Component
Now let’s create a demo React component to embed inside our MDX file:
With the following code:
import React from 'react';

const ReactComponent: React.FC = () => {
    return <p>This is a React component</p>;
};

export default ReactComponent;
Step 8: Embed React Components in MDX
Let’s import that component and directly call it wherever you want:
import ReactComponent from '/components/reactComponent';

# MDX and Next.js Tutorial

## Next.js Series

### By CodeForGeek

<br/>

---

<br/>

#### Bringing Markdown and Next Together:

This is a paragraph with **bold** and _italics_ text

<ReactComponent />

<br/>

#### Lists and Blockquotes:

- **One:** The first item in the list
- **Two:** The second item in the list
- **Three:** The third item in the list

> “This is a Blockquote” — To highlight quotes

<br/>

#### Code Block:

```javascript
// Example of a JavaScript function
function greet(name) {
    return `Hello, ${name}!`;
}

console.log(greet('World'));
And that’s it. Let’s test the code.
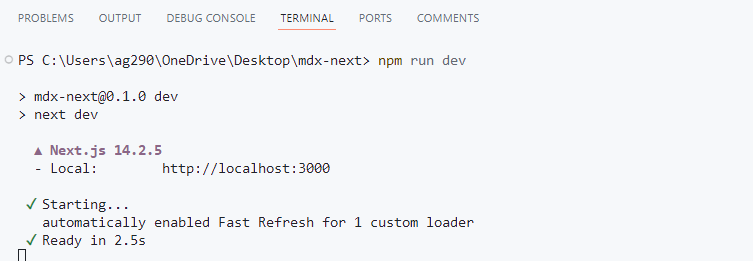
Step 9: Run Next.js App
Execute the below command to run the app:
npm run dev
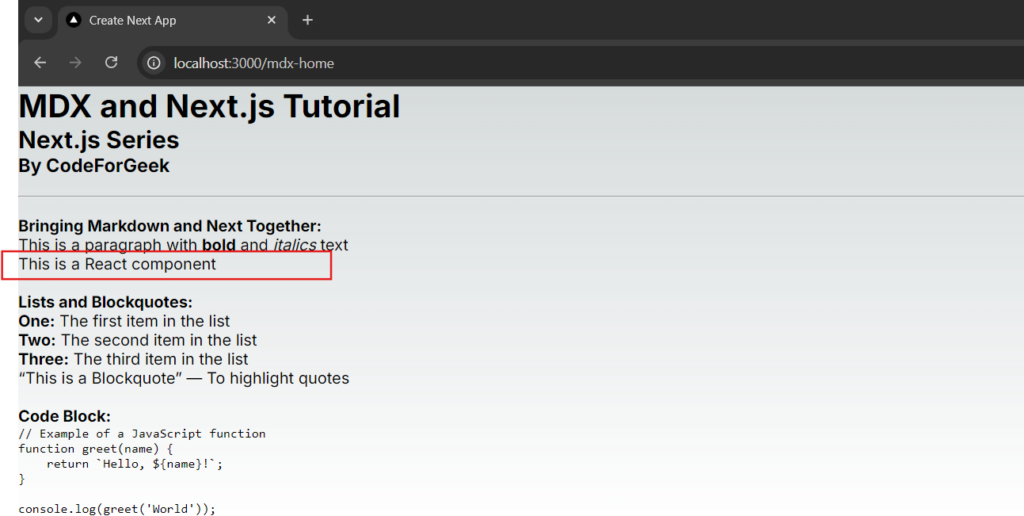
See our Markdown is successfully converted into valid HTML and our React component render as well.
Summary
In short, to use MDX in Next.js, we have to install some dependencies like @next/mdx, @mdx-js/loader, @mdx-js/react, and @types/mdx. Then, configure next.config.mjs to handle Markdown and MDX files. After that, we have to create a file named mdx-components.tsx to define global MDX components. Finally, we can create an MDX file with a .mdx extension and inside it, we can directly use Markdown and integrate dynamic React components.
Click here to read the 8 best techniques to optimize a Next.js app to ensure the best performance.
Reference
https://nextjs.org/docs/app/building-your-application/configuring/mdx