New to Rust? Grab our free Rust for Beginners eBook Get it free →
Insert a Document into MongoDB Using Mongoose – Quick Guide

Mongoose is one of the most popular Node.js libraries, providing the simplest way to interact with the MongoDB database. With the help of Mongoose, one can create models and schemas for storing and retrieving data from MongoDB collections. Additionally, it provides a number of APIs that make it even easier to work with MongoDB in Node.js.
Inserting documents using MongoDB native drive can be difficult but with Mongoose it becomes easy, we can insert as much data as we want and also we can get a unique ID for that data.
This tutorial will teach you how to Insert a document into MongoDB using Mongoose and get generated ID.
How to Insert a Document into MongoDB using Mongoose and Get the Generated ID?
Let’s start with creating an index.js file, which is the main server file where we will write all the code to simplify the process.
Open the terminal and execute the below command to initiate an NPM so that we can install the Mongoose and other required modules.
npm init -y
Check: A Beginner’s Guide to Node Package Manager
Execute the below command to install Express and Mongoose.
npm install express mongoose
Import Express and Mongoose using the require() method in index.js.
const express = require("express");
const mongoose = require("mongoose");
Create an instance of Express to use its methods.
const app = express();
Now use Mongoose connect() method to make a connection to the local MongoDB database. We can also create a new collection using this method.
mongoose.connect("mongodb://localhost:27017/collectionName", {
    useNewUrlParser: true,
    useUnifiedTopology: true
});
Here collectionName is the collection name you want to connect or create.
Check out this tutorial if you want to learn more about it: How to Connect MongoDB on Localhost 27017 in Windows
Now, to store data, it is required to create a Mongoose Model, and for a Model, we need to create a schema for that Model.
const userSchema = {
    email: String,
    password: String,
};
Now, let’s create a Model from the userSchema.
const User = new mongoose.model("User", userSchema);
To insert a document we must have one, let’s create a new document using the User model containing a random email and password.
const user = new User({
    email: "[email protected]",
    password: "123",
});
Now use the save() method to insert a single document that we have just created, and use .then having a function that contains the inserted document, inside it, we will use the _id property of the inserted document to show the ID in the terminal, this ID is automatically generated by MongoDB so we do not have to worry about it. Since the _id property returns an object containing ID, we must use the toString() method to convert it into a string before it print.
user.save().then(function (doc) {
    console.log(doc._id.toString());
}).catch(function (error) {
    console.log(error);
});
Here we have also used a catch block for error handling.
Note: Passing a callback function directly inside the save() method might not work in the new MoongoDB version, rather it returns a promise, that’s why we have avoided using callback in the above process. Check out Stack Overflow for more information on that.
At last, it is required to have a port to run the application, so let’s set up using listen() method and set the port to 3000.
app.listen(3000, function () {
    console.log("Server started on port 3000");
});
Finally, to run the application, execute the below command in the terminal.
node index.js
Output:
Server started on port 3000
645294a38840237d004cdf96
Here in the terminal, we got the ID of the inserted document which means that the document was inserted successfully.
Get the Generated ID in the Browser
To show the generated ID on the website, we just have to pass the save() method in the main route and change a single line.
app.get('/', async (req, res) => {
    user.save().then(function (doc) {
        console.log(doc._id.toString());
    }).catch(function (err) {
        console.log(err);
    });
});
Instead of the console logging the ID in the terminal, we can use the response object with a method send() to send data to the webpage.
app.get('/', async (req, res) => {
    user.save().then(function (doc) {
        res.send(doc._id.toString());
    }).catch(function (err) {
        console.log(err);
    });
});
Again run the application using the command given below.
node index.js
And open the webpage on a browser by using the below URL.
http://localhost:3000/
Output:
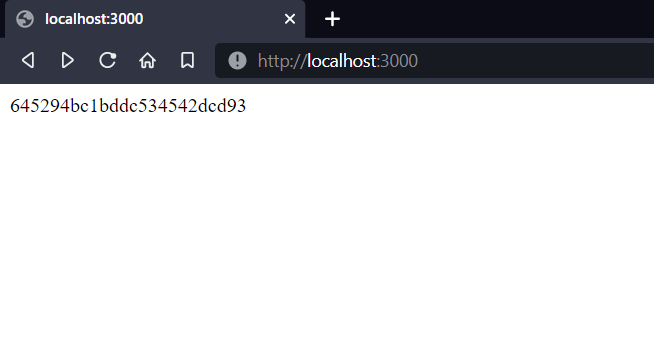
See, we got the generated ID here.
Conclusion
Throughout this tutorial, we have learned to insert a new document in a Mongo collection with the help of an example. Not only this but the example is also demonstrated to show the generated ID in the terminal and then in a browser which helps to keep track of documents inserted.
Reference