In this tutorial, we will learn about NodeJS ORM called Sequelize interfacing with PostgreSQL Database.
Introducing Sequelize
Sequelize is the NodeJS module which provides common functionalities and utilities to manipulate SQL based databases. Technically, it is an ORM ( Object relational mapping ) module for NodeJS. It supports the following databases:
- MySQL
- PostgreSQL
- MariaDB.
- SQLite.
- MSSQL

We have already covered tutorials on MySQL, SQLite, and MariaDB. In this tutorial, we are going to learn and use PostgreSQL.
About PostgreSQL
PostgreSQL is considered to be the most advanced relational database system. It offers amazing features such as multi-version concurrency control, reliability, availability and strong data types backed by the 15 years of research and development.
I have not personally used it in a production system hence cannot provide any live experience. If any of you used it, please provide your feedback in comments.
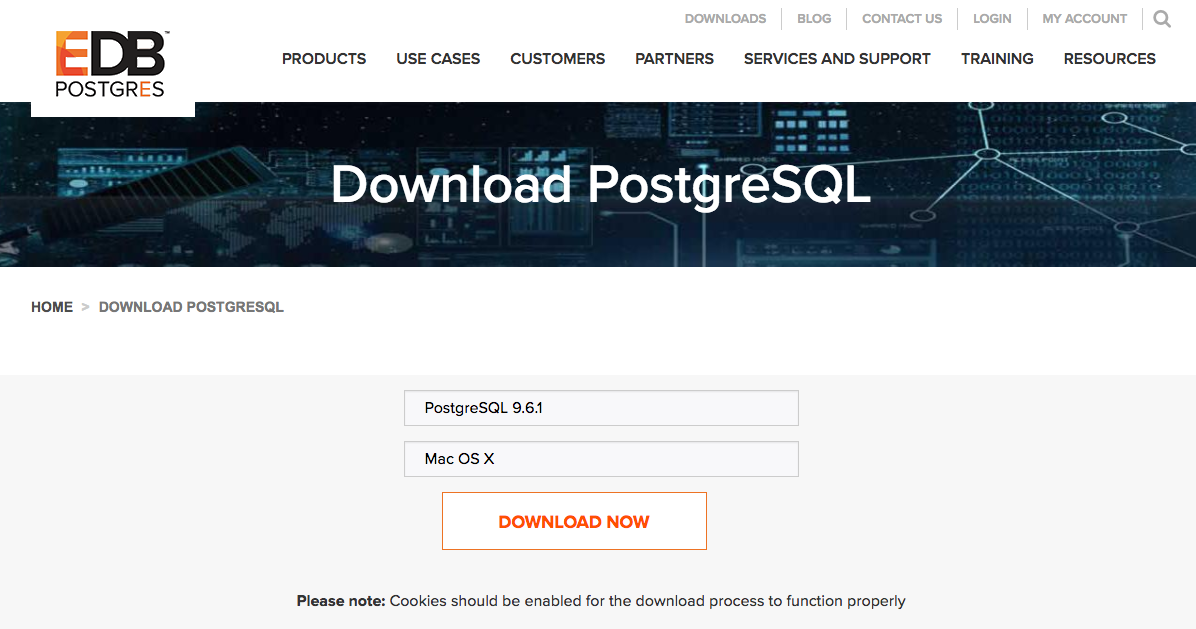
We will use this to test out the Sequelize ORM. To begin with, visit the official site of PostgreSQL and download it. It supports all Major operating system.
Once you have installed it, open up the PostgreSQL admin screen. It will look something like this.
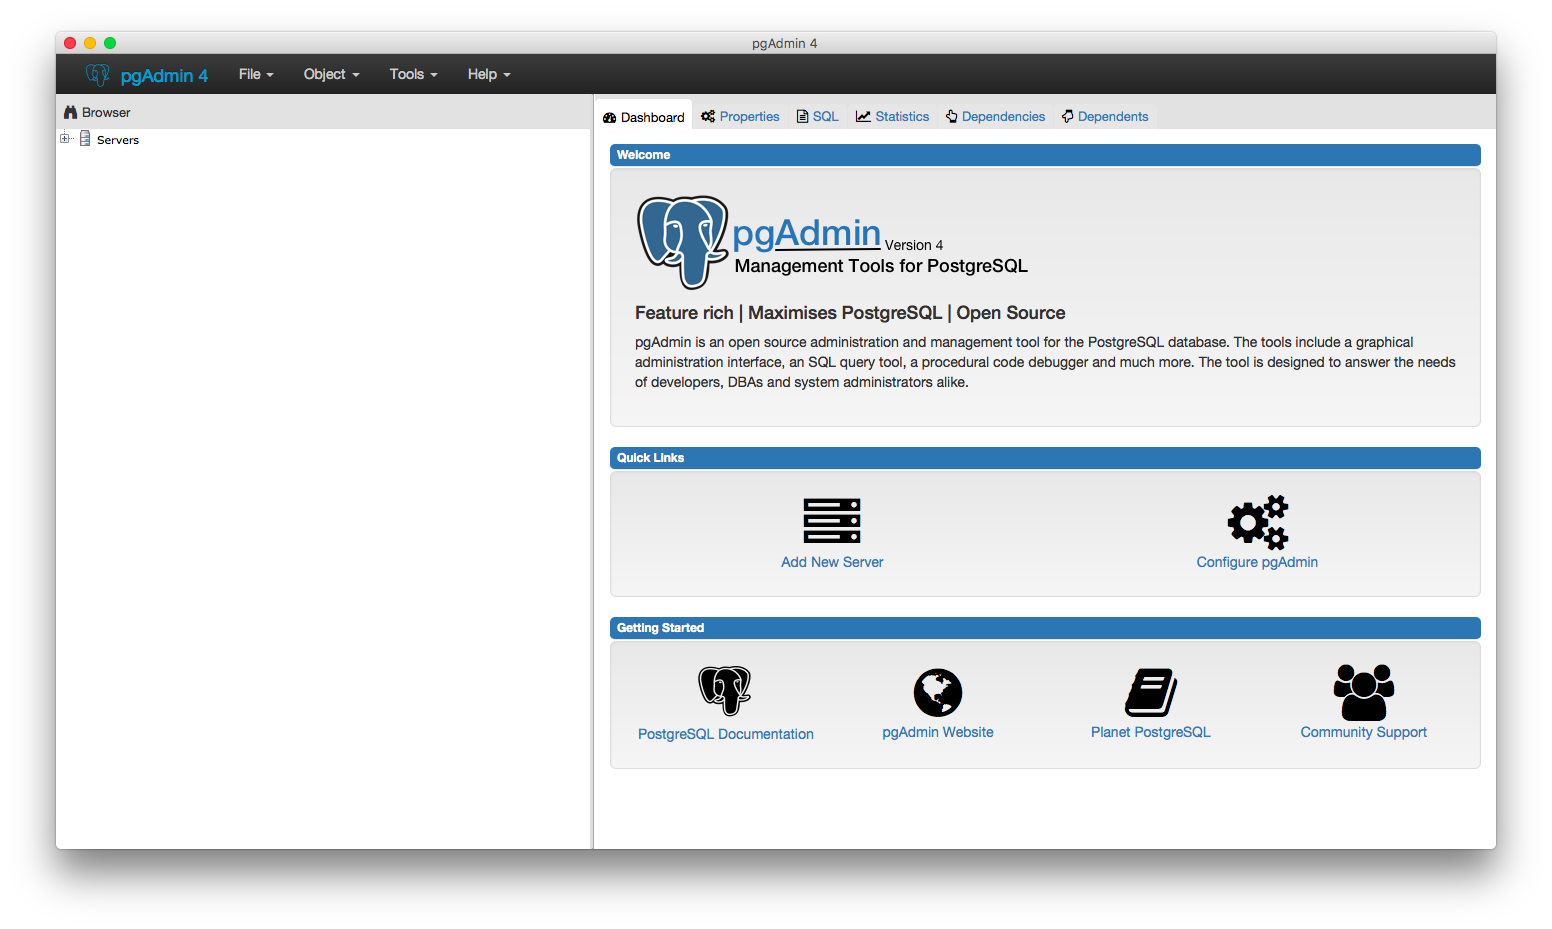
Awesome! PostgreSQL is up and running!
Getting Started with Sequelize and PostgreSQL
Let’s get started with Sequelize. To begin with, create a new folder and switch to it using Terminal.
Then run the following command to generate a new fresh NodeJS project.
npm init --y
This generate the following:
{

  "name": "sequalize-postgres",

  "version": "1.0.0",

  "description": "",

  "main": "index.js",

  "scripts": {

    "test": "echo \"Error: no test specified\" && exit 1"

  },

  "keywords": [],

  "author": "",

  "license": "ISC"

}
Then, install node dependencies for Sequelize and PostgreSQL using the following command.
npm i --save sequelize pg pg-hstore
We will do the following task with Sequelize and PostgreSQL:
- Connecting to the Database
- Creating the model
- Performing CRUD Operation
- Monitoring Queries
Connecting to the Database
Create new file say app.js and add the following code.
const Sequelize = require('sequelize');

const sequelize = new Sequelize('codeforgeek', 'postgres', 'shahid', {

  host: 'localhost',

  dialect: 'postgres',

  pool: {

    max: 9,

    min: 0,

    idle: 10000

  }

});
sequelize.authenticate().then(() => {
console.log("Success!");
}).catch((err) => {
console.log(err);
});
Run the code using the following command.
node app.js
Since we haven’t created the database in PostgreSQL, it will return the following error ( You will receive more fields ).
{

  name: 'SequelizeConnectionError',

  message: 'database "codeforgeek" does not exist'

}
To create the database, open your PostgreSQL Admin.
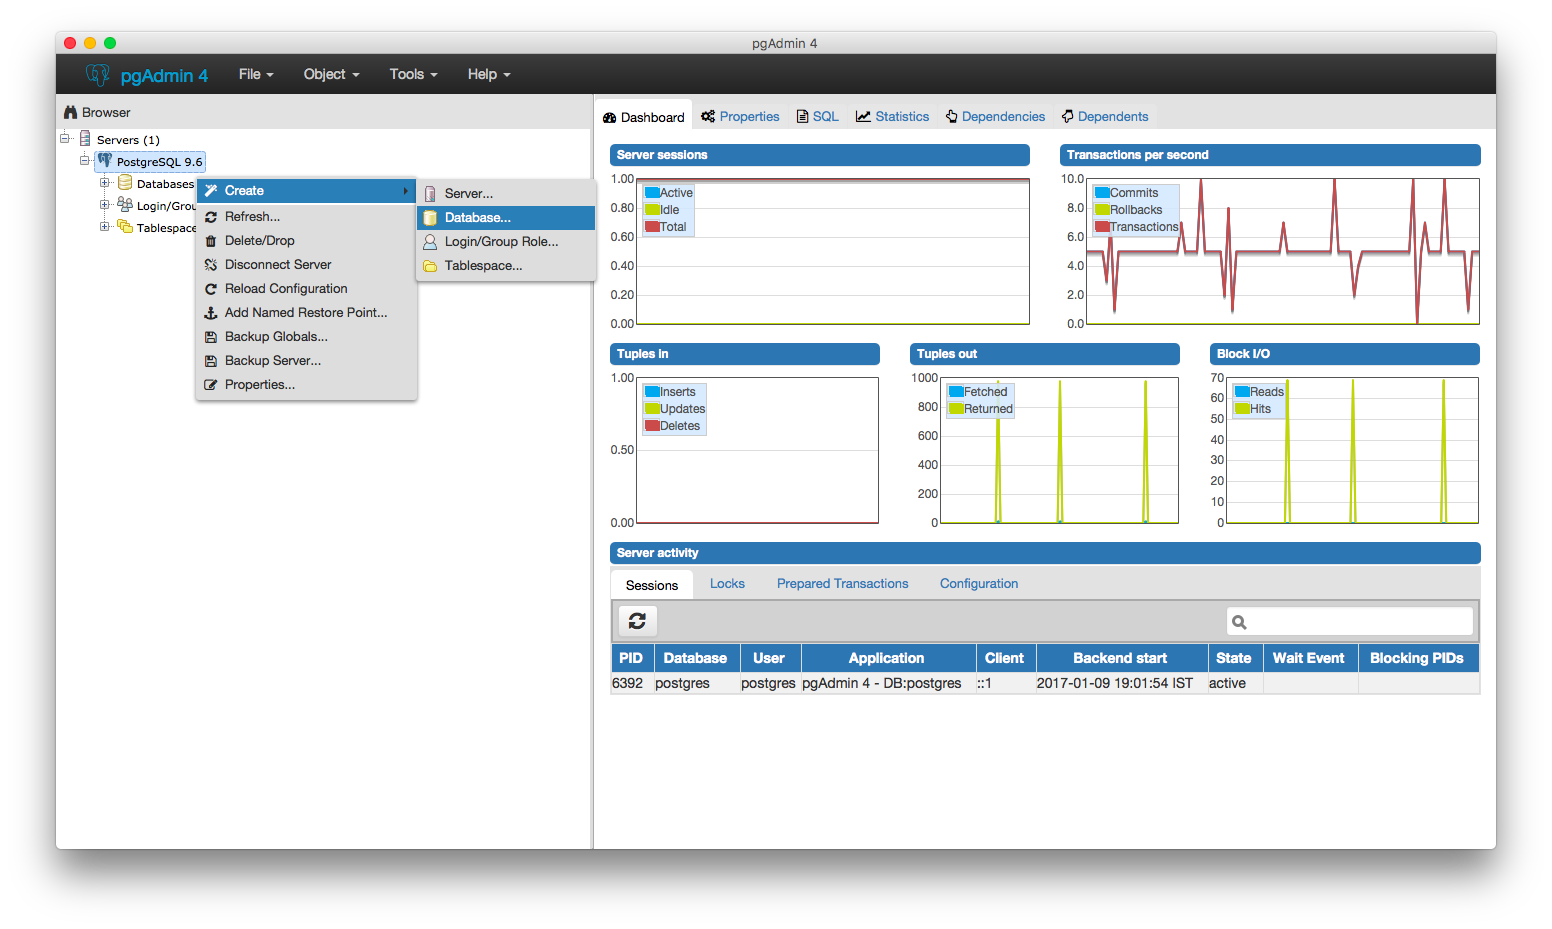
Give your database a proper name and choose the user.
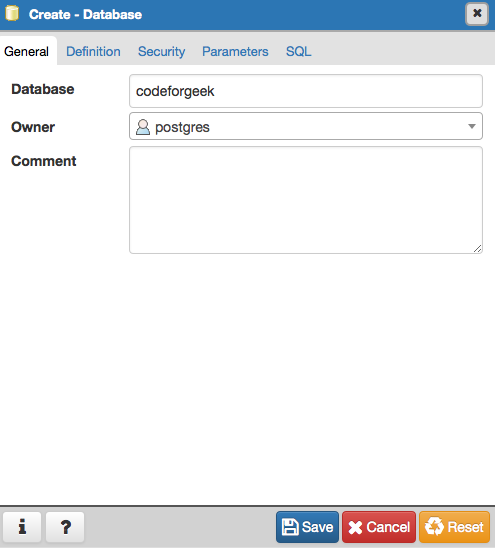
Now, run the same code and you should see the message as shown below.

Let’s create tables inside the PostgreSQL using Sequelize.
Creating model using Sequelize
Place this code inside the authenticate() success block.
sequelize.authenticate().then(() => {

  console.log("Success!");

  var Posts = sequelize.define('posts', {

    title: {

      type: Sequelize.STRING

    },

    content: {

      type: Sequelize.STRING

    }

  }, {

    freezeTableName: true

  });
Posts.sync({force: true}).then(function () {
return Posts.create({
title: 'Getting Started with PostgreSQL and Sequelize',
content: 'Hello there'
});
});
}).catch((err) => {
console.log(err);
});
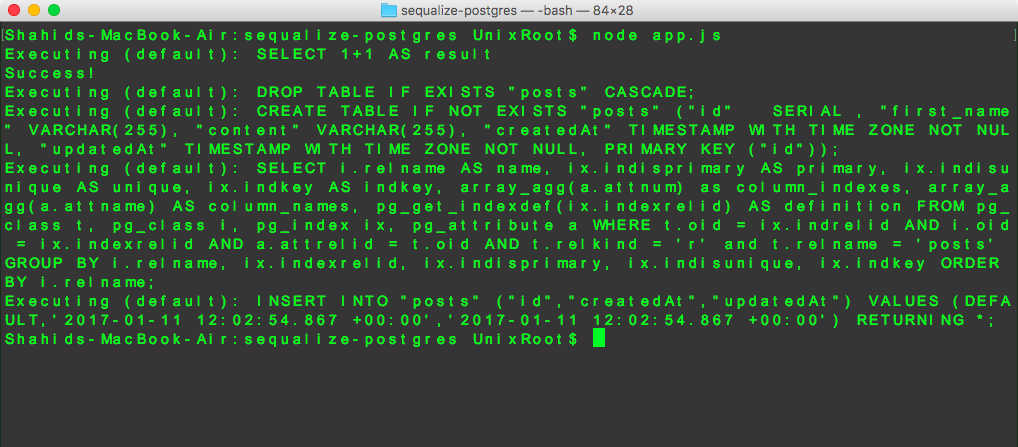
Run the code and you should be seeing queries running in the terminal. Similar to what is shown below.
Performing CRUD Operation
We have already created a data in the table using the code shown above. Let’s do some reading.
To read something from SQL based databases, we use SELECT query. Something like this.
SELECT * FROM `posts` WHERE `id`=2019;
Sequelize provides functions to perform database reads. The function is findAll() which accepts various parameters to cover clauses such as WHERE, JOINS etc and returns promise function.
To read the data from the Posts table, we will use the following code.
 Posts.findAll({}).then((data) => {

    console.log(data);

 }).catch((err) => {

    console.log(err);

 });
If we want to add WHERE clause in it, then it can be tweaked to the following code.
 Posts.findAll({

  where: {

    id: '100'

  }

 }).then((data) => {

    console.log(data);

 }).catch((err) => {

    console.log(err);

 });
You can find all read operation combinations here.
You can update any fields using update() method. Here is the sample code.
  Posts.update({

    content: 'This is a tutorial to learn Sequelize and PostgreSQL'

  }, {

    where: {

      id: 1

    }

  }).then(() => {

    console.log('Updated');

  }).catch((e) => {

    console.log("Error"+e);

  });
You can delete the rows using destroy() function.
  Posts.destroy({where: {

    id: 1

  }}).then(() => {

    console.log("Deleted");

  }).catch((e) => {

    console.log("Error"+e);

  });
This covers all four CRUD operation.
Monitoring Queries
Sequelize runs SQL queries in the background to deal with the database. In the terminal, you can view those queries as well. For example, refer to the screenshot below.

You can monitor those queries live, on each method call, Sequelize executes these queries.
Conclusion
I have tried and tested various node modules to interface with a variety of databases. It’s tough to maintain the track and keeping in touch with the development of these modules because there is too many of them. I am glad something like Sequelize came up to solve these issue. One module, multiple databases is what I needed!
Let me know if you are going to work with Sequelize or share your experience if you have already used it.


