D3.js is a JavaScript Library that stands for Data-Driven-Documents famous for creating interactive data visualizations, especially in SVG format. It was created in 2011 with the goal of creating SVG graphics from data. D3 helps you bring data to life with the help of technologies you already know, like HTML, CSS and SVG. In this article, we’ll get started with a simple application and see D3 in action!
Also Read: What is Node.js?
When to use D3?
With the help of D3, you can certainly create some bar graphs and pie charts, however, since it is quite a heavy library it is recommended to use other smaller libraries if you are only going to generate some simple charts. D3 is for heavy-lifting work, although in this tutorial we will just start with simple projects.
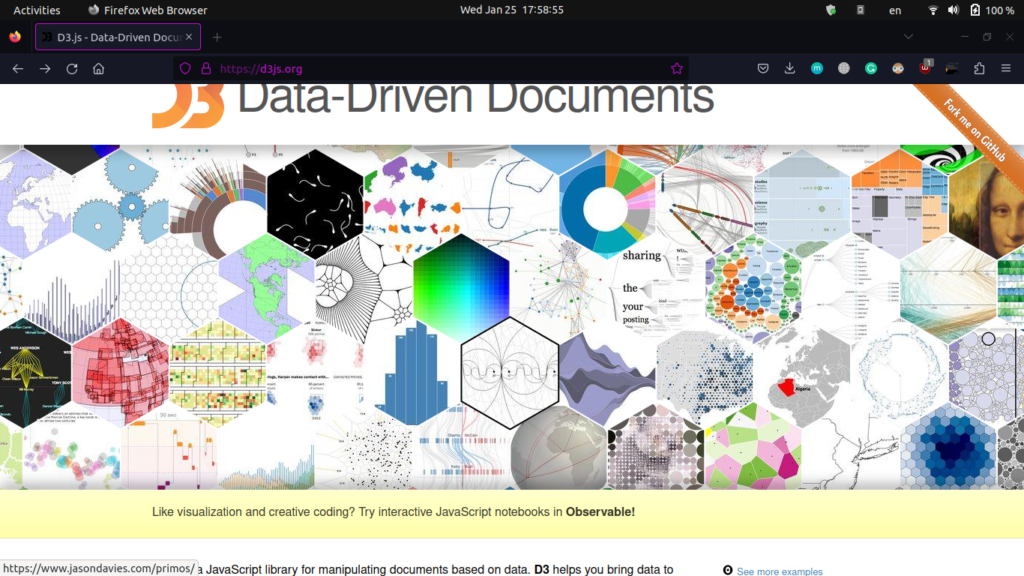
If you really want to check out what scale I am talking about make sure to check out this Official website for D3, where each of the hexagons above the page corresponds to a project that the community made using D3, this will certainly clear out the thinking process for you guys.
Also, I will highly recommend you check out the official Documentation as a reference. You can even check out the examples from the official site as inspiration!
Coding your own D3 project
First, we need an empty HTML file and let’s get the library source in there. The Script tag you need to use is as follows.
<script src="https://d3js.org/d3.v7.min.js"></script>
In this tutorial, we’ll be using VS-Code (also the Live-Server extension) as our editor. Type in ! and hit TAB to generate the skeleton of the HTML document. Next, add the script tag to include the library in our project. Now let us add some h2 tags and check out the output in a browser tab.
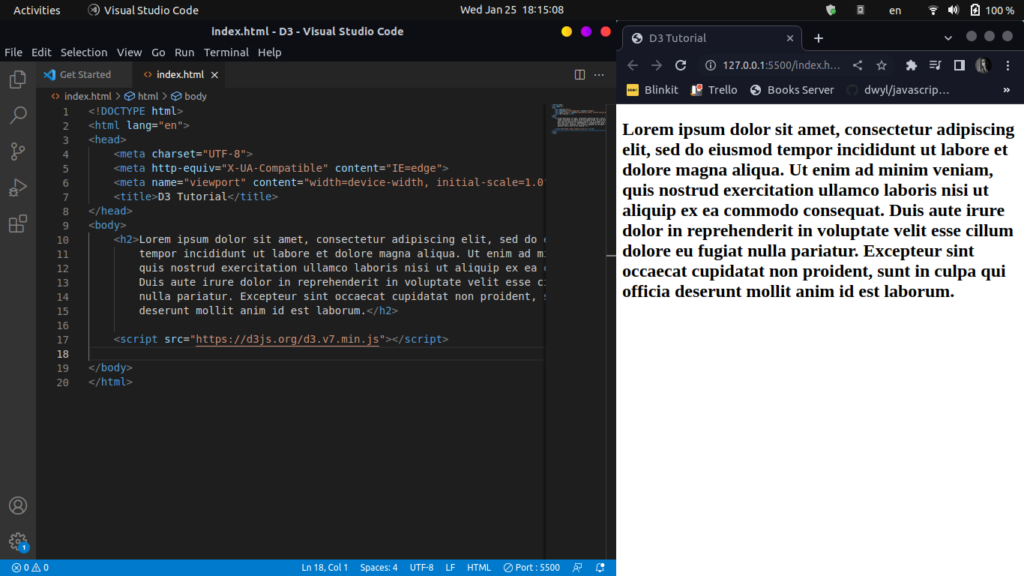
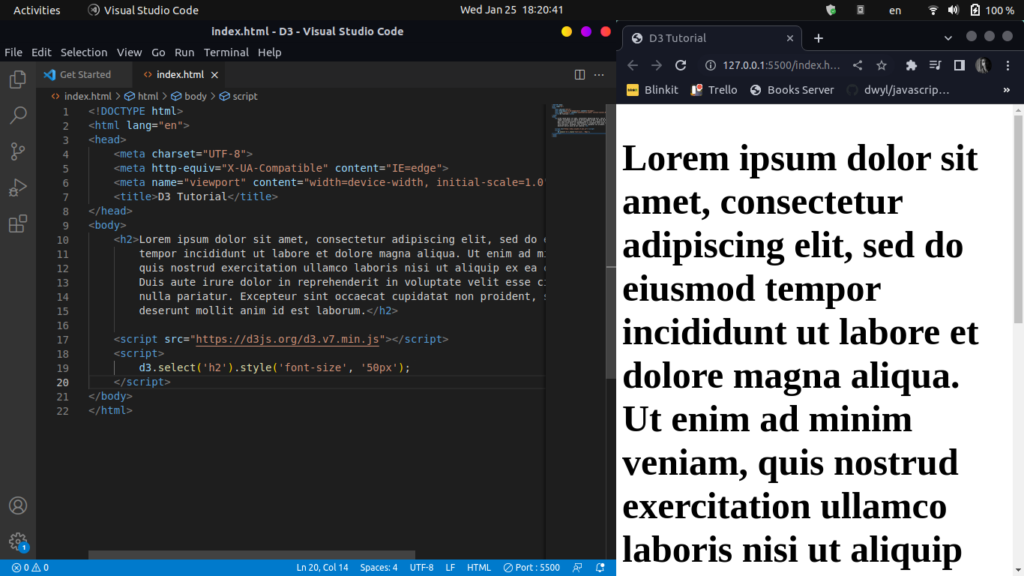
Now we can use D3 to interact with this h2 tag. We can now move on to create another script tag inside which we will write our d3 code to execute. Let’s first select the h2 tag and increase it’s font-size to 50px, to do this use the following code:
    <script>
        d3.select('h2').style('font-size', '50px');
    </script>
Now, if you look at the output, you can clearly see that the text size has increased.
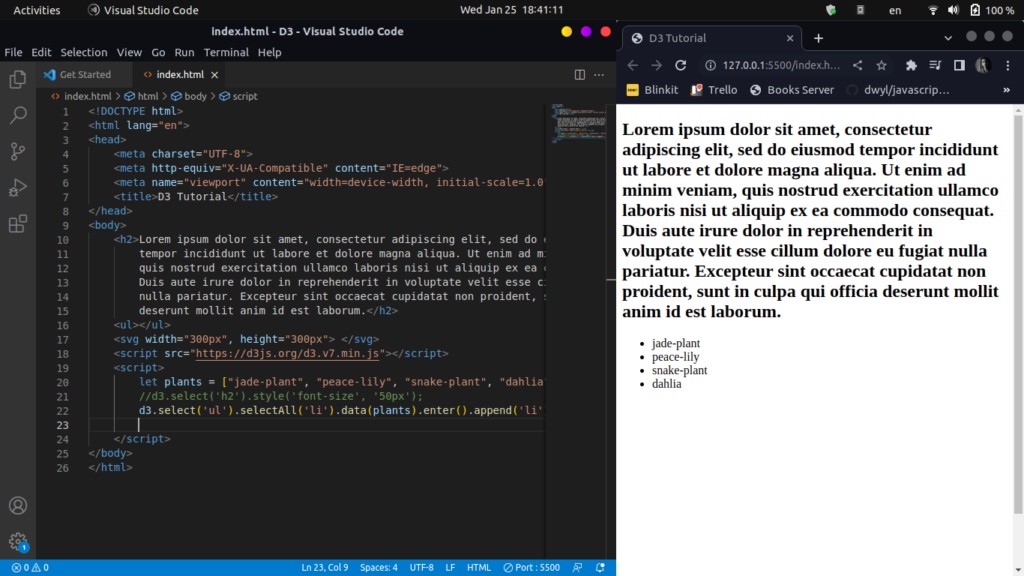
Now let us create some unordered-list elements in our HTML file and learn how to interact with them in D3. First, just below the h2 tag we will create an empty ul-element, next inside the script tag, we will create a new variable that will store an array of plant names. Now we will select the ul element (and also each li inside it) and populate it with the array elements, to do this, look at the following code:
<ul></ul>
<script src="https://d3js.org/d3.v7.min.js"></script>
<script>
plants = ["jade-plant", "peace-lily", "snake-plant", "dahlia"]
d3.select('ul').selectAll('li').data(plants).enter().append('li').text(plants => plants);
</script>
Now let us create a simple bar diagram to really understand how D3 works. First as before we will create an empty SVG element. Next, let us initialize some variables, first, we need some dummy data, let us store it in an array. Now we need a height and width for the SVG, and also some padding (this is optional). Next, we calculate the width of each of the bars by dividing the total width of the SVG container by the number of data points we have (dataset.length). Next, we select the SVG element and give it our width and height.
<svg></svg>
    <script src="https://d3js.org/d3.v7.min.js"></script>
<script>
let dataset = [10, 20, 30, 90, 46, 28, 68, 32, 87];
        let svgWidth = 300, svgHeight = 300;
        let pad = 5;

        let barWidth = (svgWidth / dataset.length);

        var svg = d3.select('svg').attr("width", svgWidth).attr("height", svgHeight);

        var barChart = svg.selectAll("rect")
                          .data(dataset)
                          .enter()
                          .append("rect")
                          .attr("y", function(d) {
                            return svgHeight - d
                          })
                          .attr("height", function(d) {
                            return d;
                          })
                          .attr("width", barWidth - pad)
                          .attr("transform", function(d, i) {
                            var translate = [barWidth * i, 0];
                            return "translate("+ translate +")";
                          });
</script>
Now we will create our bar chart. First understand that bars are nothing but rectangles, so we select all rectangles inside the SVG element, however since there are no rectangles right now, this will return an empty selection. Now, we call the dataset and the enter method to take the dataset and then carry out the rest of the methods for each of the array elements. So for each of the data points we are appending a rectangle inside the SVG, we provide the attribute of y, height, and width and transform each of these.
The y attribute is essential since we need to space out the bar charts otherwise they will pile up on top of each other, so we take in the svgHeight and take away the data item. Now the height attribute simply returns the datapoint from the callback. Now we provide width to our bar chart, for this, we simply subtract the padding from the width(which we have already calculated in the beginning). In the end, we apply the transformation translate() to our bar chart. The output can be seen below!

Conclusion
D3 can be used for creative expression with the help of programming, you can really push the limits of customization of your own website with the help of this powerful library. I hope you guys liked learning about D3 and are looking forward to more such awesome tutorials, be sure to check out the Official Documentation for more info and keep on learning!
Follow the link for additional details

