New to Rust? Grab our free Rust for Beginners eBook Get it free →
How to Set Up and Use Tailwind CSS with Next.js

Tailwind CSS is a framework that helps us to create modern responsive websites without writing custom CSS code. It has a collection of predefined classes that we can use directly in our HTML code to style the elements.
Tailwind CSS is a utility-first CSS framework. Utility-first means it has a set of small reusable utility classes that we can use alone or together to create modern and complex designs easily. So instead of writing custom CSS to make a paragraph bold, we can directly use font-bold and that’s it.
Let’s see how to integrate it into Next.js so that they can be the best framework combination to build amazing front-end websites.
If you prefer Native CSS: Using CSS Modules and Global CSS in Next.js Applications
Using Tailwind CSS in Next.js
Next.js makes everything easier when it comes to full-stack development and using traditional CSS with it means not fully utilizing its true potential.
Writing CSS code for lots of files in a large-scale application is very time-consuming and it can be very complex to manage and update. So to increase developer productivity even more, the best option is to use Tailwind CSS.
Tailwind CSS is the easiest way to add modern and enhanced designs to our Next.js app without having to write lots of custom CSS code.
If you already have a Next.js application, below are step-by-step instructions to set up and use Tailwind. If not, click here to read our getting started guide and create a Next.js application in seconds.
Step 1: Installing Tailwind CSS
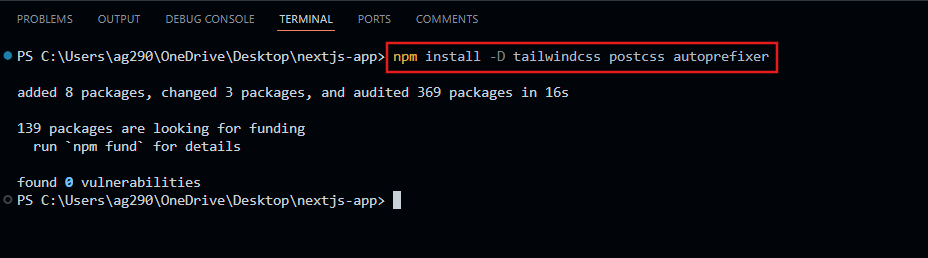
First, we need to install Tailwind CSS with PostCSS and Autoprefixer:
npm install -D tailwindcss postcss autoprefixer
- PostCSS to process the CSS and make Tailwind work.
- Autoprefixer is a plugin for PostCSS to add vendor prefixes like webkit, -moz, etc to make CSS work across different browsers.
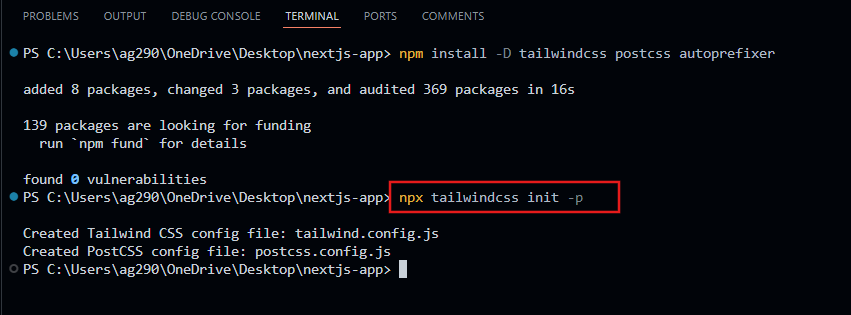
Then run the below command to initialize Tailwind CSS:
npx tailwindcss init -p
This will create configuration files tailwind.config.js and postcss.config.js.
Step 2: Configuring Tailwind
Now inside the tailwind.config.js, make sure to include paths to files in the app, pages, components, or src directories whatever you are using or let’s include all of them to avoid any error.
tailwind.config.js:
/** @type {import('tailwindcss').Config} */
module.exports = {
  content: [
    './app/**/*.{js,ts,jsx,tsx,mdx}',
    './pages/**/*.{js,ts,jsx,tsx,mdx}',
    './components/**/*.{js,ts,jsx,tsx,mdx}',
    './src/**/*.{js,ts,jsx,tsx,mdx}',
  ],
  theme: {
    extend: {},
  },
  plugins: [],
}
Now, Tailwind will only check these mentioned files for class names and generate corresponding CSS.
Step 3: Importing Styles
Now create a global CSS file, which we have just learned in the previous tutorial.
app/globals.css:
@tailwind base;
@tailwind components;
@tailwind utilities;
In this file, import the Tailwind base, components, and utility styles and we will import this file into the app/layout.tsx to apply these styles on each page.
app/layout.tsx:
import type { Metadata } from 'next'

// Import globals.css
import './globals.css'

export const metadata: Metadata = {
  title: 'Create Next App',
  description: 'Generated by create next app',
}

export default function RootLayout({
  children,
}: {
  children: React.ReactNode
}) {
  return (
    <html lang="en">
      <body>{children}</body>
    </html>
  )
}
Step 4: Using Tailwind Classes
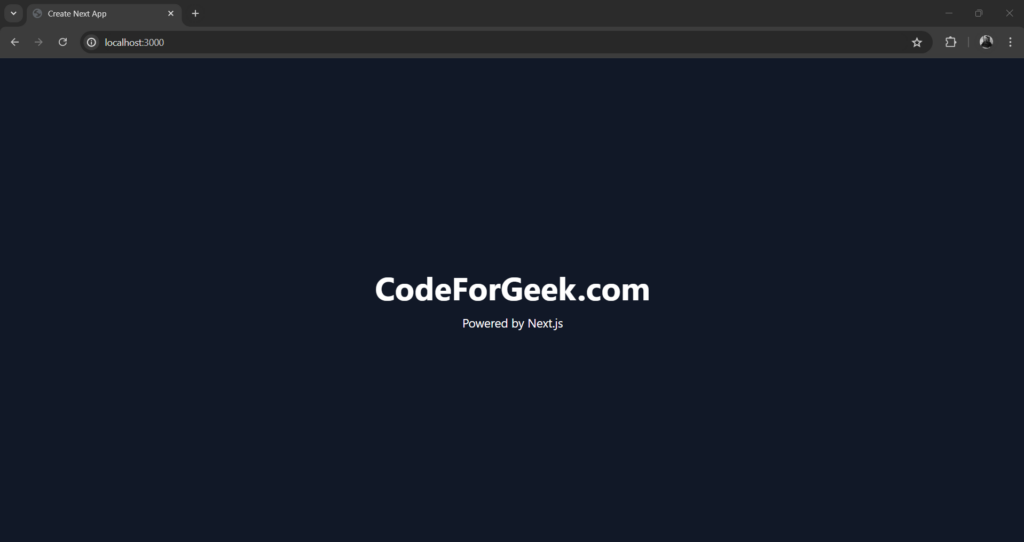
Once the above steps are completed and the globals.css is imported into the root layout, we can start using the Tailwind utility classes directly in our pages to style HTML elements.
app/page.tsx:
const Home = () => {
    return (
      <div className="flex flex-col items-center justify-center min-h-screen bg-gray-900 text-white">
        <h1 className="text-5xl font-bold mb-4">CodeForGeek.com</h1>
        <p className="text-lg">Powered by Next.js</p>
      </div>
    );
};

export default Home;
Output:
Summary
To set up Tailwind CSS in Next.js we first need to install it along with PostCSS and Autoprefixer using the command “npm install -D tailwindcss postcss autoprefixer” -> then run “npx tailwindcss init -p” to create configuration files tailwind.config.js and postcss.config.js -> then inside tailwind.config.js include the paths to the files that Tailwind checks for class names -> then create a global file globals.css -> import the Tailwind base, components, and utility styles -> import this global file into the root layout. And that’s it, we are ready to use Tailwind in any page.
Reference
https://nextjs.org/docs/app/building-your-application/styling/tailwind-css